How to Properly Install Graphic Card Drivers
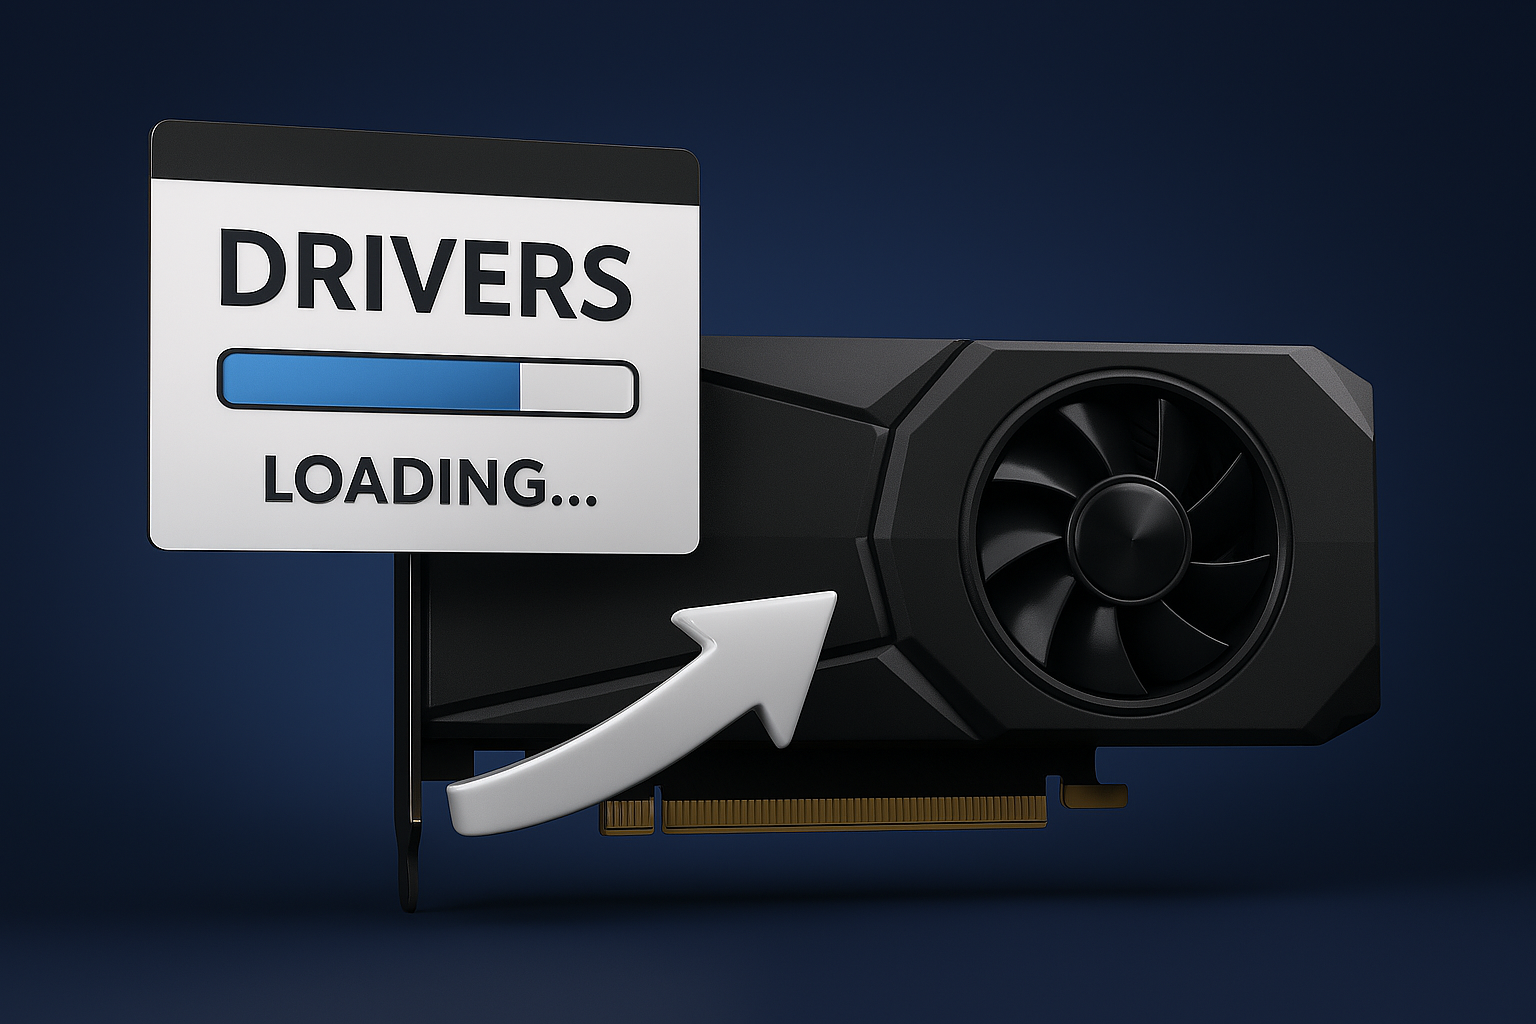
Incorrectly installing graphics card drivers can hinder overall system performance. It's essential to get the installation right for optimal performance, stability, and compatibility. This is especially important for activities like gaming and video editing. Proper installation will help ensure a system that operates at super-fast speeds. Here's how to properly install the graphics card drivers.
First Step: Identify Your Graphics Card
Before downloading anything, you need to know the type of graphics card you're working with. If you purchased a pre-built gaming PC or laptop, you should definitely know what type of GPU is in your system.

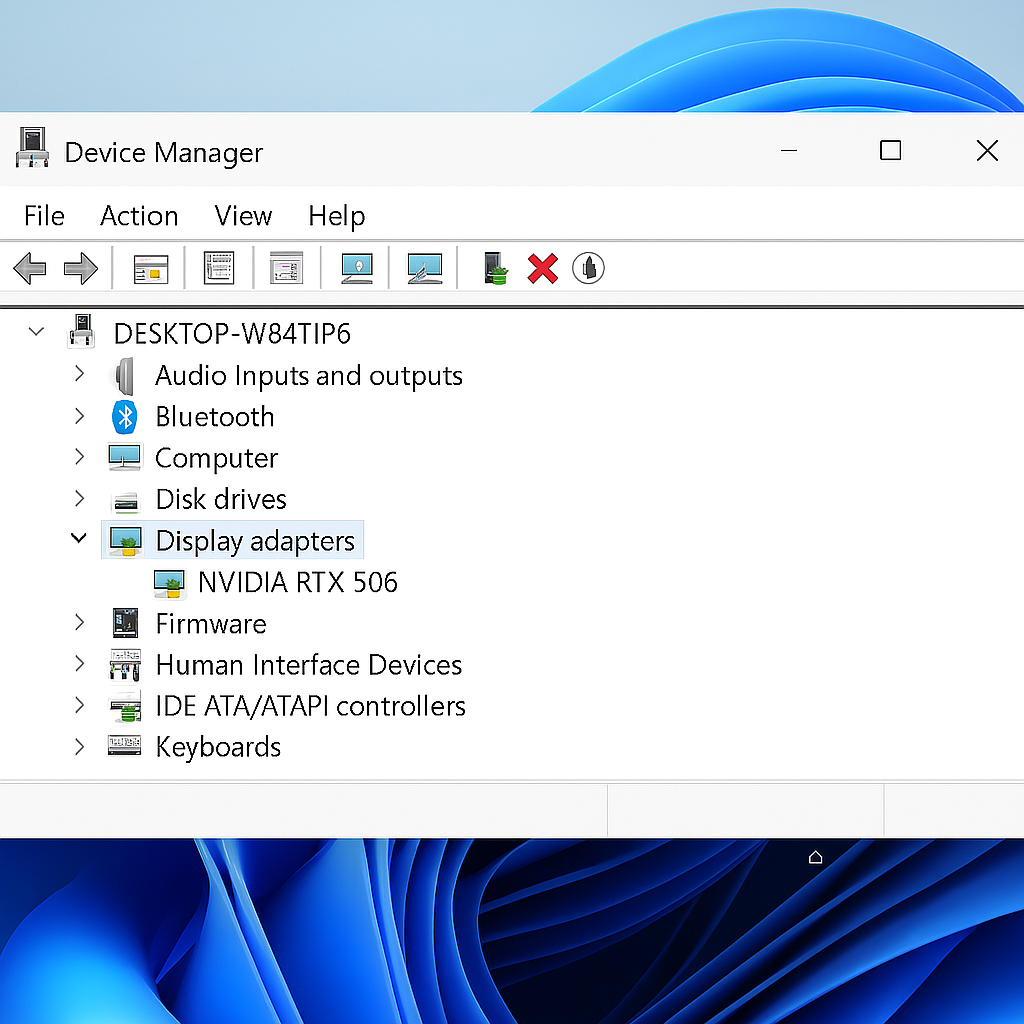
For Windows users, type “Device Manager” in the Start Menu. Once the feature is pulled up, you'll see a list of hardware currently in your system. Look for the Display Adapter category. Click on it, and it expands to reveal the name of the graphics card or GPU. Apple users, since your core hardware, including the GPU, is integrated into a system-on-a-chip (SoC), drivers are handled via system updates.
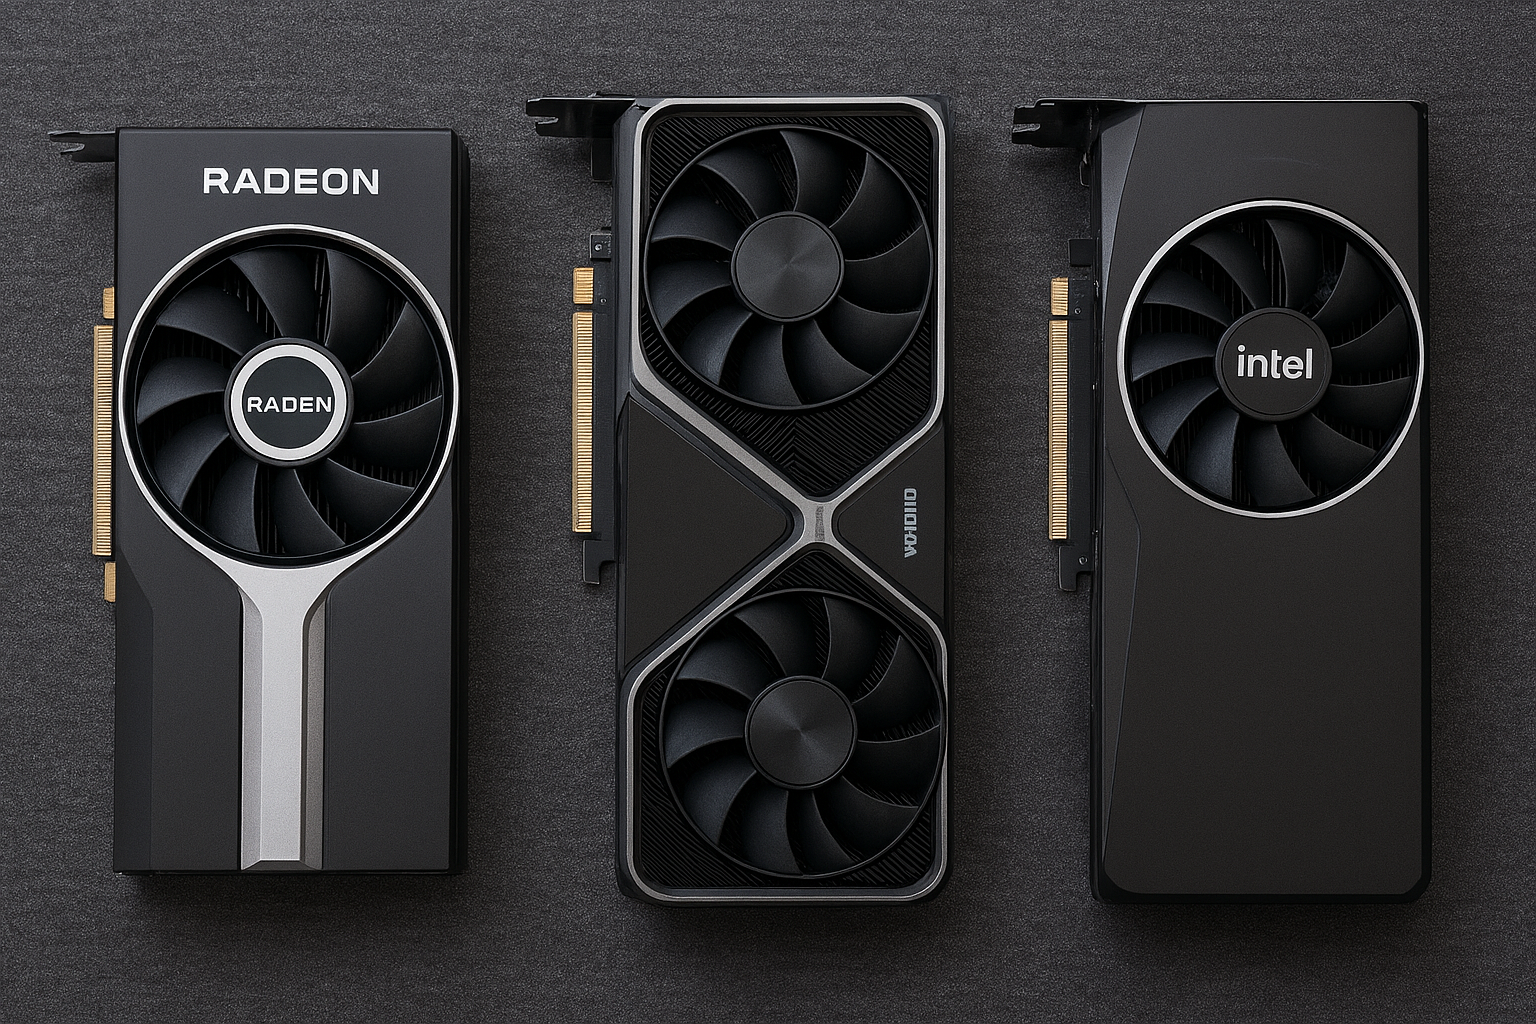
The standard brand graphics cards are Nvidia (GeForce, Quadro), AMD (Radeon, FirePro), and Intel's Arc Series, as well as integrated graphics.
The Second Step: It's Time to Download the Drivers
Always access drivers from the official source ( the manufacturer's website) and avoid third-party websites, as those GPU drivers may contain malware, which can compromise your system, hindering overall performance.
Download your GPU drivers from the following websites: Nvidia: Nvidia.com/Download, AMD: amd.com/en/support, intel.com/content/www/us/en/download-center
Once you've gained access to the website, you should see a driver support tab. Enter the GPU model, then the operating system and driver type, for example, for Nvidia, is it Game Ready or Studio?
Third Step: As an Option, but recommended, uninstall old Drivers
When installing drivers, it is standard practice to perform a clean installation of the drivers. Doing so will reduce the chances of conflicts.
In Safe Mode, use Display Driver Uninstaller (DDU) and perform a thorough cleaning. Alternatively, you can uninstall your GPU drivers through Device Manager. Right-click Start-> Device Manager->Display Adapters-> Right-click GPU-> Uninstall device.
Fourth Step: Install the New Drivers
Once the download is complete, run the installer as Administrator. Then, as an option, choose Custom Installation, which allows you to perform a clean install. Follow the on-screen prompts and restart your system as needed.
The Fifth Step: Verify your Installation
After your system reboots, open the GPU control panel (Nvidia Control Panel, AMD Adrenalin, or Intel Graphics Command Center). Open up your settings and check the driver version. This ensures that the latest driver is present in your system. As an option, you can run a benchmark test or play a game of your choice to confirm performance.
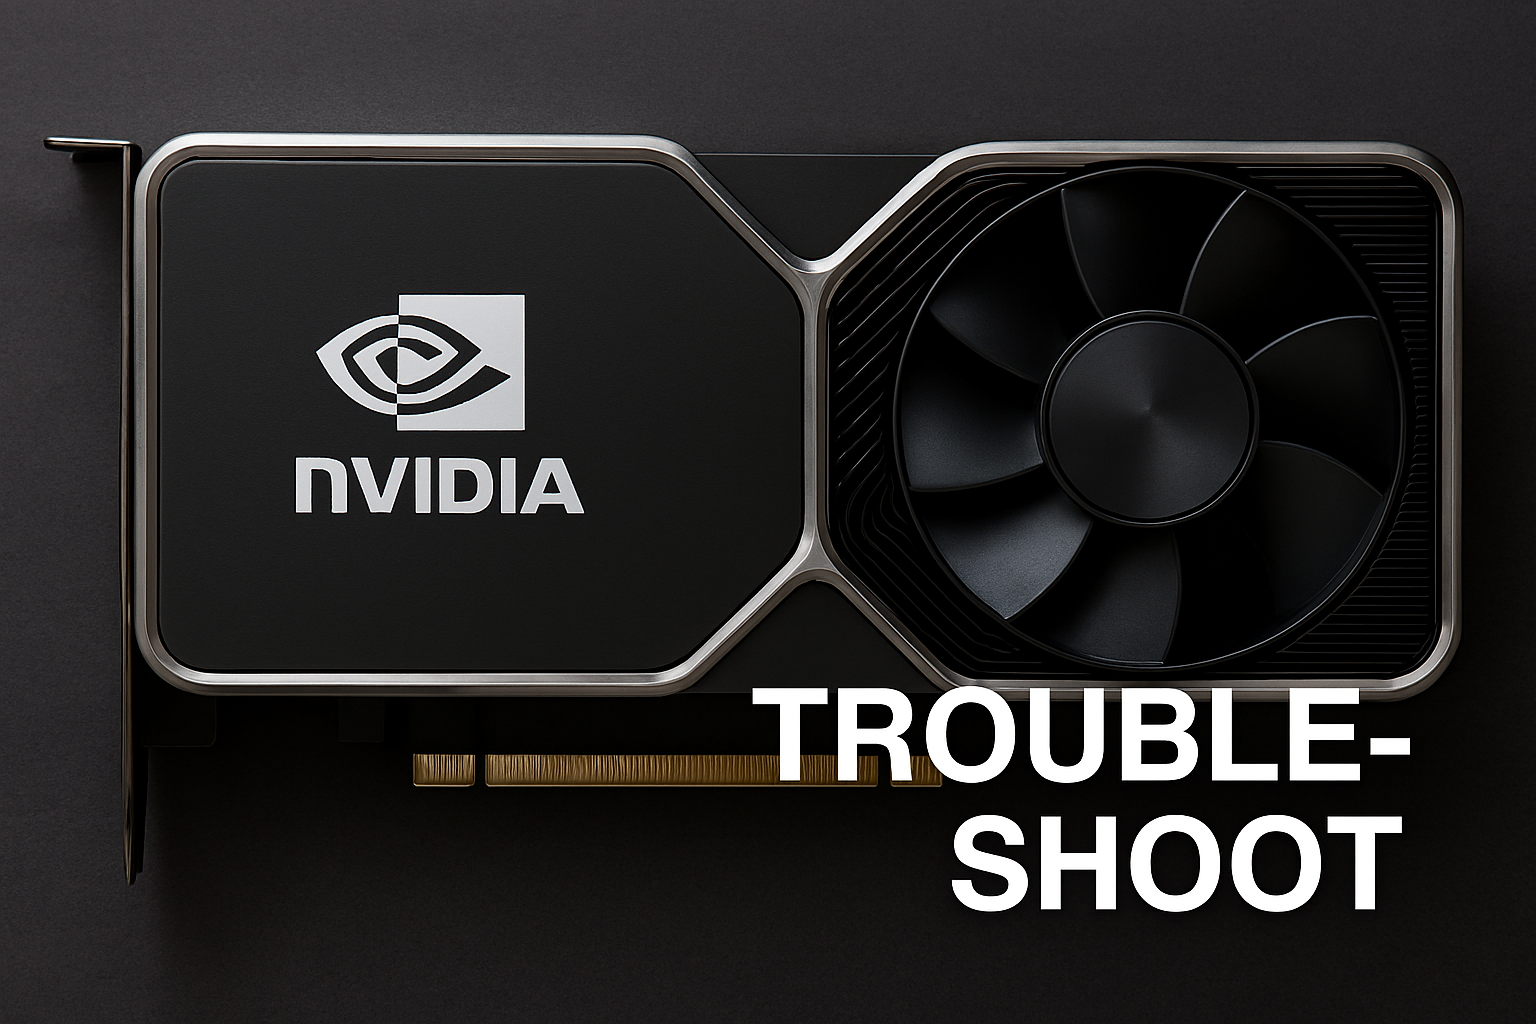
Final Thought: The Troubleshooting Tips
A series of issues can arise during installation, but there is a solution for each one. For Black screens or system crashes, boot in Safe Mode and reinstall the drivers. What if the drivers won't install? Check for Windows updates and see if there are any compatibility issues. If you suspect a performance issue, use GPU monitoring tools such as MSI Afterburner or HWInfo to diagnose your GPU.