The Step-by-step Guide: How to Install Windows 11 Using a Thumb Drive
Installing Windows 11 via a USB Thumb drive is a reliable method for building a new system or upgrading from an older version of Windows. This method is beneficial as DVD drives are becoming less common. I have prepared a detailed guide that explains the process step-by-step. The guide walks you through the necessary steps, starting from prepping your USB drive to booting into the installer. Following this guide will ensure a smooth installation experience.
What You're Going to Need
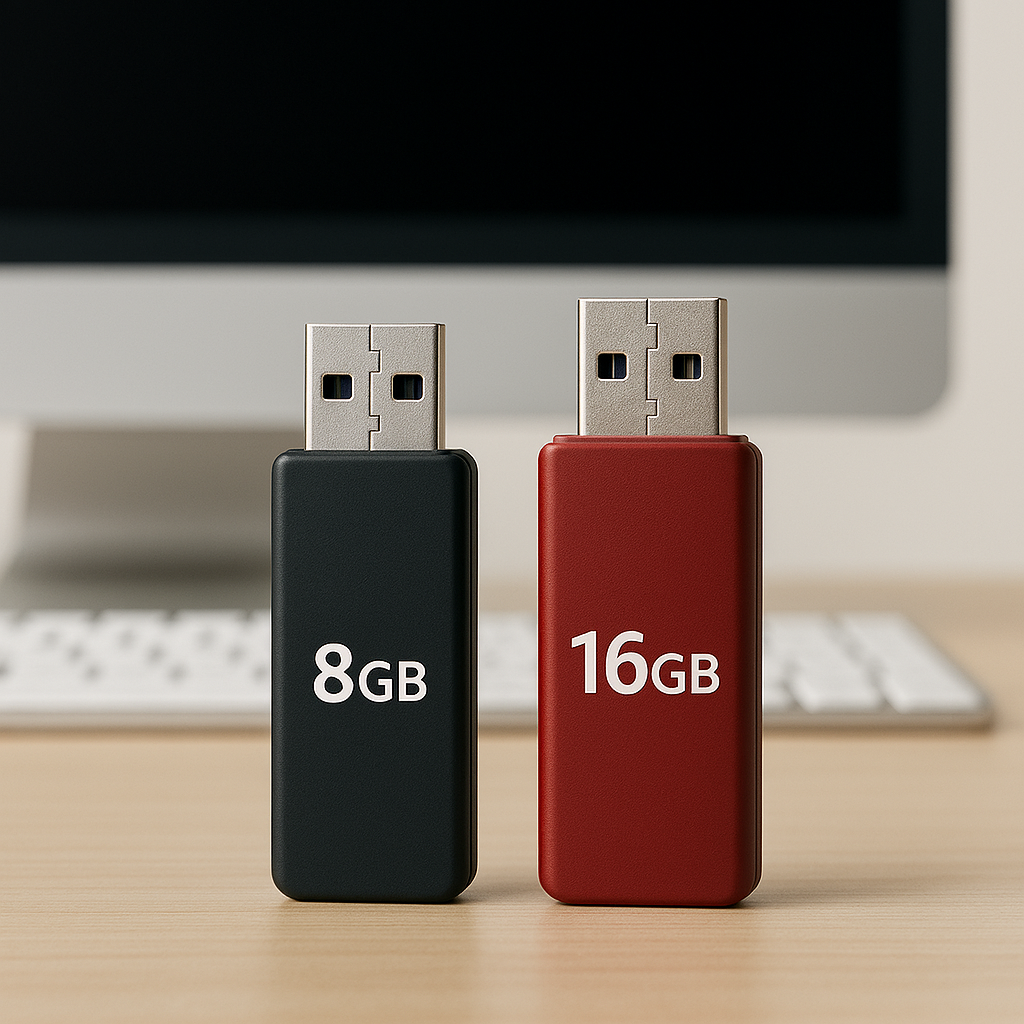
Firstly, you will need a thumb drive with a minimum capacity of 8 GB; 16GB is highly recommended. Then you'll need a PC with Internet access, a Windows ISO file or a media creation tool, and Basic familiarity with BIOS/UEFI settings.
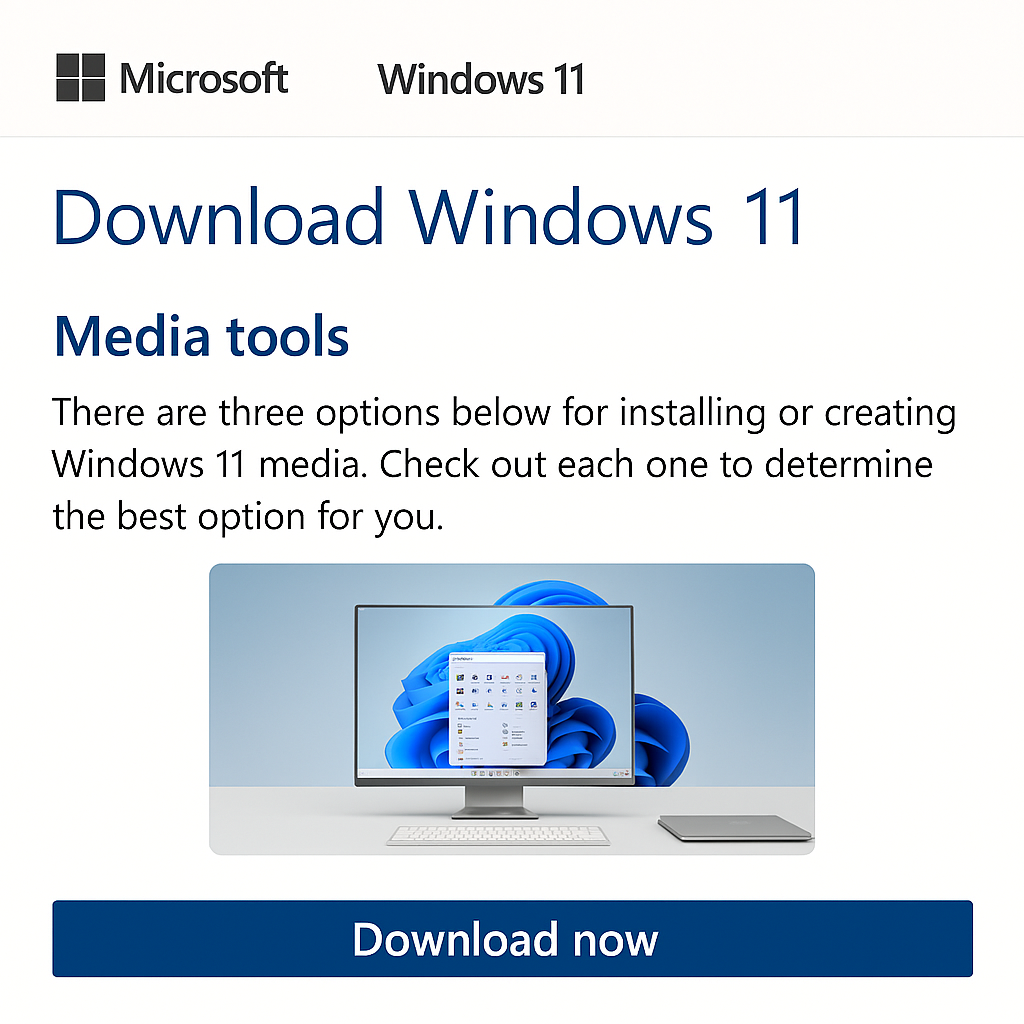
AI image of Windows 11 Media Tools page.
The First Step: Prepare the USB Drive
Use the Media Creation Tool to prepare your thumb drive for the Windows OS. Go to Microsoft's official Windows 11 download page and proceed to download the Media Creation Tool. Launch the tool and select Create installation Media.” Choose your language and edition (Windows 11). Select a USB flash drive as your media type. Plug the drive into your computer, pick the USB drive from the list, and let the tool format and copy the files.
DEL, ESC or F2 will take you into your BIOS/UEFI
Boot From the USB Drive
Now it's time to boot from the USB drive. Insert the USB drive into the target PC. Power your system on and enter the BIOS/UEFI by pressing DEL, F2, or ESC during the boot process. Navigate to the Boot menu and set the USB drive as the first boot device. Then, save the changes and exit the UEFI/BIOS.
You may begin installing Windows 11
This process is no different from installing Windows 11 from the disk, where you choose your language, time zone, and keyboard layout. Click ‘Install Now’, enter your product key, or choose ‘I don't have one' to activate later. Select the edition of Windows 11 that matches your license. Choose Custom install Windows (advanced).
The Windows installation Process
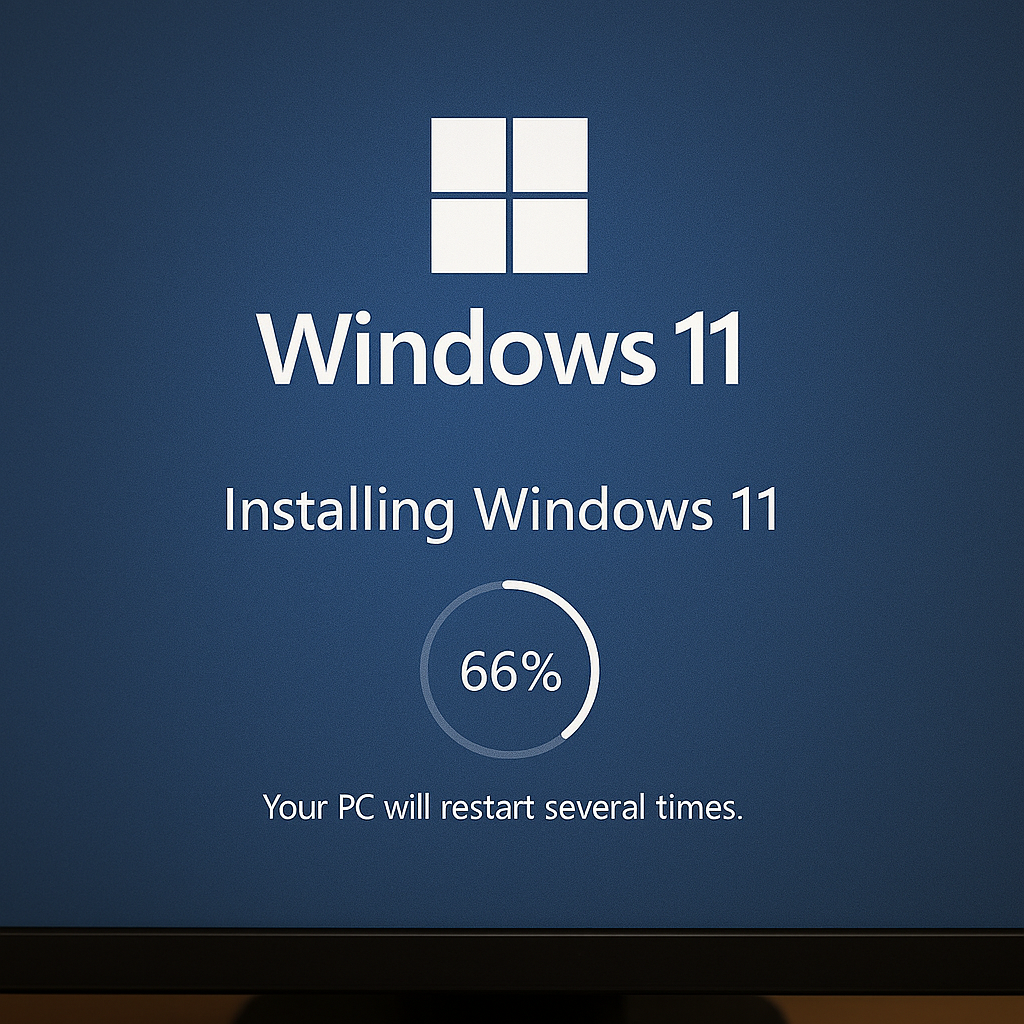
Select the drive that should have a drive letter, and pick it. Select the drive/partition where you want to install Windows. You have the option to delete existing files if you're doing a clean install. Click Next, and the installation will begin. This process takes anywhere from 10 to 30 minutes, depending on your hardware. This is a good opportunity to grab a snack and wait for the installation to be completed.
Windows 11 Installation is Complete
Once the installation is completed, follow the on-screen prompts to set up your account, preferences, and privacy settings. Connect your computer to the internet and begin installing Windows 11 updates. Proceed to activate Windows if you haven't done so already using the product key. Install your drivers and essential software, which includes antivirus apps, web browsers, and other necessary applications.
Mission accomplished, you're all done.
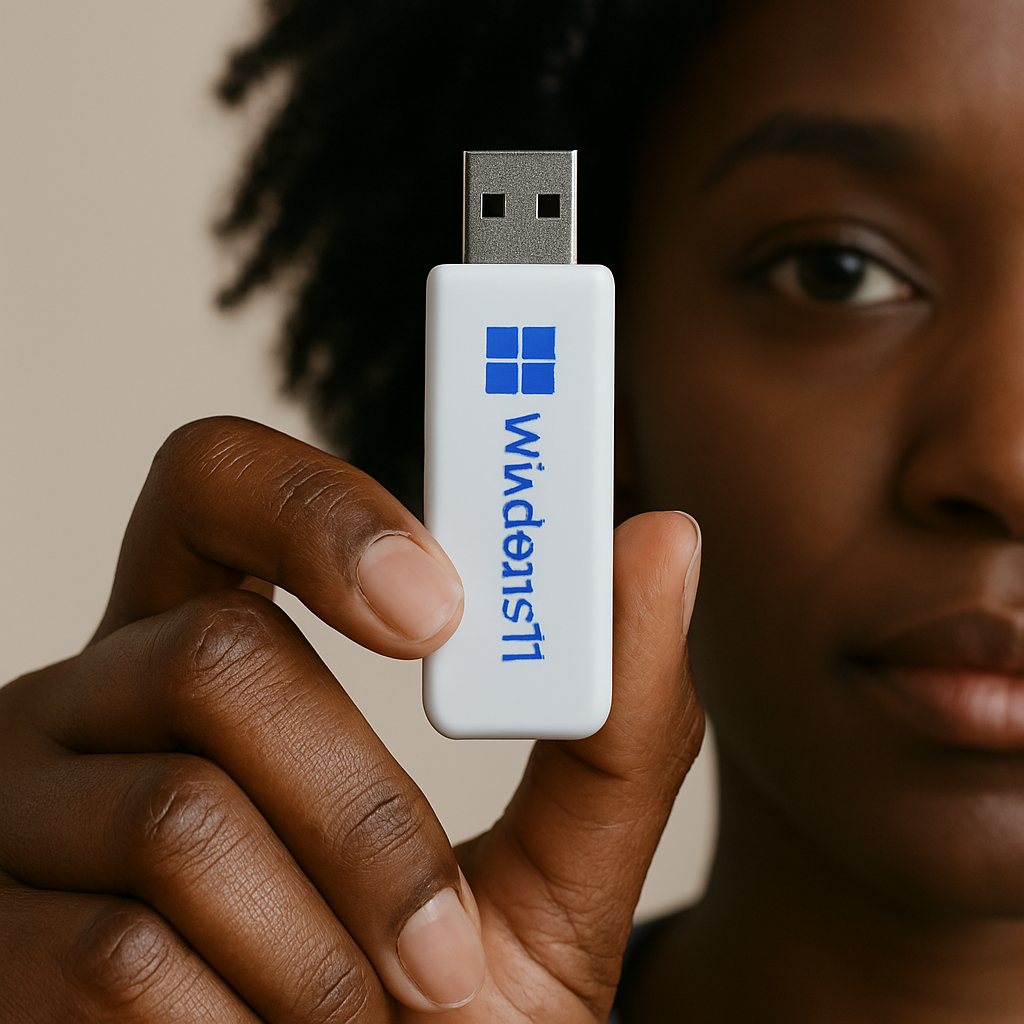
Don’t mind the misspelling in the USB Thumb for some reason AI was misbehaving
A Word of Advice
Back up your data before starting the Windows 11 installation, as it typically erases everything from the target drive. Using a USB 3.0 thumb drive will help ensure a speedy installation process. It's crucial to verify that your PC supports Secure Boot or TPM 2.0 before proceeding with the installation. If the PC doesn't meet these requirements, there is a possibility of bypassing compatibility, which I’ll cover in a future tutorial. Hopefully, these tips will help facilitate a smoother installation process for Windows 11. Good Luck.

