Here's How to Properly Upgrade your New Graphics Card

Upgrading to a new GPU is one of the most rewarding PC improvements you can make. Whether you're the gamer chasing higher frame rates, productivity hacks seeking creative workflows, or simply refreshing an aging system, a proper setup lets you squeeze every ounce of performance from your new Graphics card. This condensed guide I put together will walk you through the essentials, from preparation to installation and final system checks.
Prep Your System
For a smooth installation, the first order of business before you even open up your case is to check system compatibility. You need confirmation that your power supply has sufficient wattage and the correct PCIe power connectors (I recommend purchasing a 850-watt power supply or higher). Also, ensure that your PC case has enough room for your graphics card.
If you're switching brands (for example, Nvidia-> AMD), you must remove the old GPU drivers using Windows Apps settings or a removal tool like DDU. Once you're done, completely shut down your PC and disconnect the power cable.
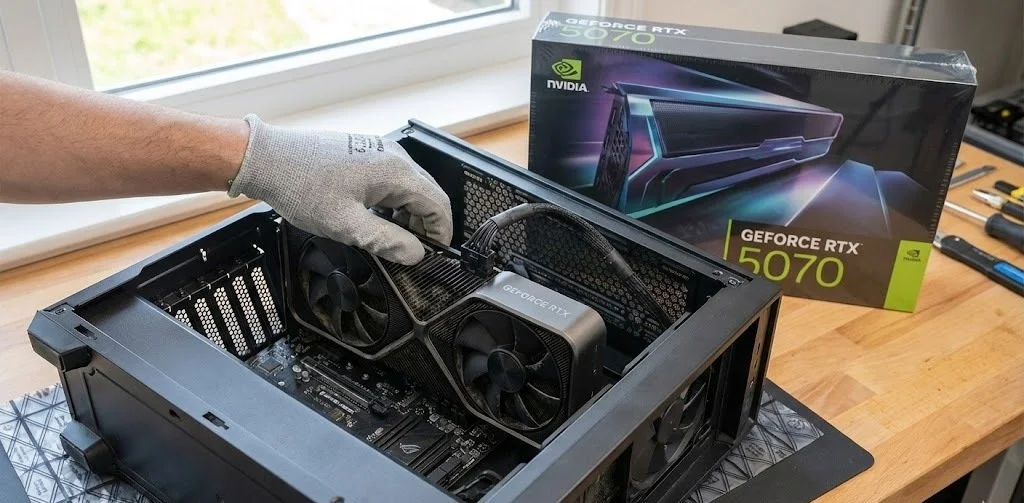
Begin Removing the Old Graphics Card
Since the tutorial involves a hardware upgrade, you'll need to remove the existing GPU safely. First, open your case and locate the PCIe slot occupied by the graphics card. Unscrew the bracket holding the GPU in place. Carefully release the PCIe latch on the motherboard. Gently push the card straight out.
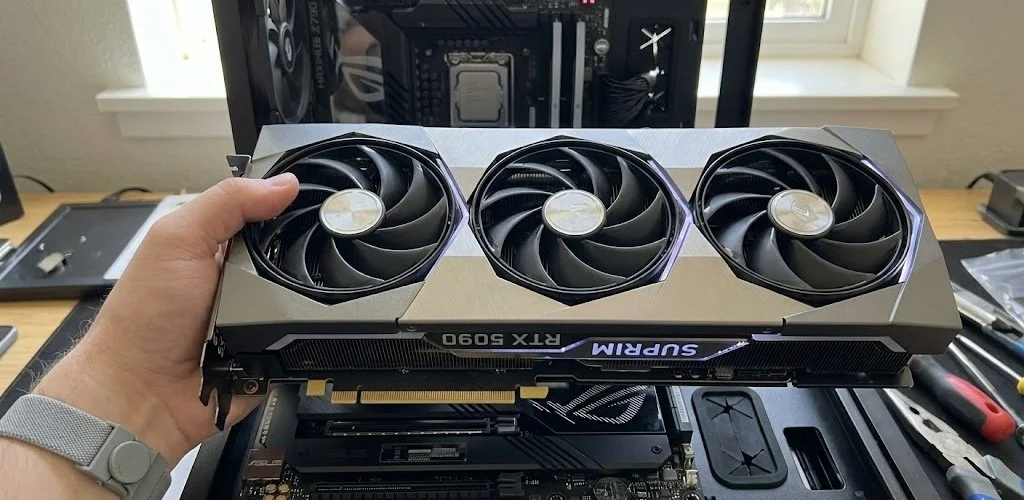
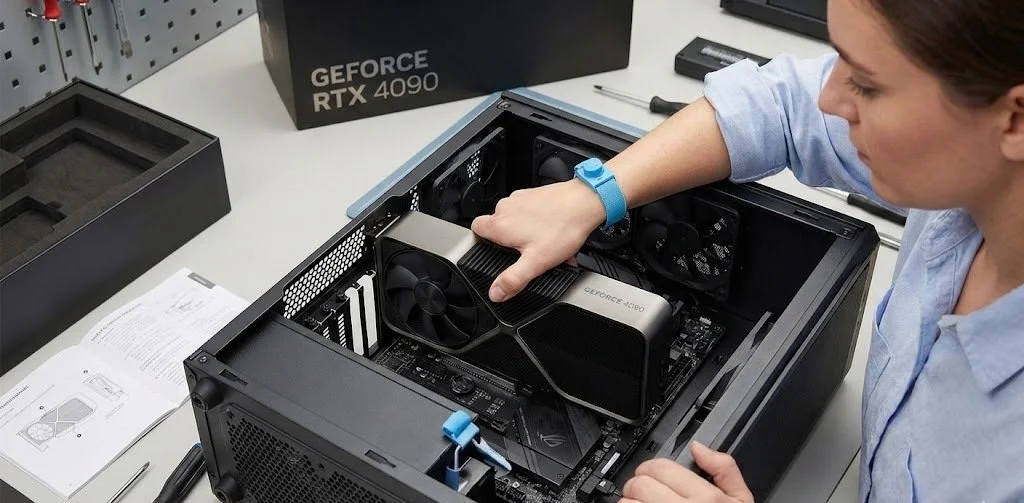
It's Time to Install the New Graphics Card
Now we have come to the critical moment of this upgrade. Align the new GPU with the PCIe x16 slot. Press down firmly until the latch "clicks" into place. Secure the bracket screws to keep it stable. Connect the required PCIe power cables from the power supply.
It's Time to Install the Drivers
Once your graphics card is secured in place and all necessary cables are connected (the 8- to 12-pin power connector), plug the PC in and power it on.
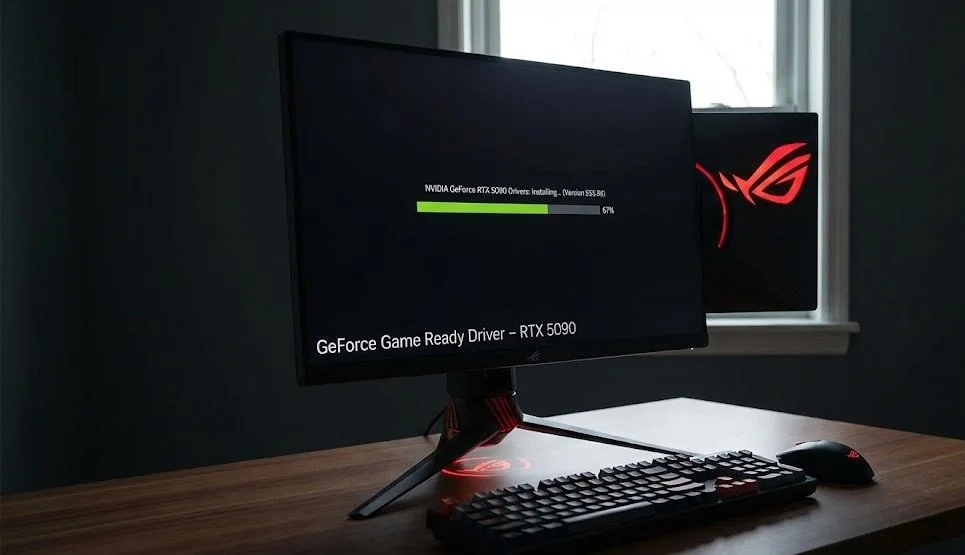
Then connect your monitor to the GPU ( not the motherboard). Once the PC has booted up into Windows, begin installing the drivers from either the NVIDIA, AMD, or Intel website. Restart your system to finalize the setup.
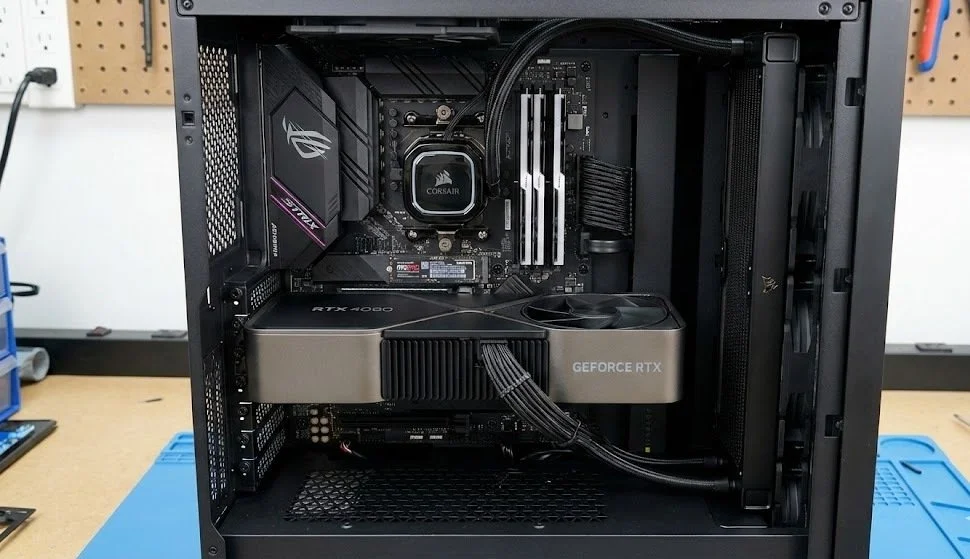
Final Checkups and Optimization
After installing the graphics card and drivers, verify that the GPU is recognized in Device Manager (as with any hardware). I recommend using tools like MSI Afterburner or AMD Adrenalin to monitor temperatures and performance. After that, run a game or benchmark tool to ensure the graphics card is stable.
Conclusion
A properly upgraded graphics card doesn't just boost frame rate; it refreshes your entire system's responsiveness and extends the lifespan of your PC build. With a clean installation and a bit of post-installation and post-setup tuning, you're literally setting yourself up for smoother gameplay, faster creative work, and a PC that feels brand new. Best of luck with your GPU upgrade.