Step by Step: How to Properly Deep Clean The PS5 Right In Time For GTA 6
Right before the launch of GTA 6, which is in a few days as of this post, it is a good time to organize your gaming space, delete unwanted files from your hard drives (including games you no longer play), and— yes—deep-clean your entire PS5 console.
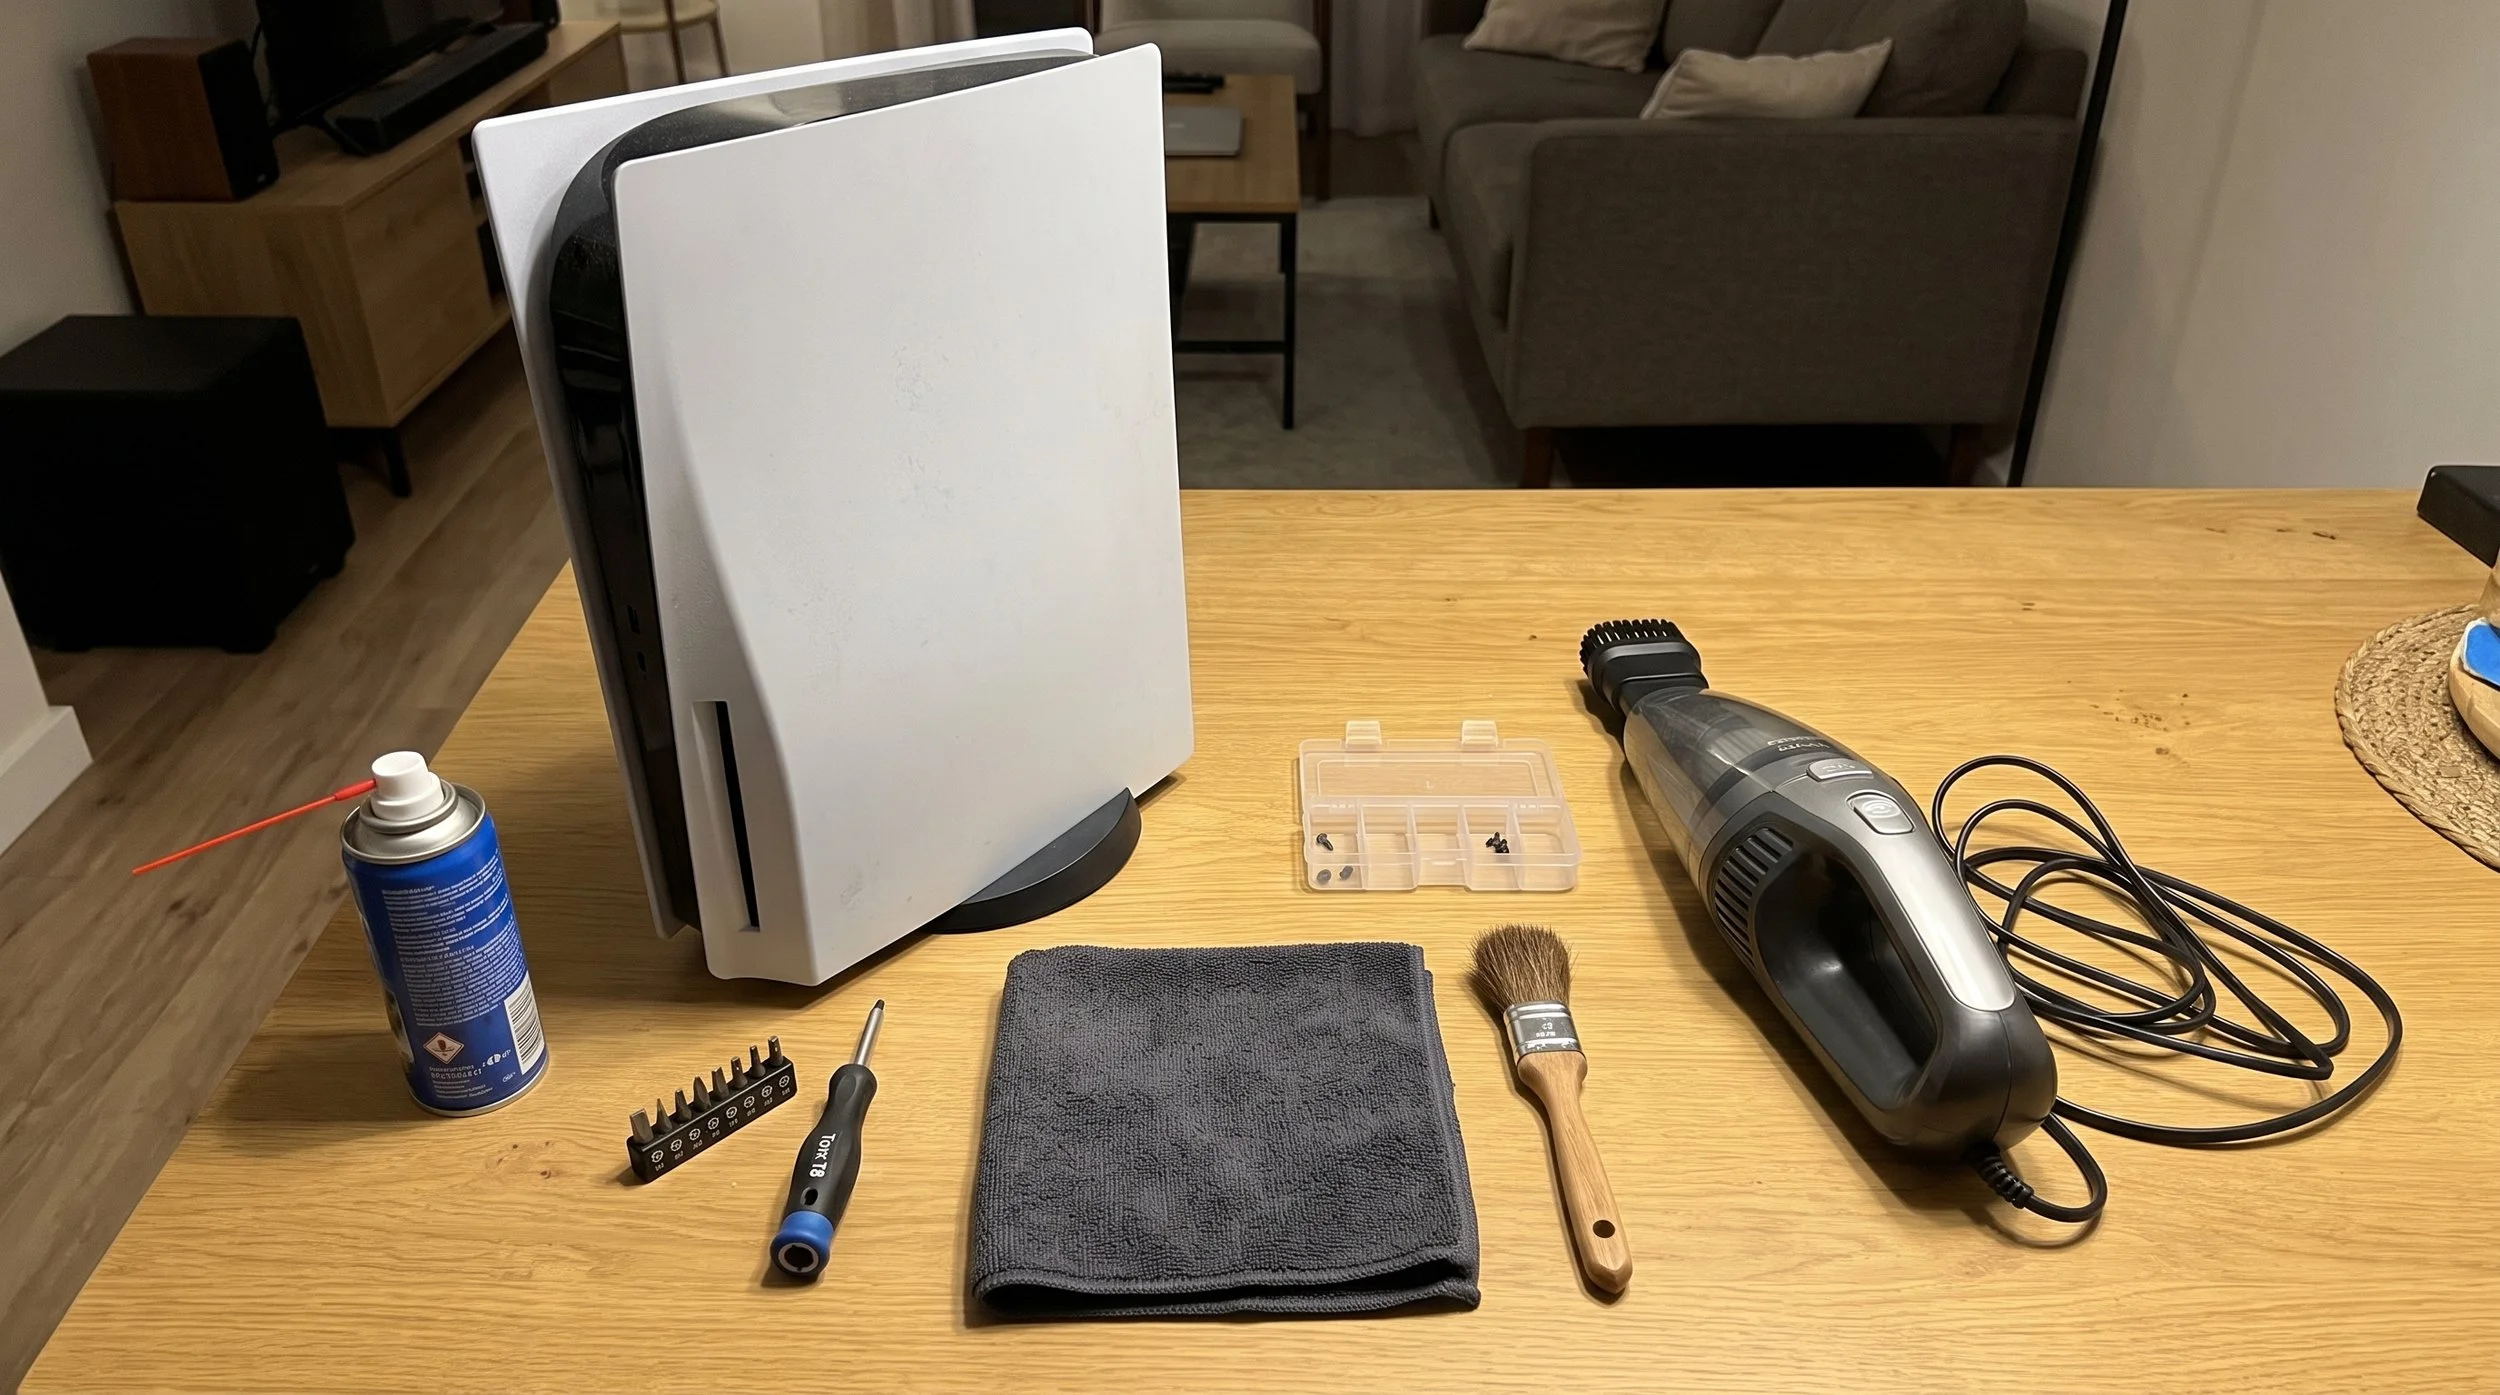
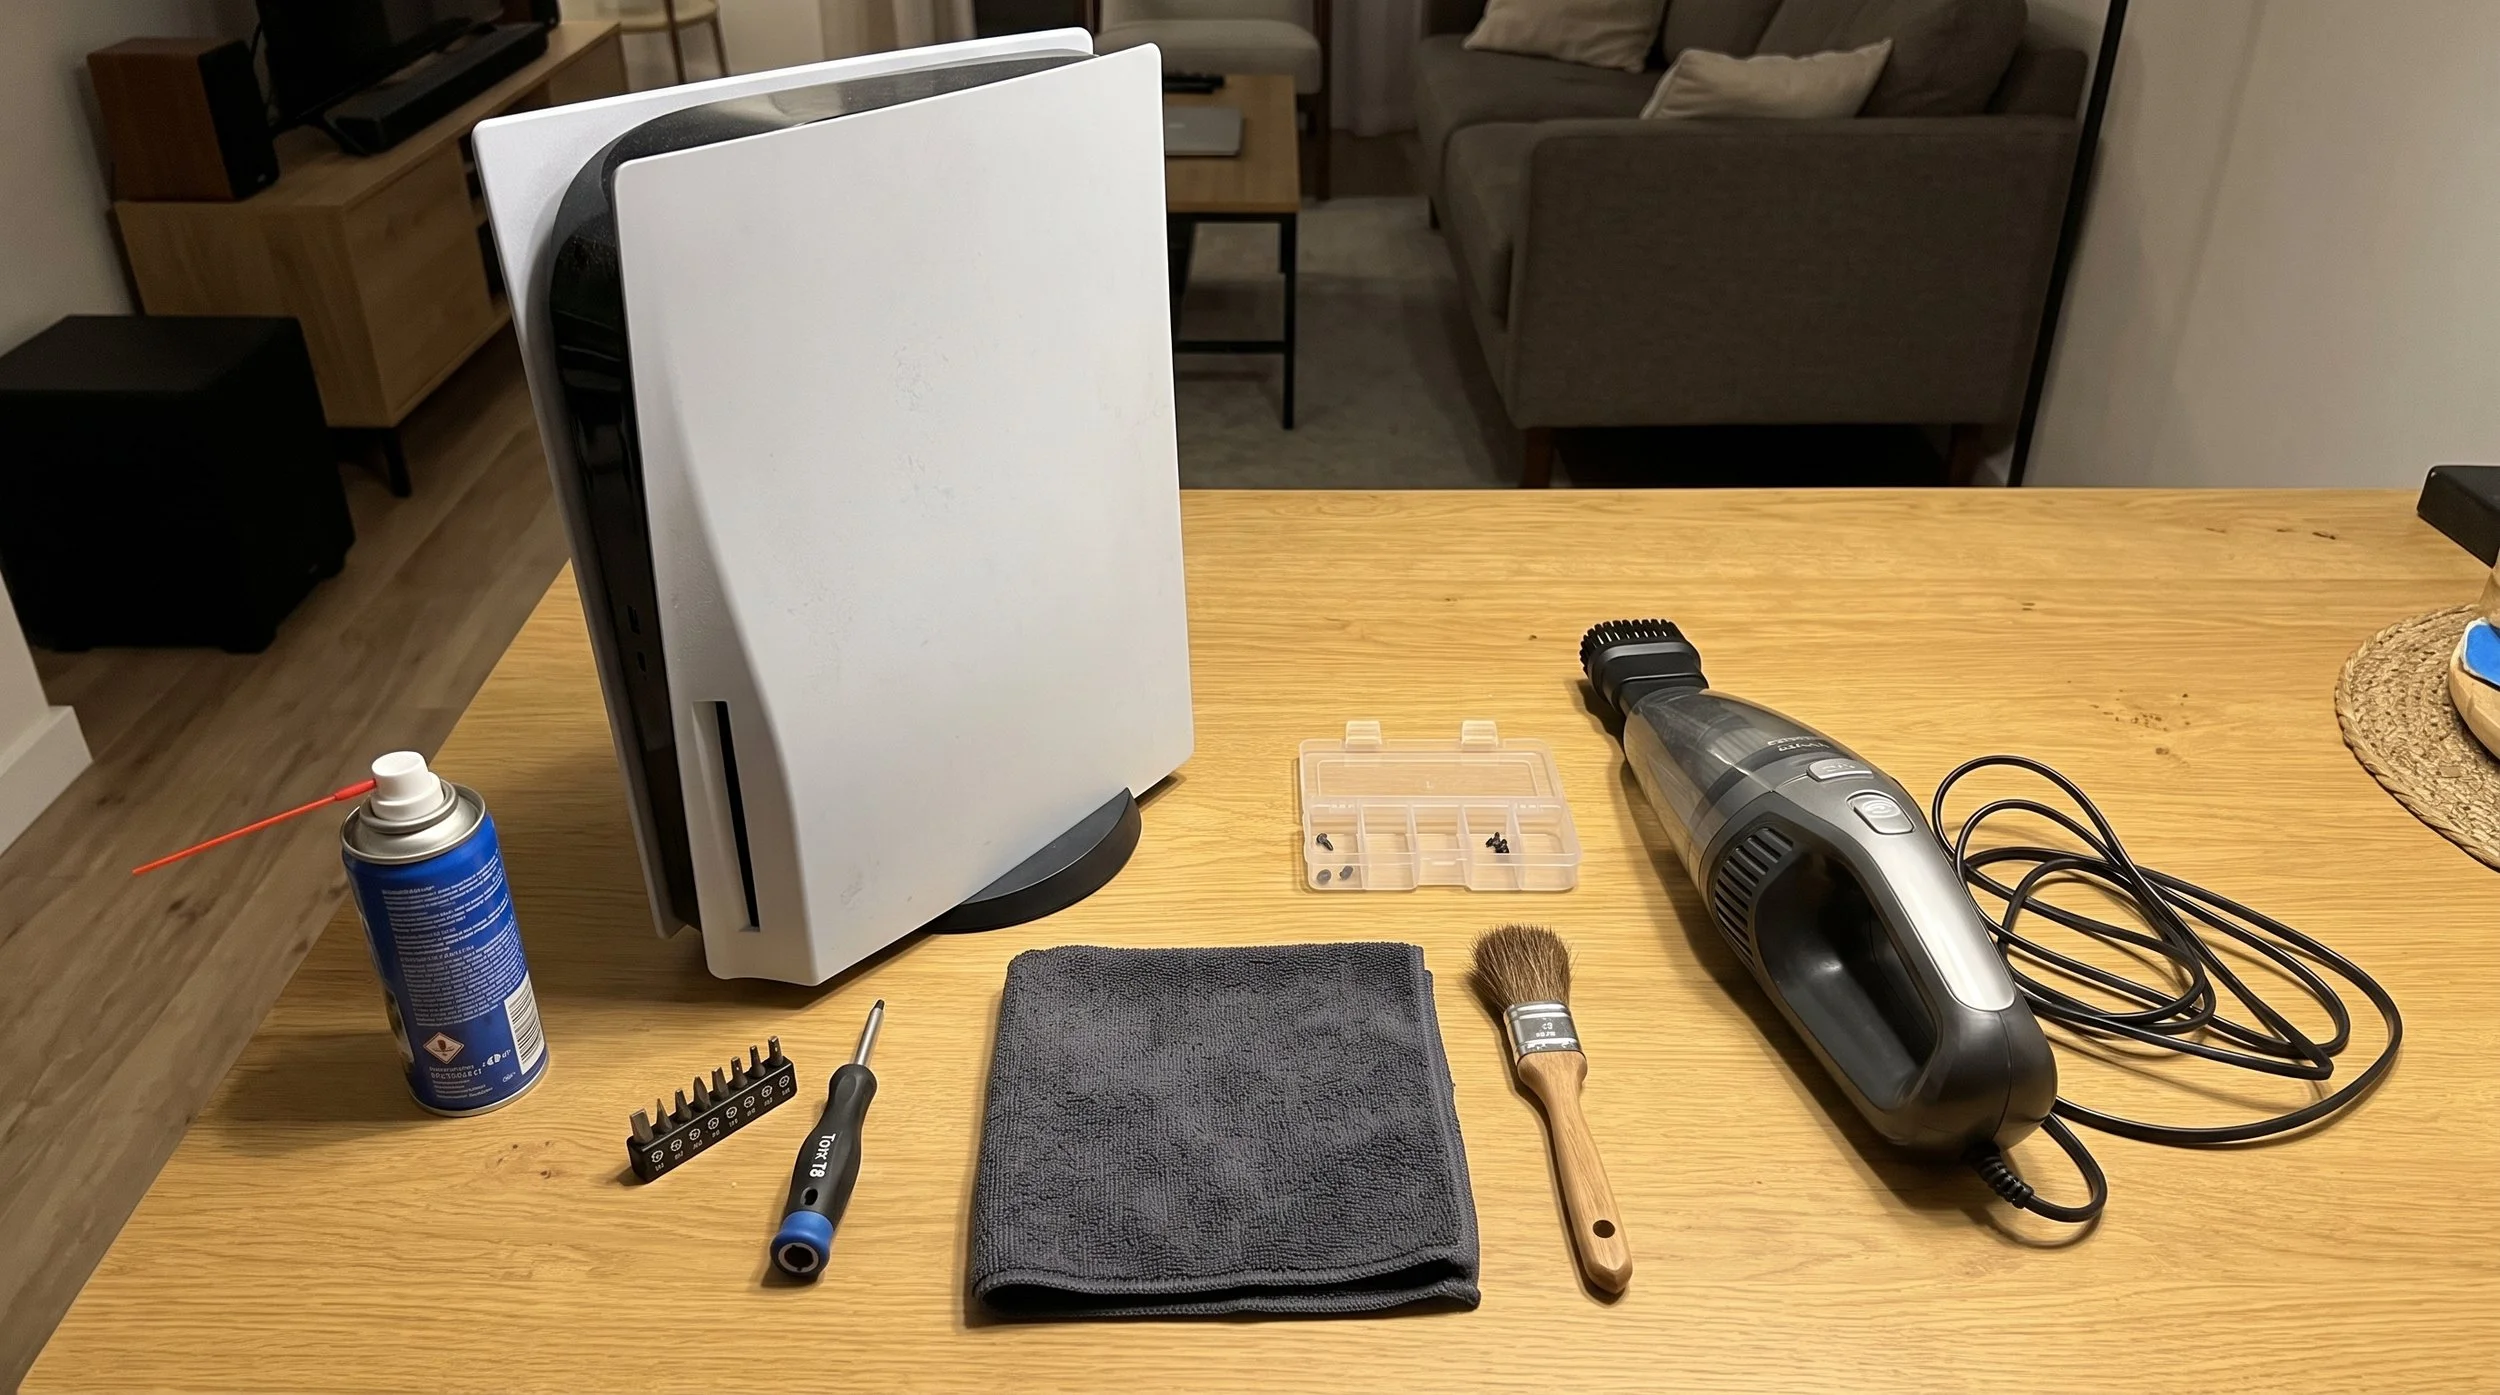
Deep cleaning a PlayStation requires removing the outer faceplates to vacuum the fixed dust catchers and remove the cooling fan to access the internal heatsink. Required tools include a Torx T8 security screwdriver ( preferably a hollow tip), a vacuum with an attached hose, compressed air, a soft-bristled brush, and a microfiber cloth. Step by step, let's properly clean this PlayStation 5. Follow along.
Power Down and Remove the Console From the Stand
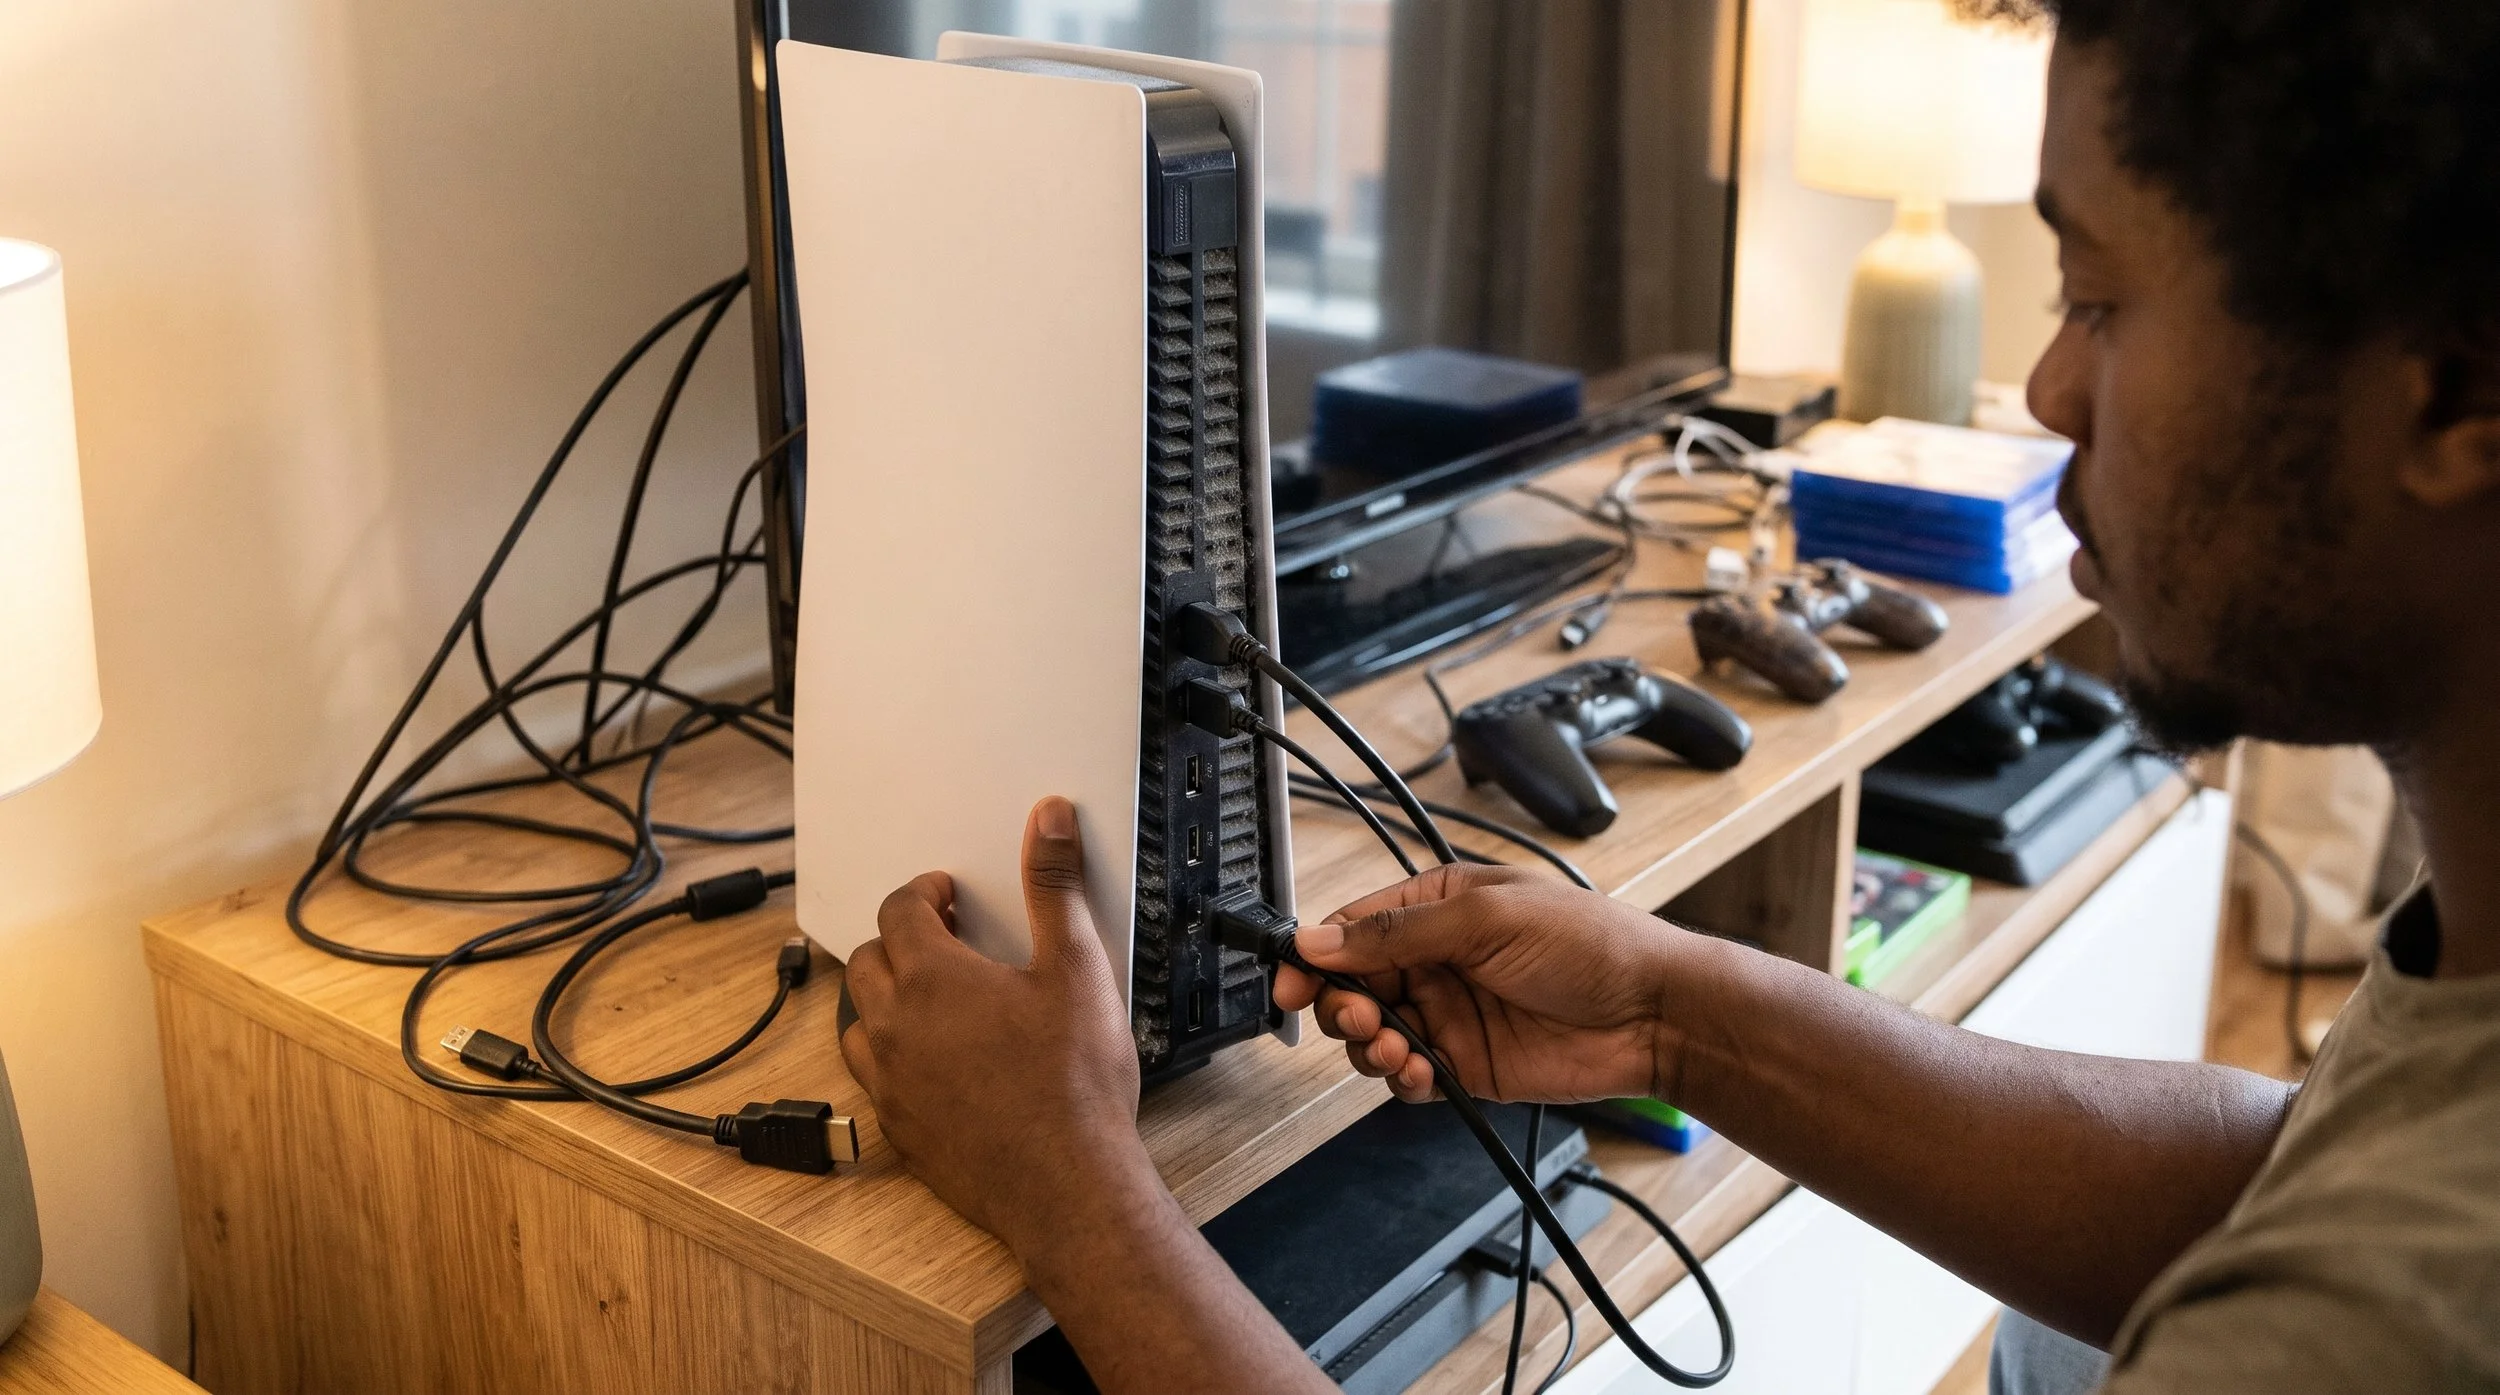
Power down the console, then disconnect the power cord and HDMI/USB cables, and place the PS5 flat on a soft, debris-free surface. If you are using a vertical stand, unscrew the base bolt, then remove the stand.
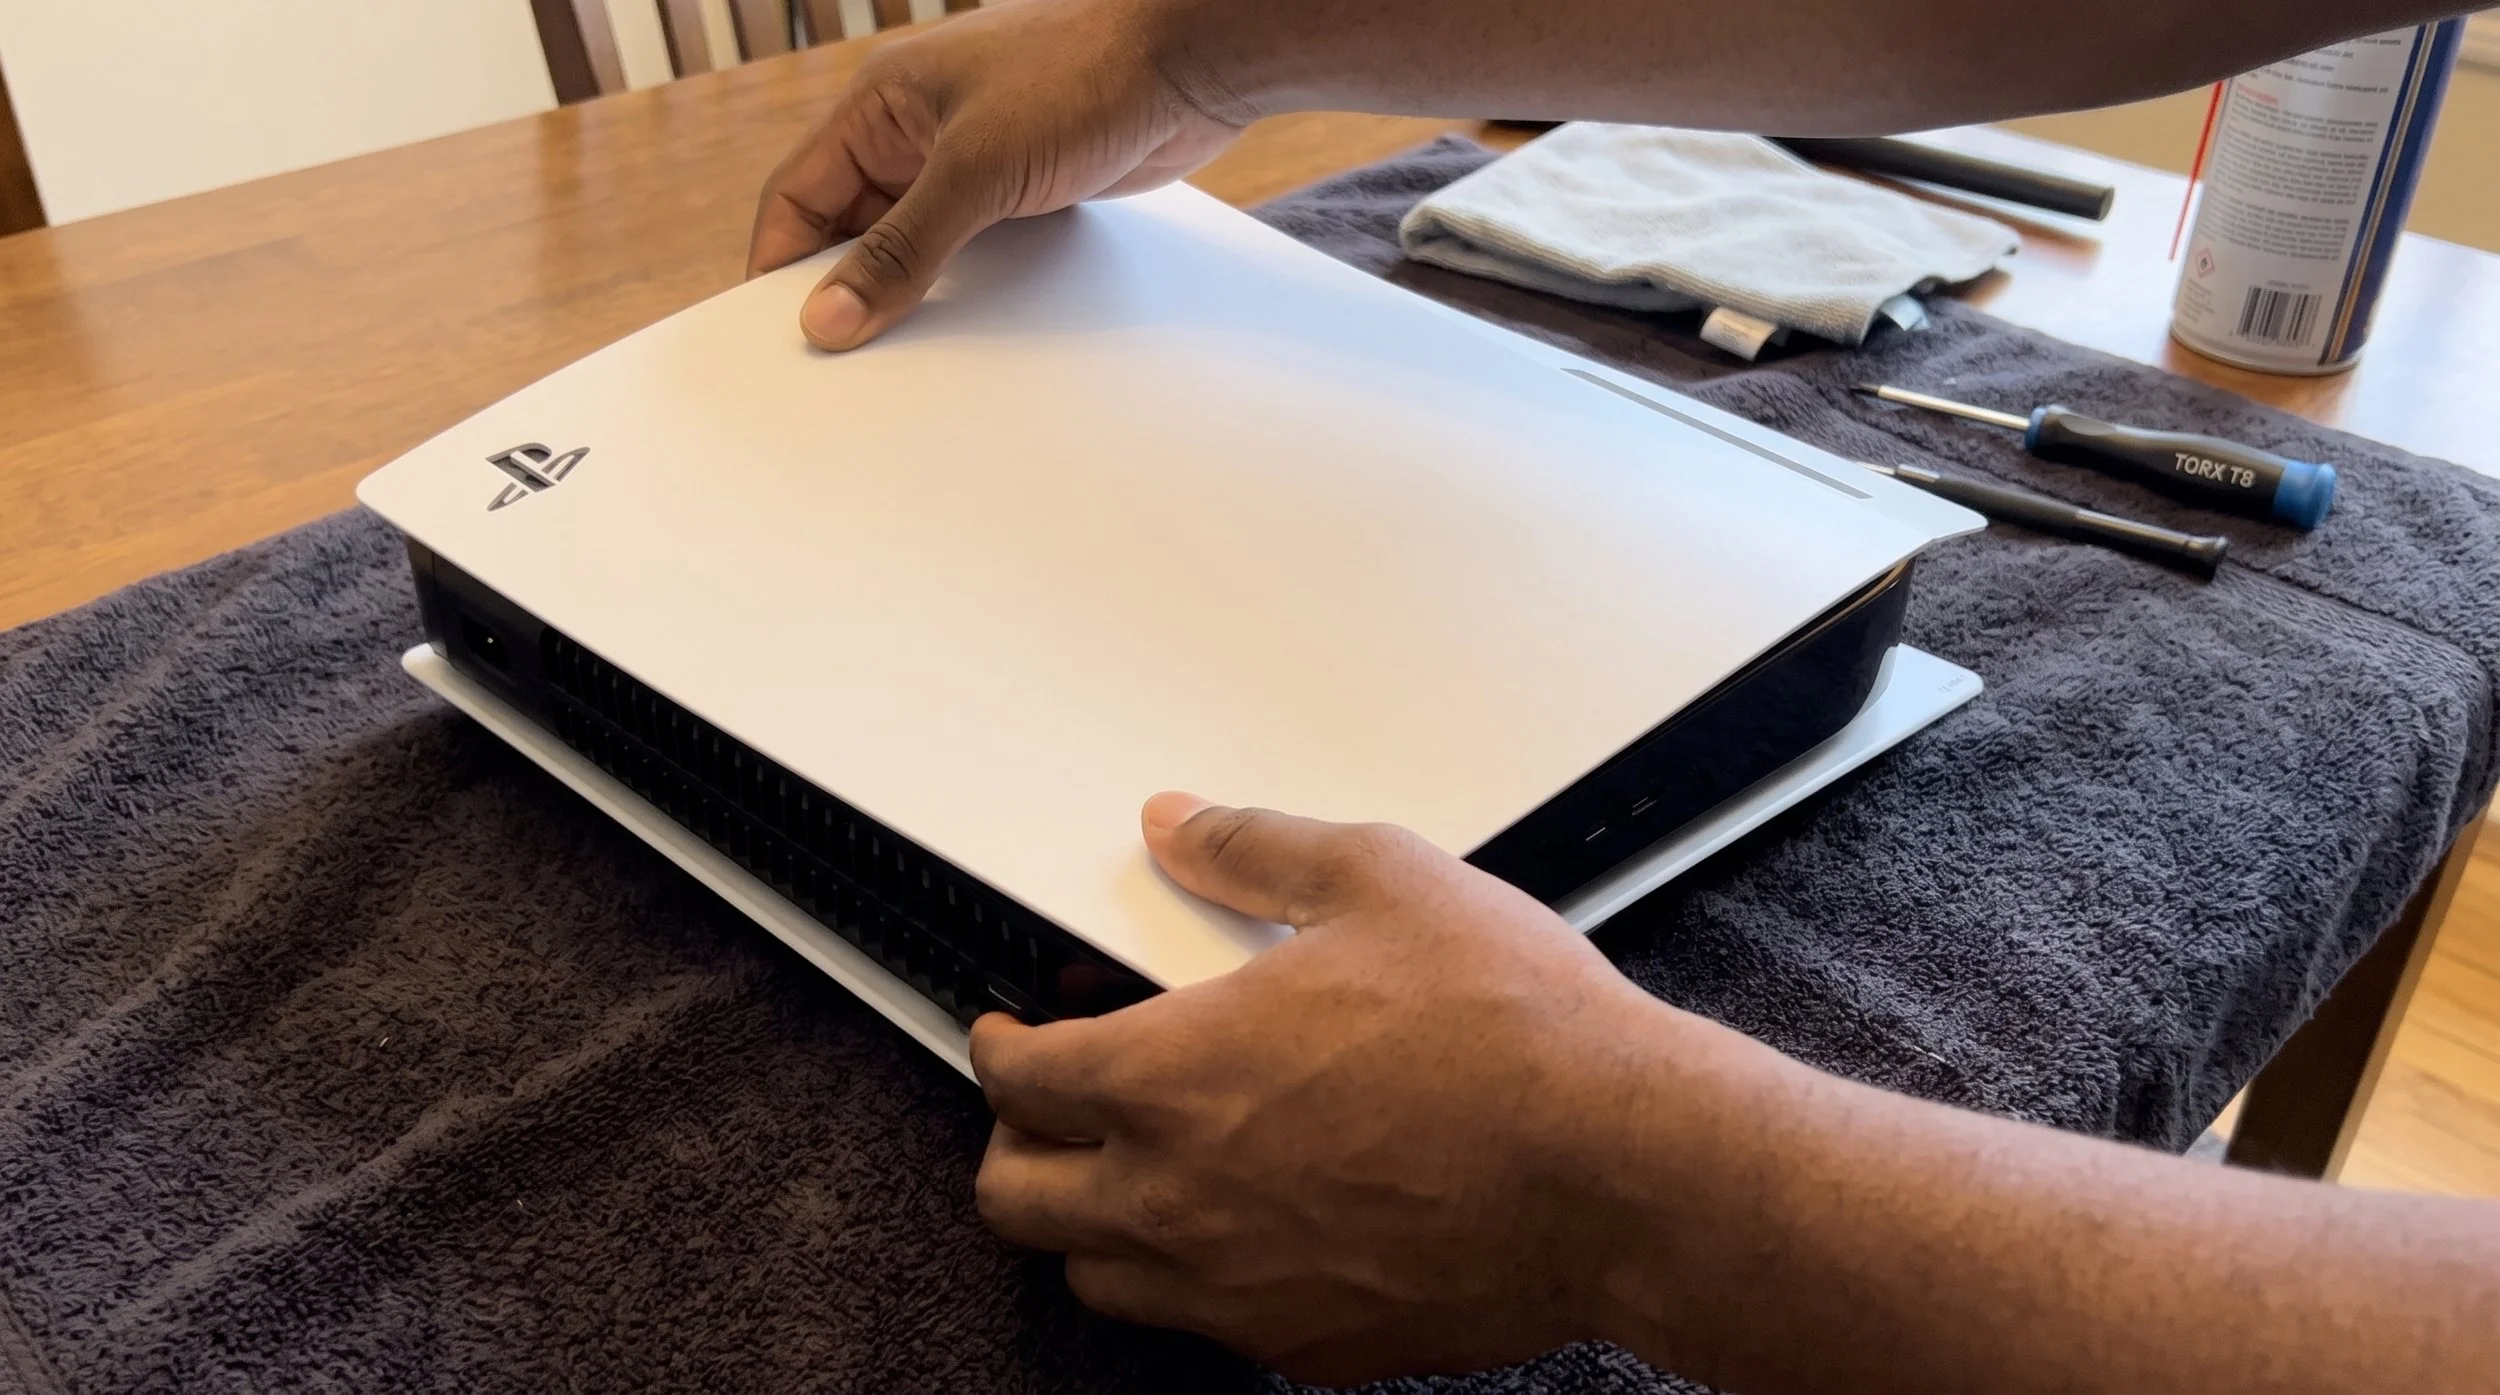
Carefully Remove Both Side Plates
Once the console is on a flat surface, position it with the PlayStation logo facing up and the power/eject buttons facing away from you. Firmly hold the top-left corner (right near the PS logo), slightly pull upward to disengage the locking tabs, then slide the plate down toward the bottom edge. Turn the console over and repeat the same process—same lift-and-slide motion— for the opposite side of the panel. On a side note: PS5 Slim and Pro models feature panels that pull straight upward at the outer corners of the console.
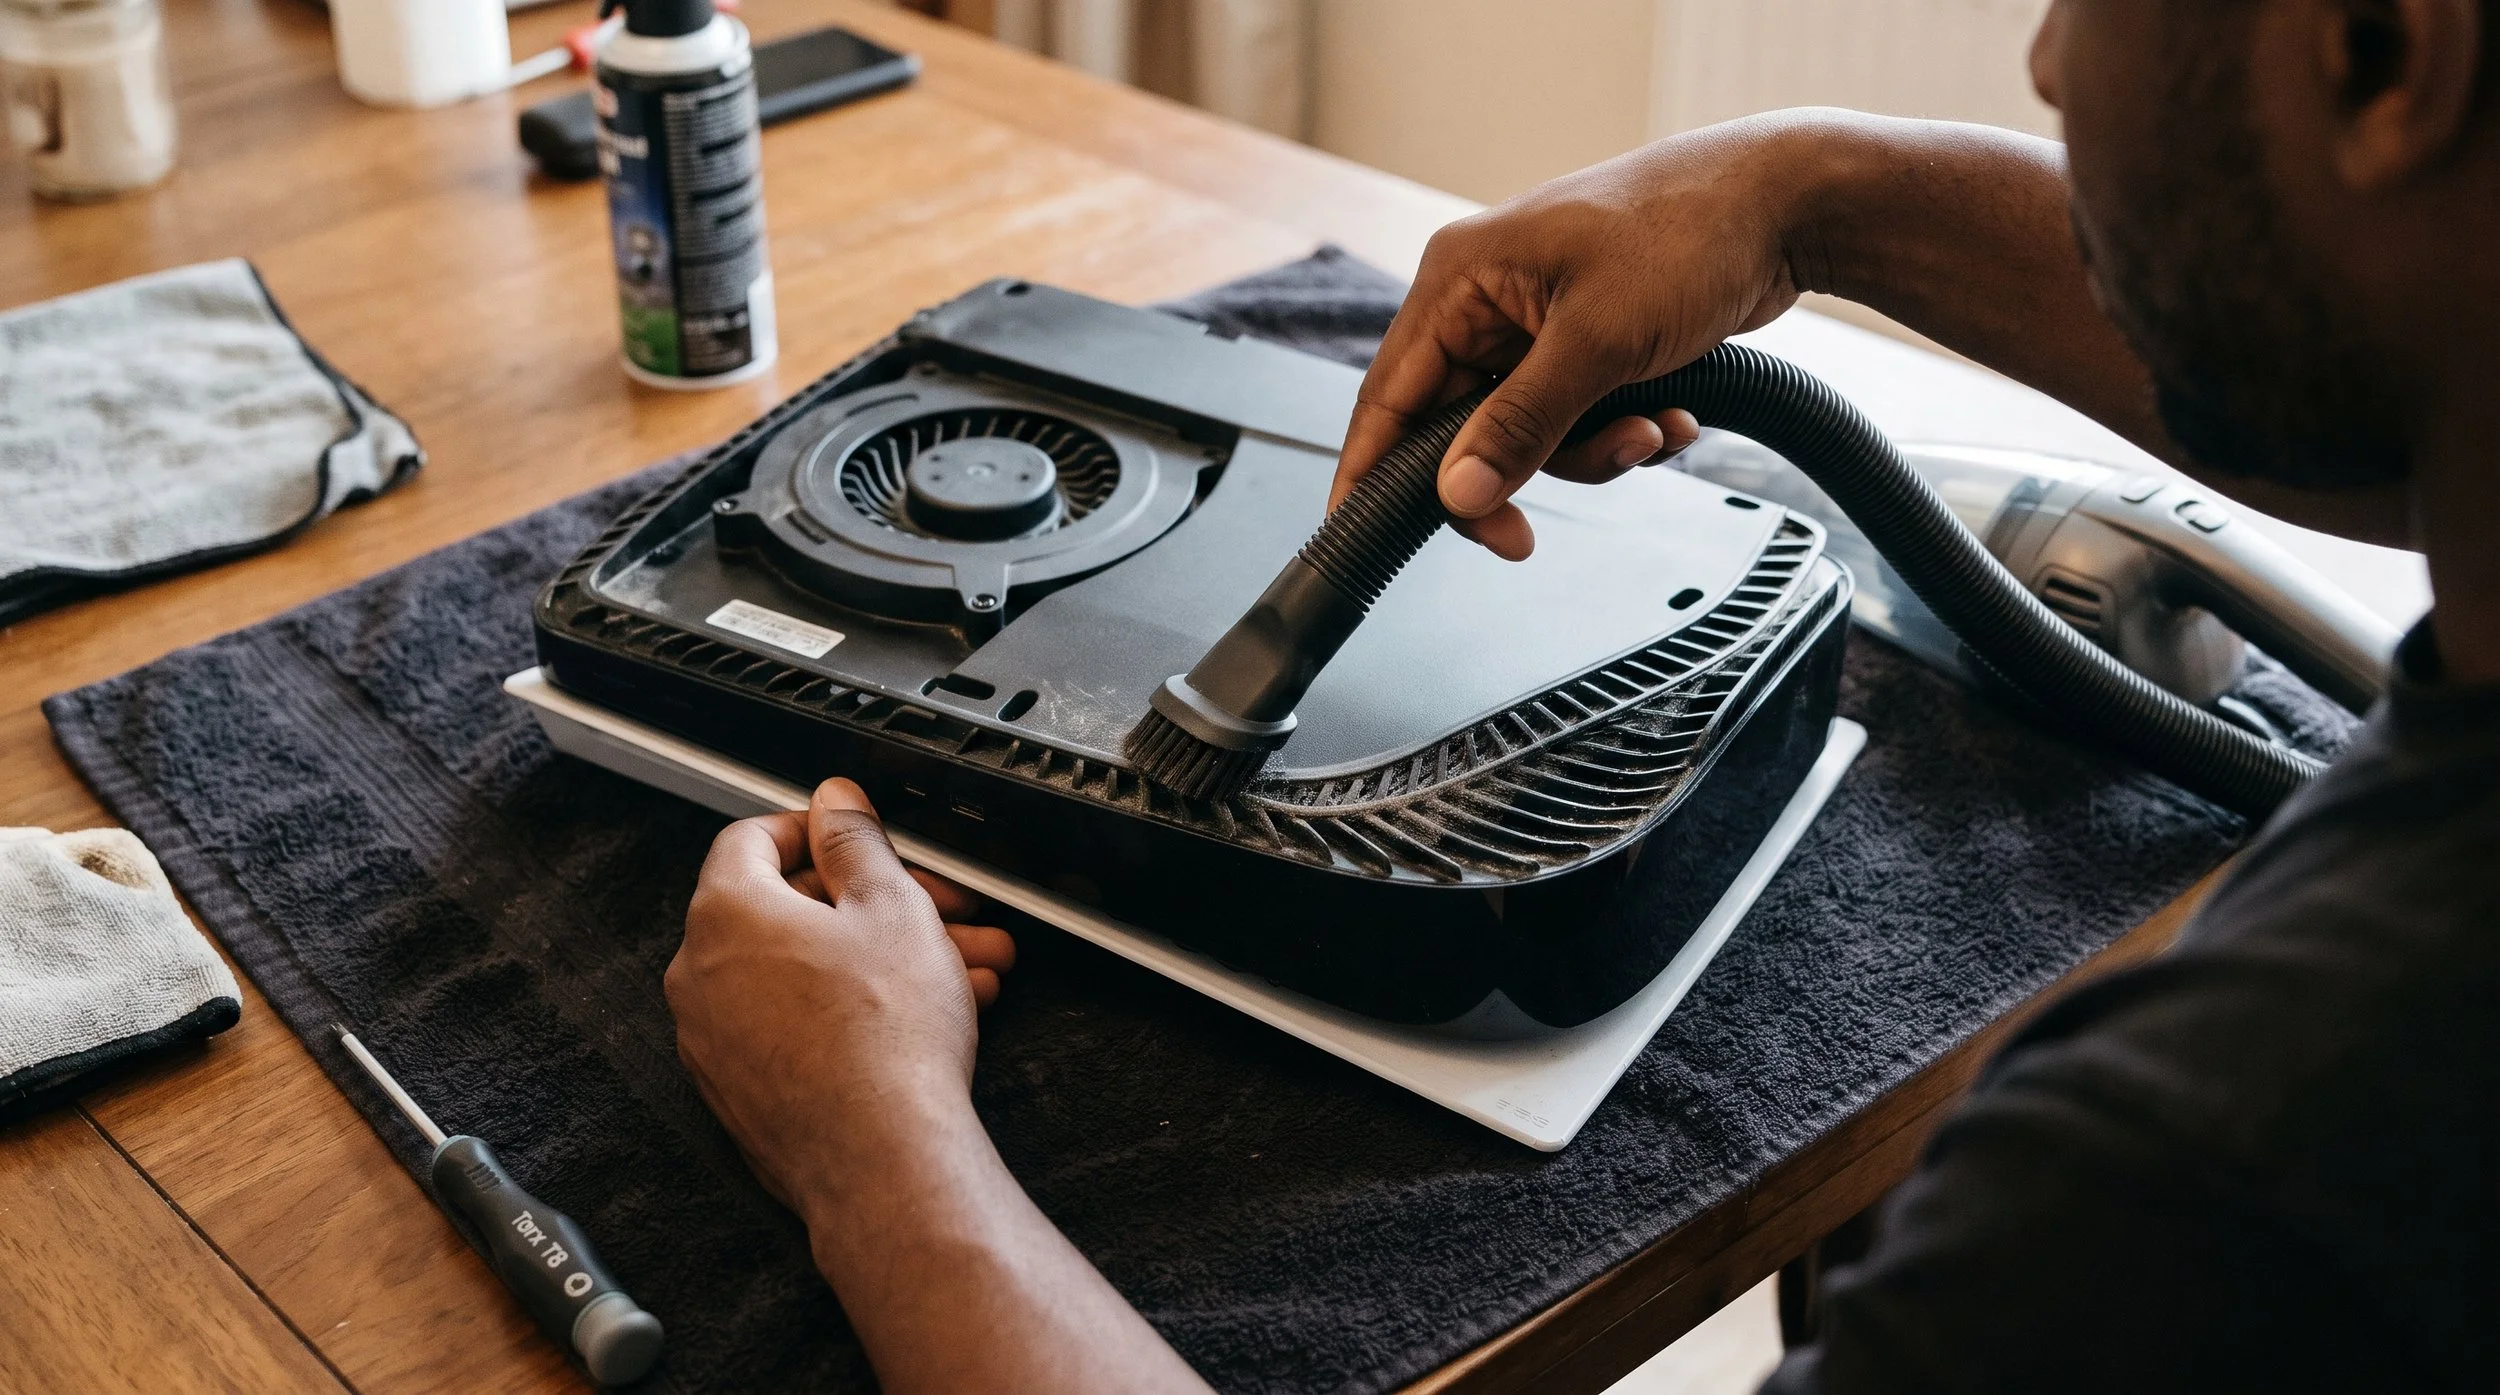
Vacuum The Console's Vents and Dust Catchers
Use a handheld car vacuum with an attached hose to remove dust from the perimeter intake vents and the two triangular dust-catcher holes located on the chassis below the fan.
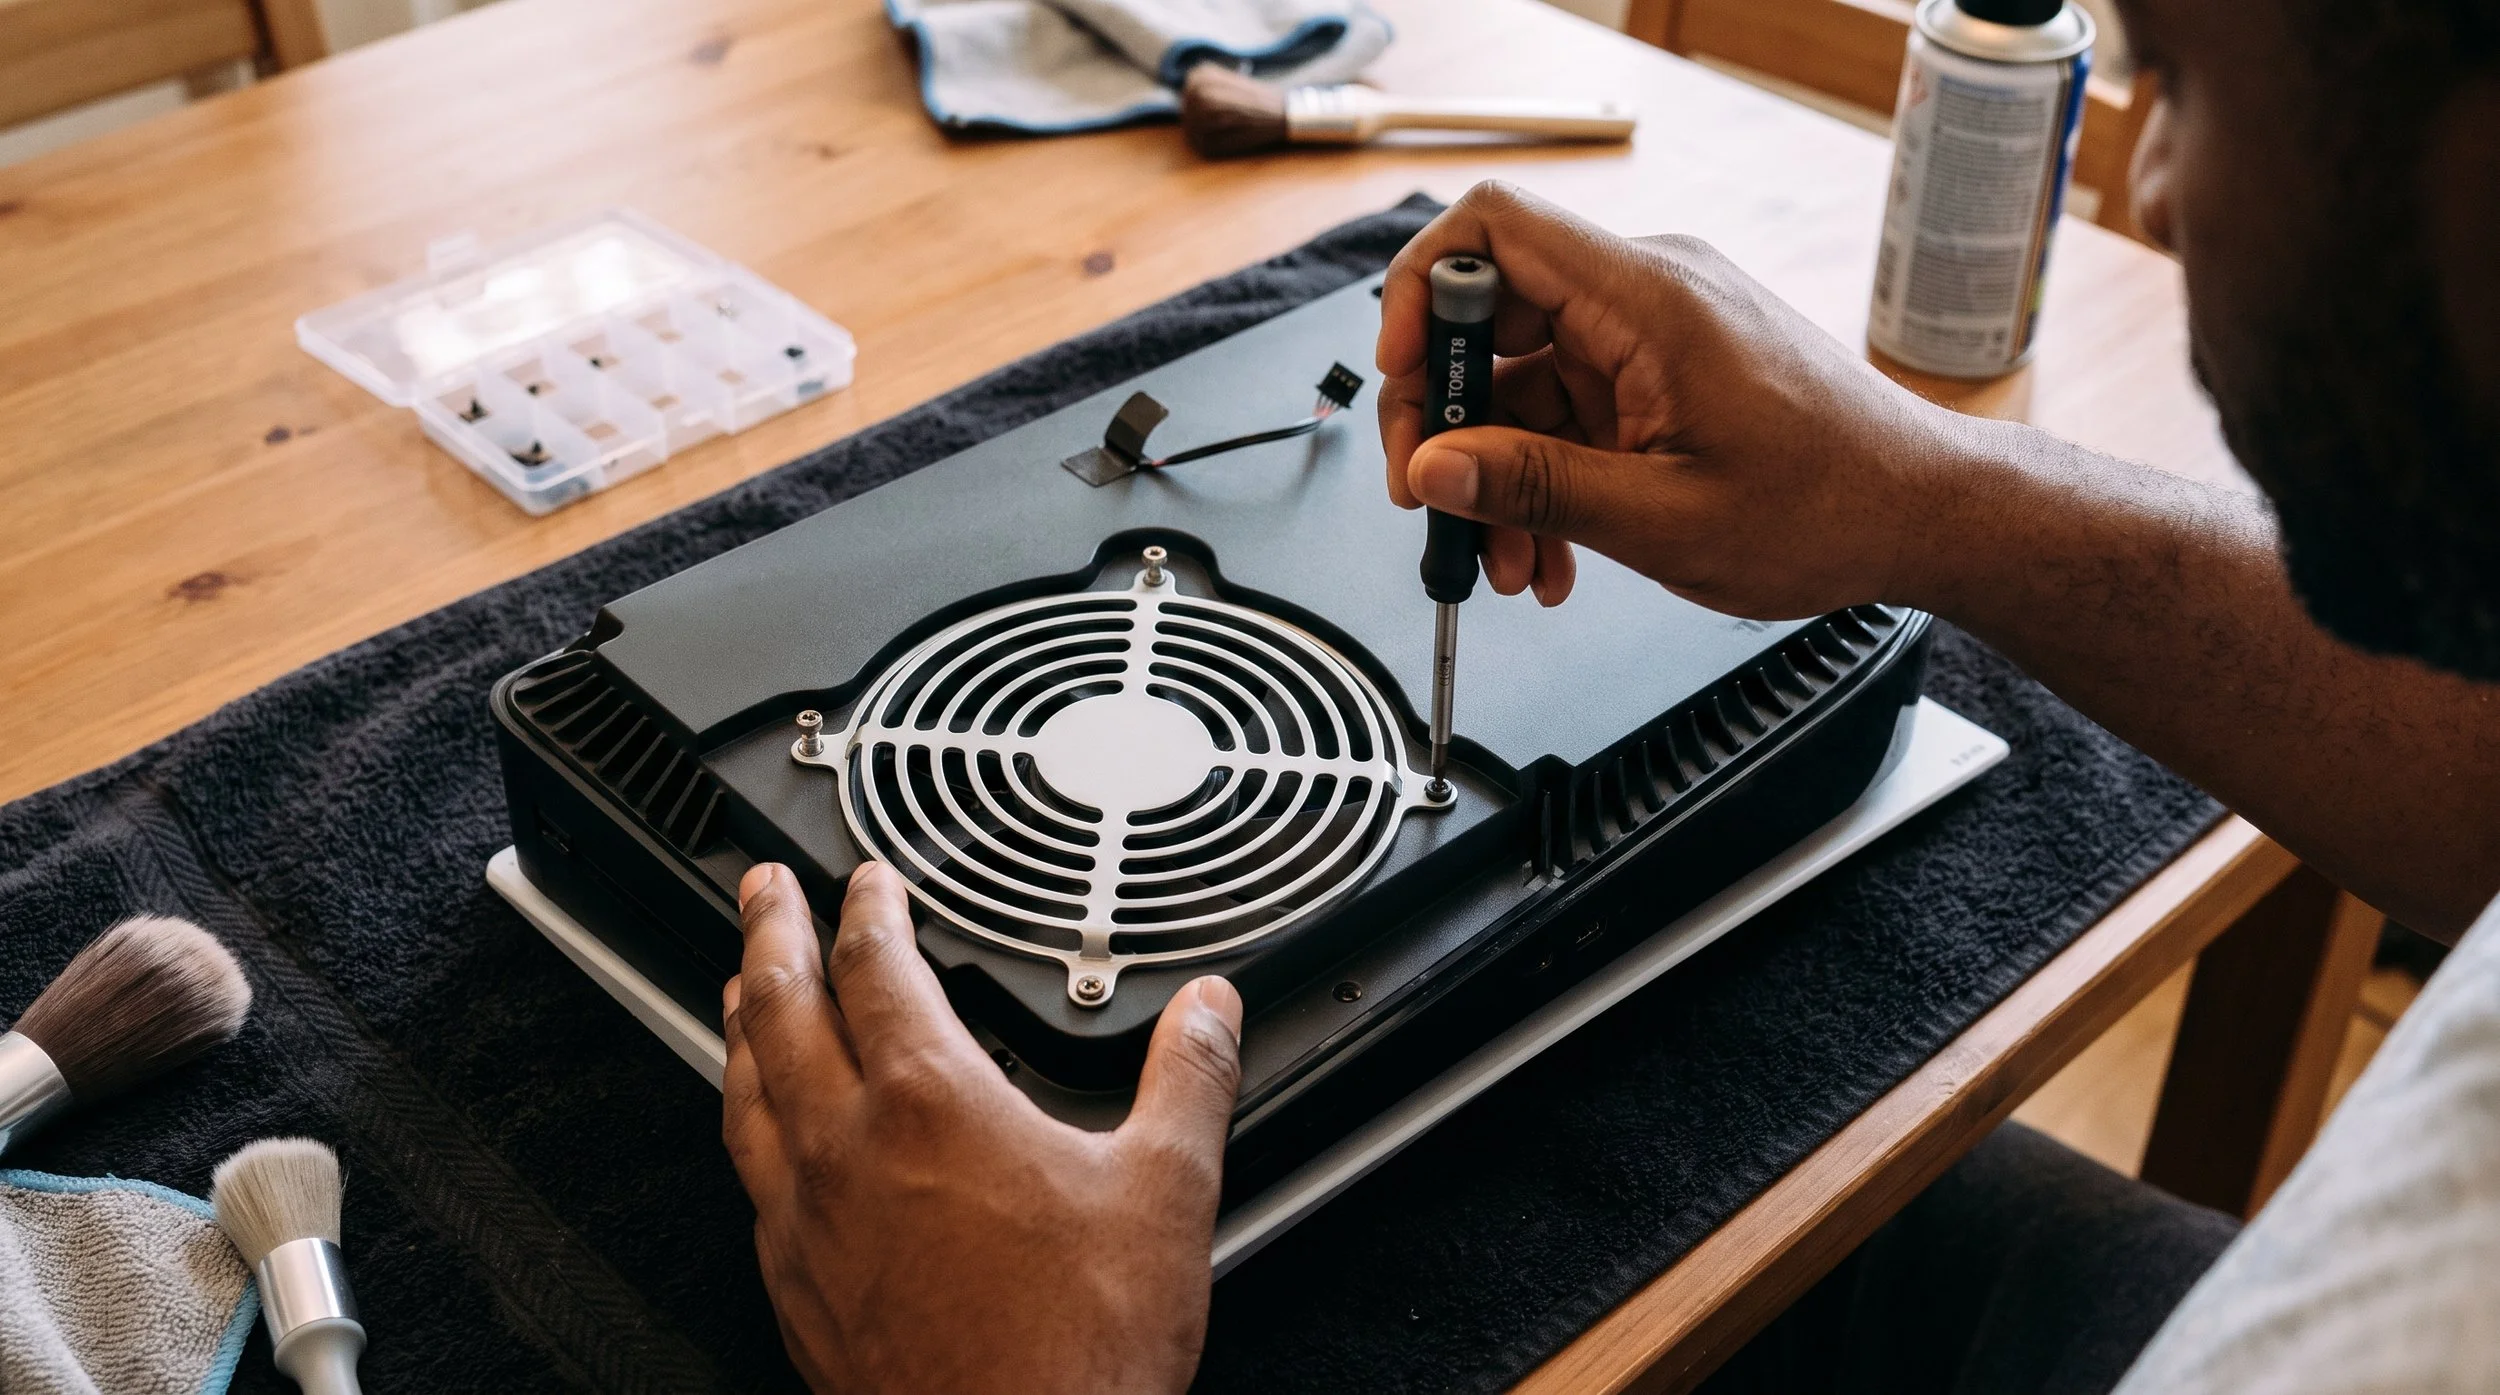
Begin Extracting the Cooling Fan
Carefully peel back the small black adhesive tab covering the fan's wire connector, then gently grip the plug ( not the wires) and pull straight up to disconnect. Use your trusty Torx T8 security screwdriver to remove the four screws that are securing the metal fan grille ( make sure you keep track each length of screws), carefully lift the grille, and pull the fan straight out of the housing.
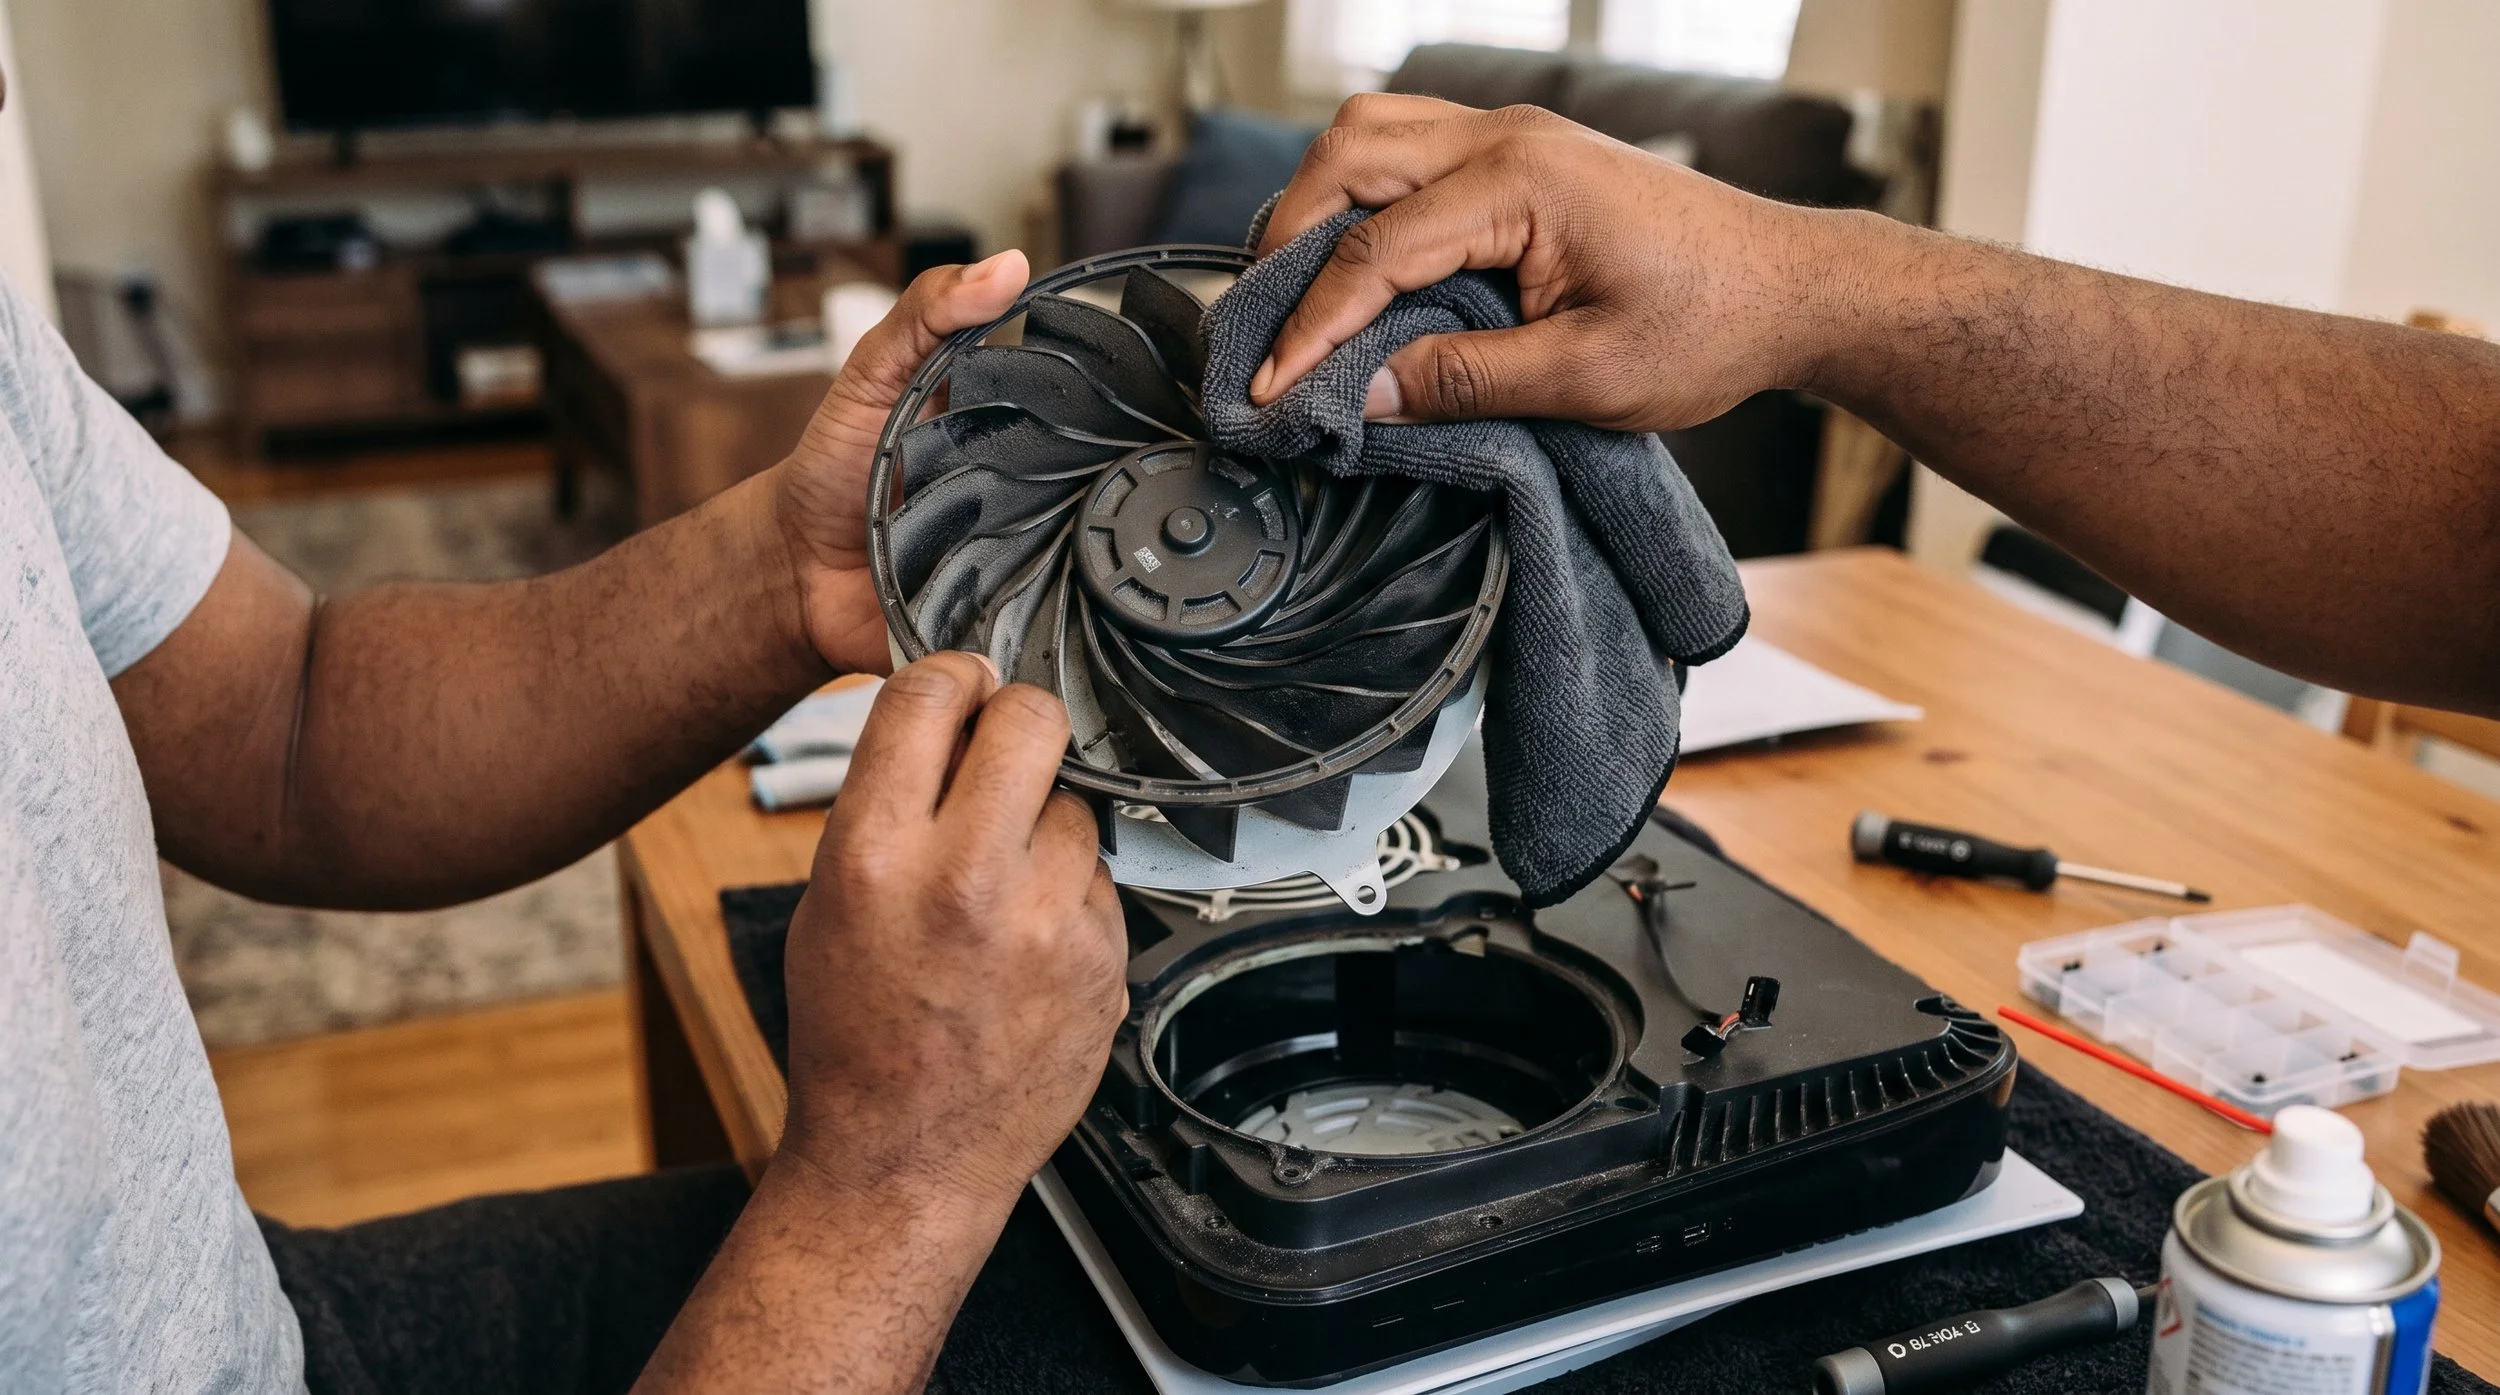
Clean the Fan Blades and Internal Heatsink
Once you have disconnected the fan, wipe each blade with a microfiber cloth or soft brush. Use short, light bursts of compressed air while holding the hub stationary. Use a pen flashlight (preferably) and shine it into the fan opening to inspect the heatsink fins for leftover debris and power supply vents. Then use a soft makeup brush (preferably) and your vacuum hose to clean up any leftover trapped dust.
Reassemble the Console and Test It
Place the fan back into the opening or cavity, and reinstall the metal grille with its four Torx T8 screws screws, and firmly seat the fan plug directly into the board. Carefully align the hooks on the side panels with the chassis slots and slide/snap it back into place until you hear a click, then reconnect your cables and boot up your PS5 console.
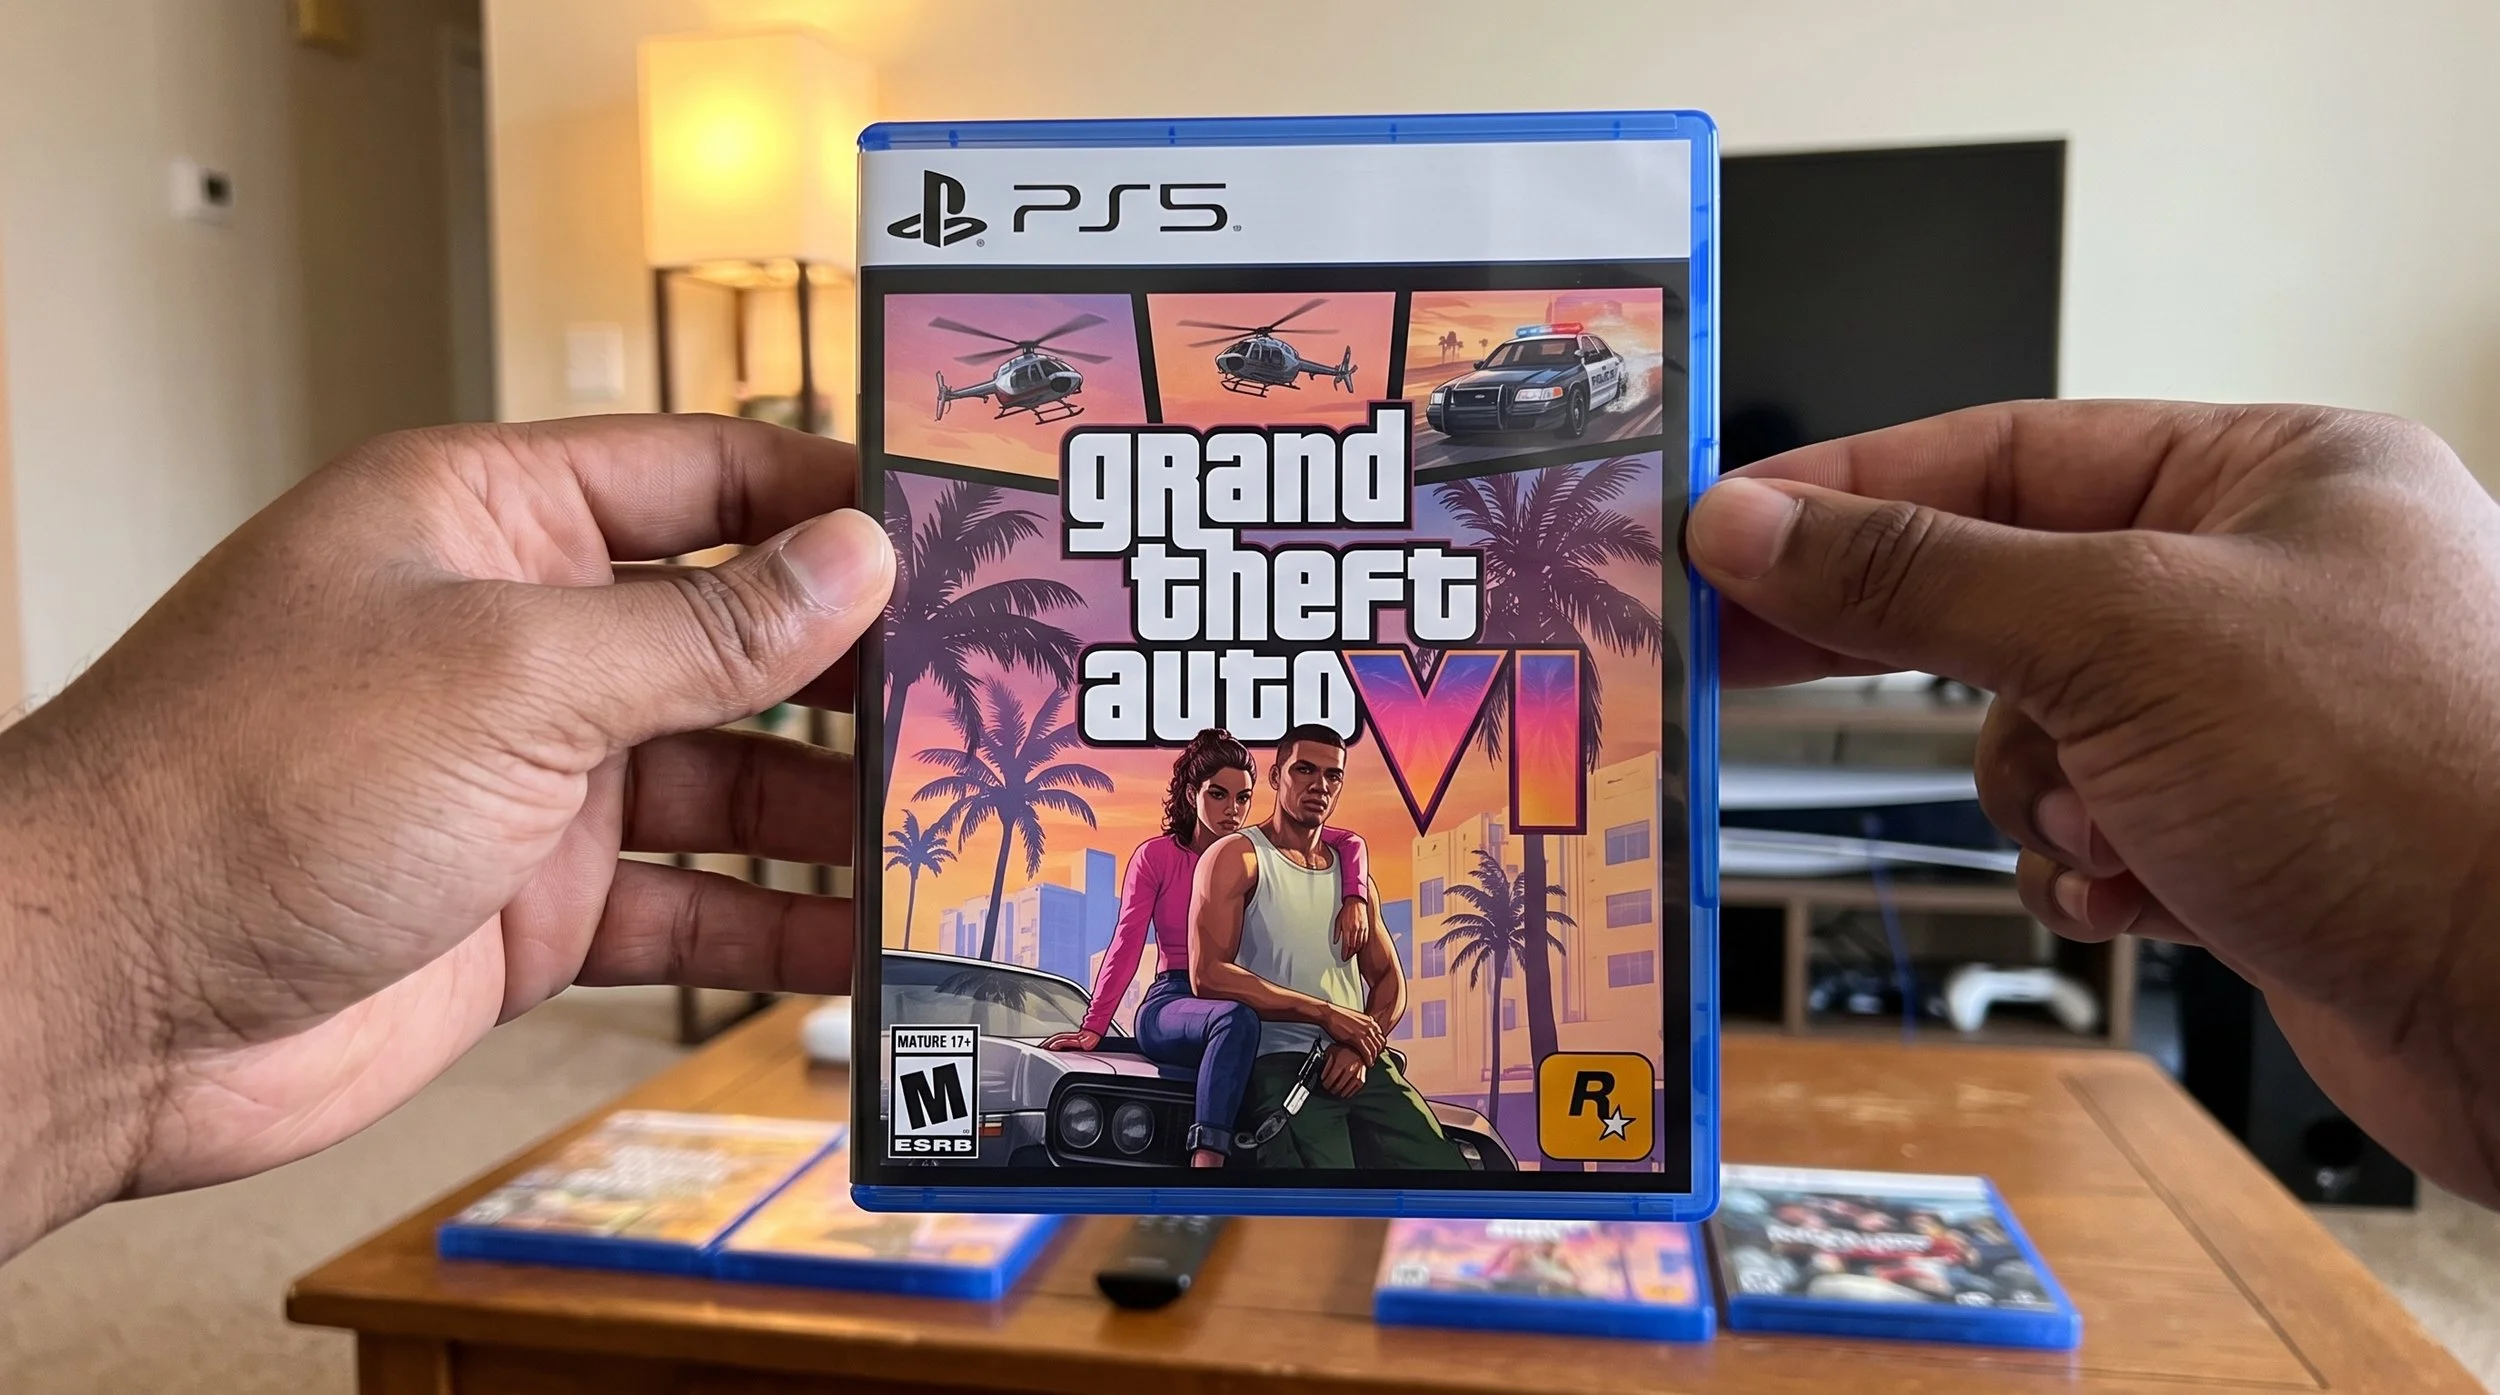
The Dust is Clear; now it’s Time to Game
With the dust catchers cleared, the fan blades immaculately clean, and the side plates snapped firmly back into place, your PS5 is ready to run smoothly and stay cool. Do this maintenance task monthly to prevent throttling and keep noise to a minimum during intense gaming sessions. Now plug everything in, grab your controller, and enjoy Grand Theft Auto 6.