Tech Tutorial: How to install an AIO cpu cooler
Pushing the boundaries of your processor necessitates an AIO cooler for effective thermal management. AIO coolers integrate a pump, radiator, and fans that can fit into any PC chassis. Suppose you’re using an AIO cooler for the first time, whether you're upgrading an existing system or building a new one. In that case, I'll provide a comprehensive installation guide that ensures optimal PC performance while maintaining aesthetics.
Here's what you need
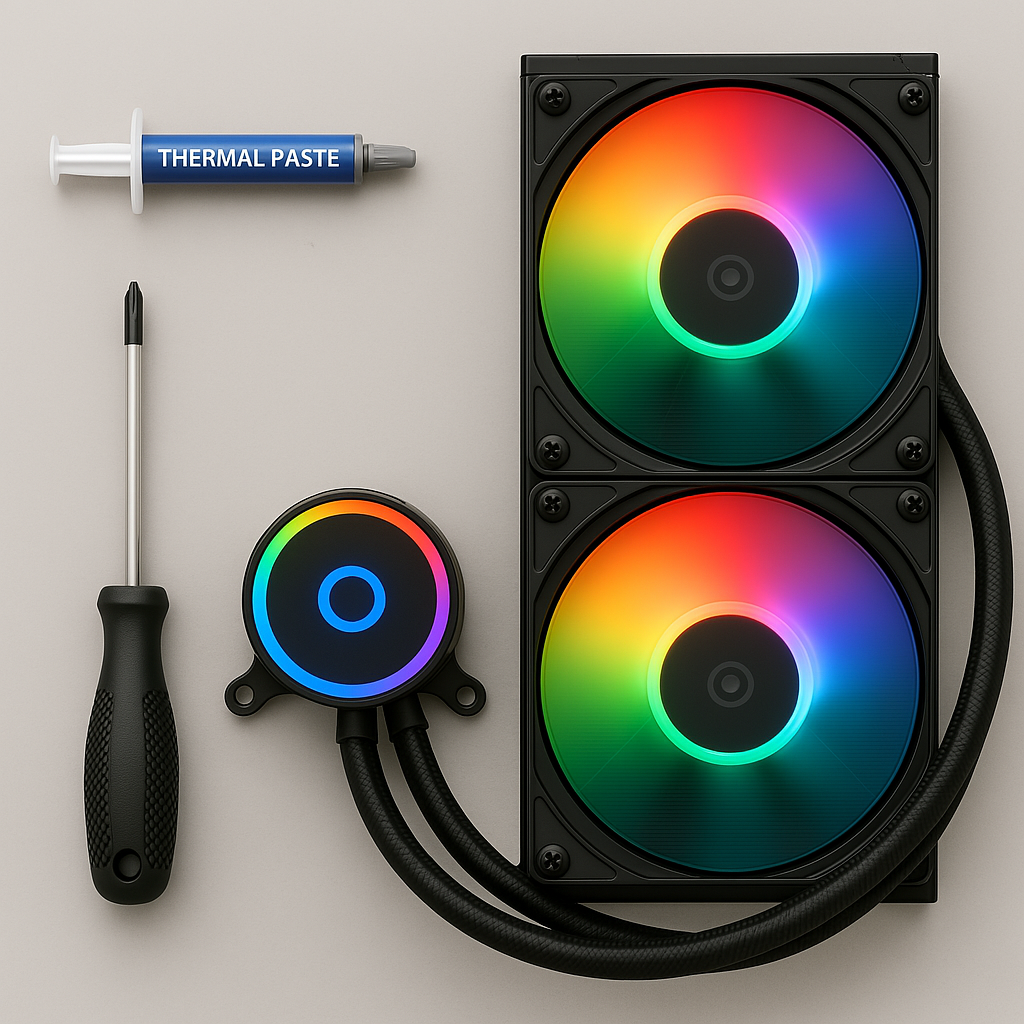
Firstly, make sure the AIO cooler is compatible with your CPU socket type. Most AIO cooler manufacturers will provide a special bracket to accommodate specific models. You'll need thermal paste (some coolers come with pre-applied paste) and a Phillips-head screwdriver. Importantly, ensure your PC has sufficient clearance for the radiator.
Warning!!! DON'T OVERTIGTEN! Doing so can warp the motherboard.
Prep your layout
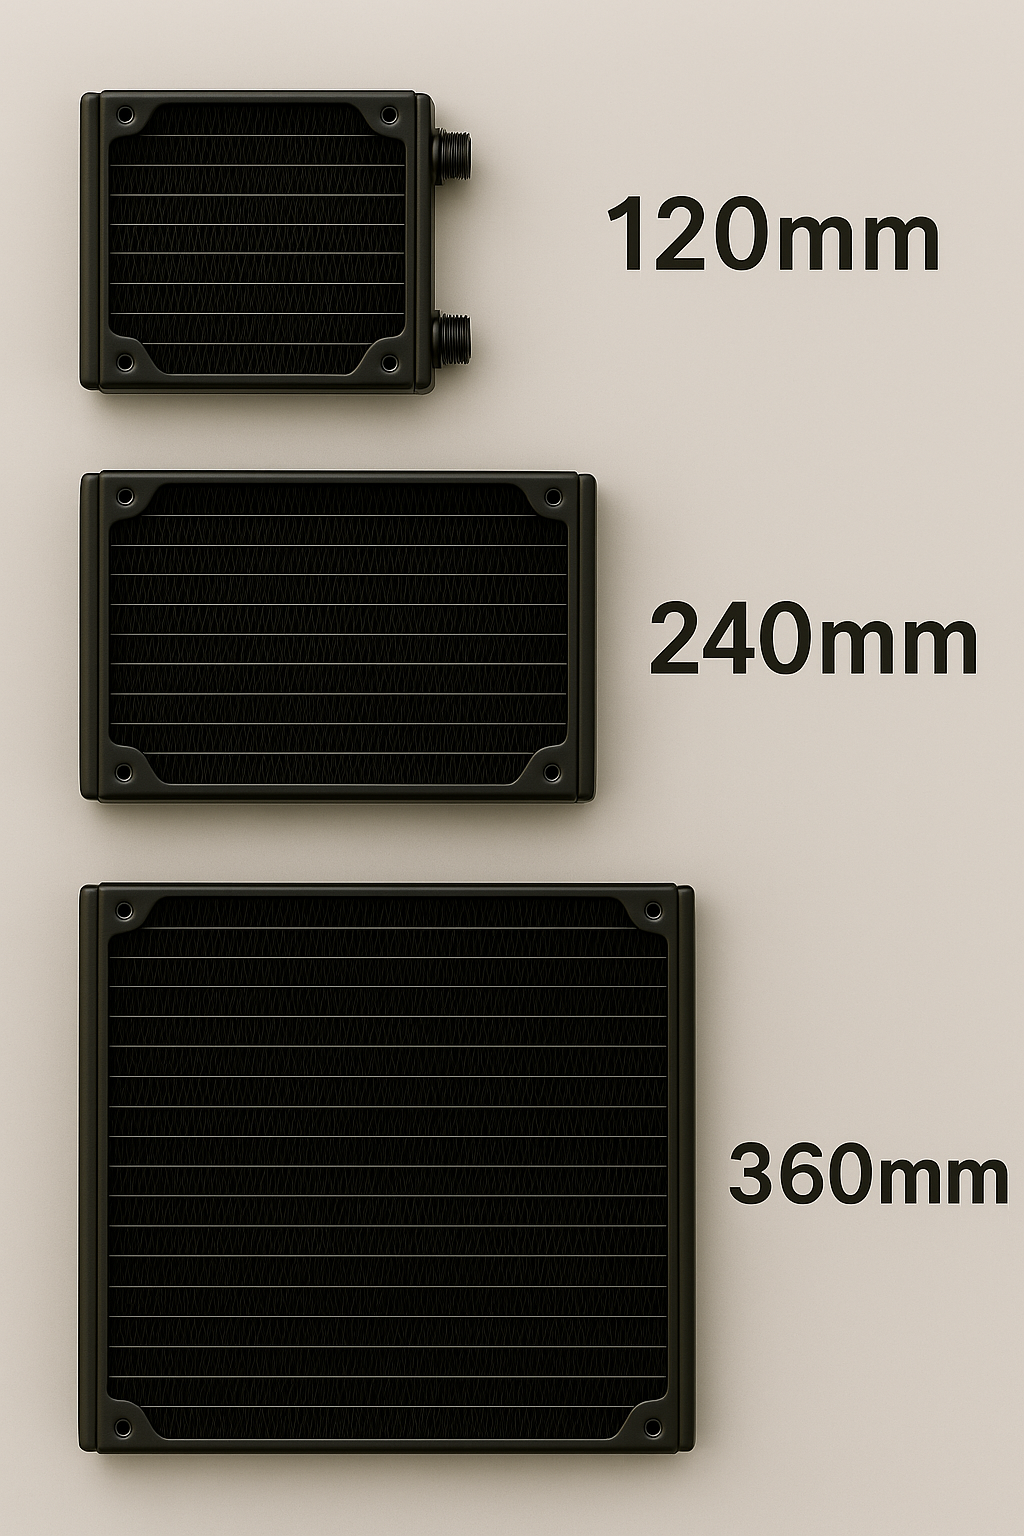
Before you begin the installation process, read the manual that came with your cooler. Each brand has specific installation requirements that must be followed for proper installation. Importantly, be mindful of radiator clearance. Ensure your case supports the radiator size (120mm, 240mm, 360mm). Consider the airflow in your PC case. Mounting the radiator at the top if you want exhaust heat out of your case, or at the front for intake air into the case. Both methods have a profound effect on the case temperature.

Back plate mounting
Locate the CPU socket, if needed, and clean with isopropyl alcohol. Whether you are using an Intel or AMD processor, align the back plate with the motherboard standoff or brackets. Be sure to follow the instructions in the manual.
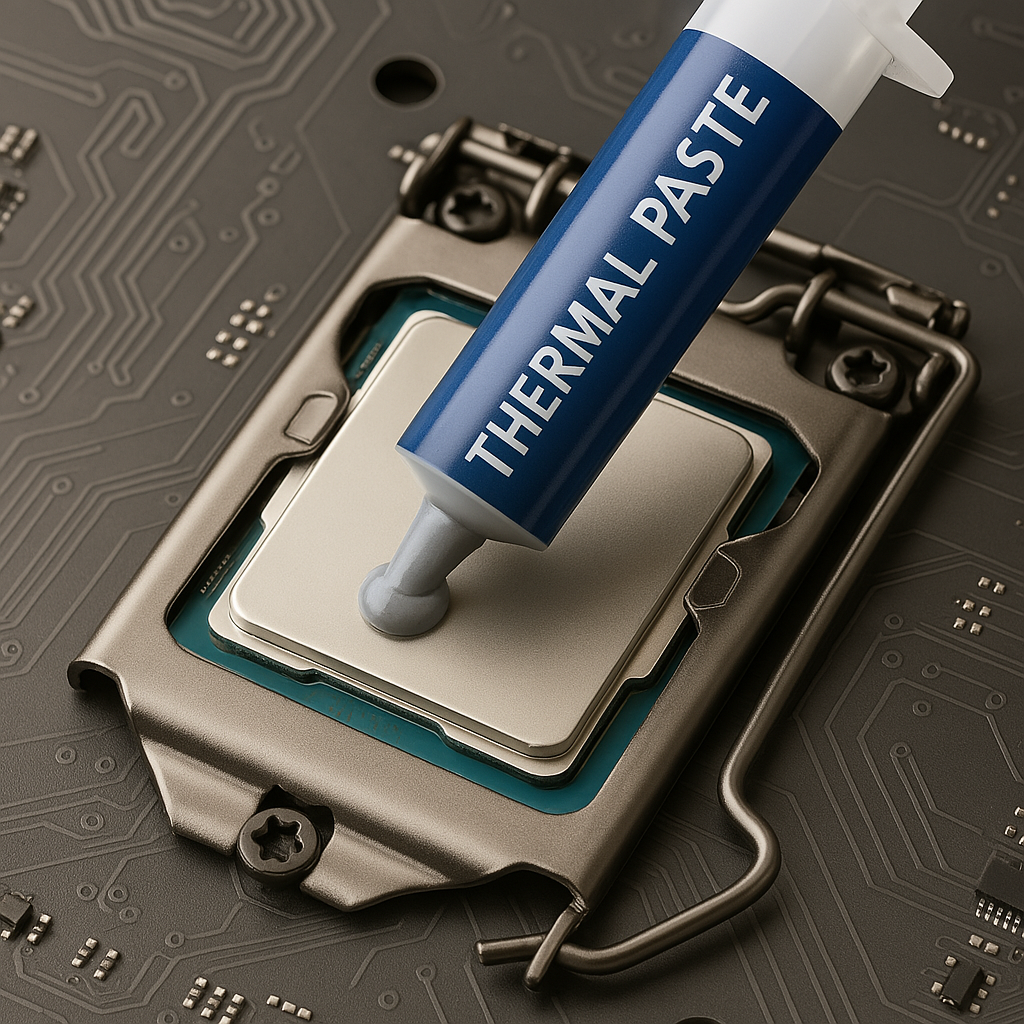
It's time to apply Thermal Paste
Now we're halfway through the installation process. Apply a pea-sized amount of thermal paste to the CPU. Or, carefully speed evenly using a small plastic spatula for full coverage on the CPU. Most modern AIO coolers come with pre-applied paste; if that is the case, you don't need to apply additional thermal paste.
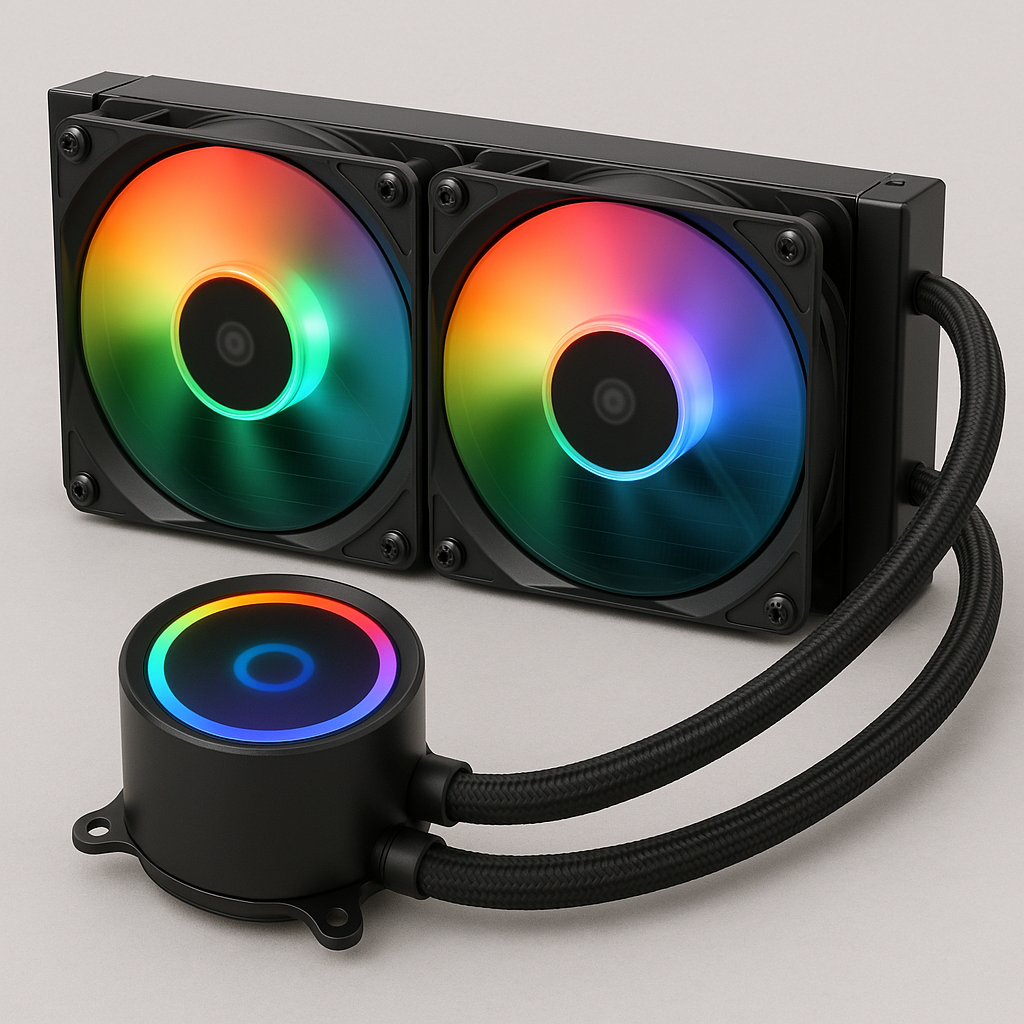
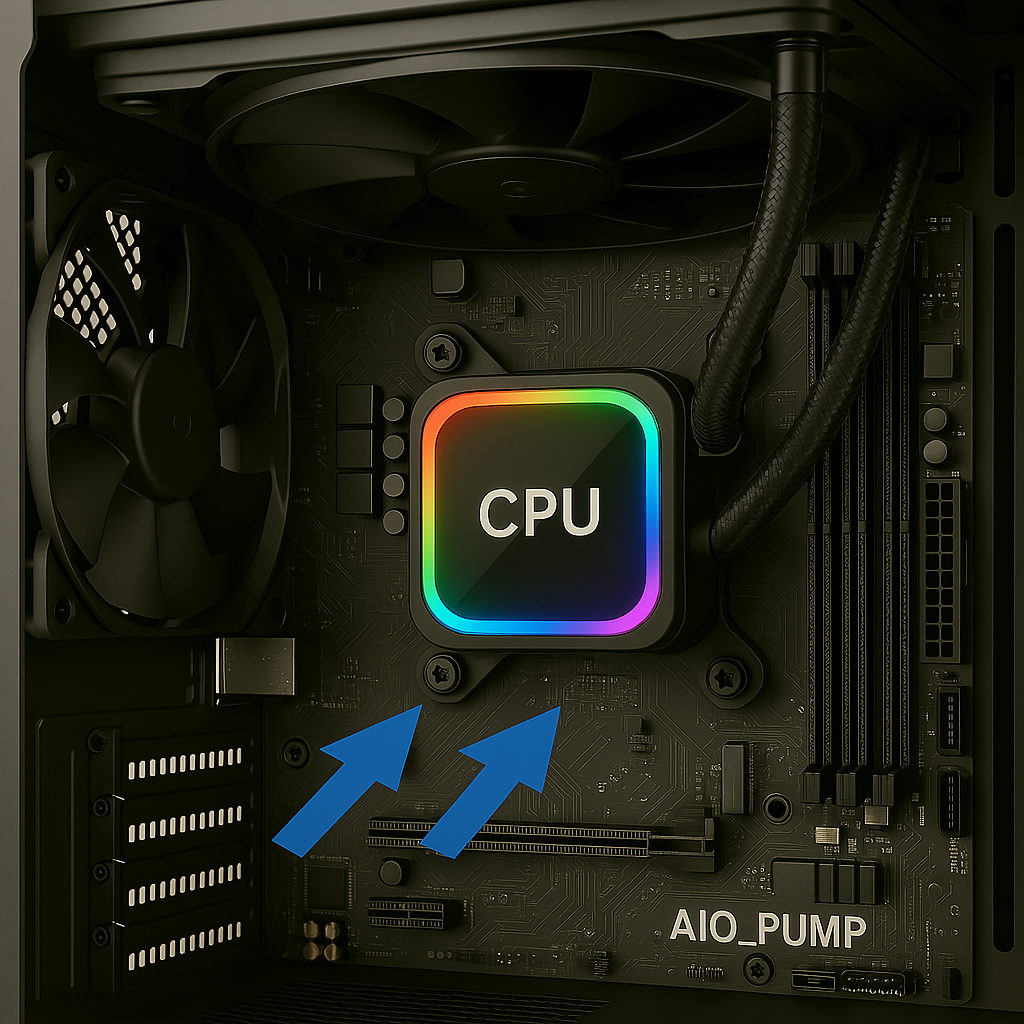
Attach your Pump and Block
Carefully align the pump over the CPU, then secure it using screws or thumbscrews. Ensure firm, even pressure for optimal thermal conductivity.
Mount the Radiator and Fans
Choose your radiator placement. If you're mounting it on top, you're exhausting hot air out of the PC. Front mounting is for intake, allowing cool ambient air to flow over the radiator.

Once you're done mounting your radiator, attach your fans. Push configuration means fans are blowing air into the radiator. In contrast, pull configurations are fans pulling air directly through the radiator.
Recommendation!! Consider a push-pull setup if space allows for quieter, more efficient cooling.
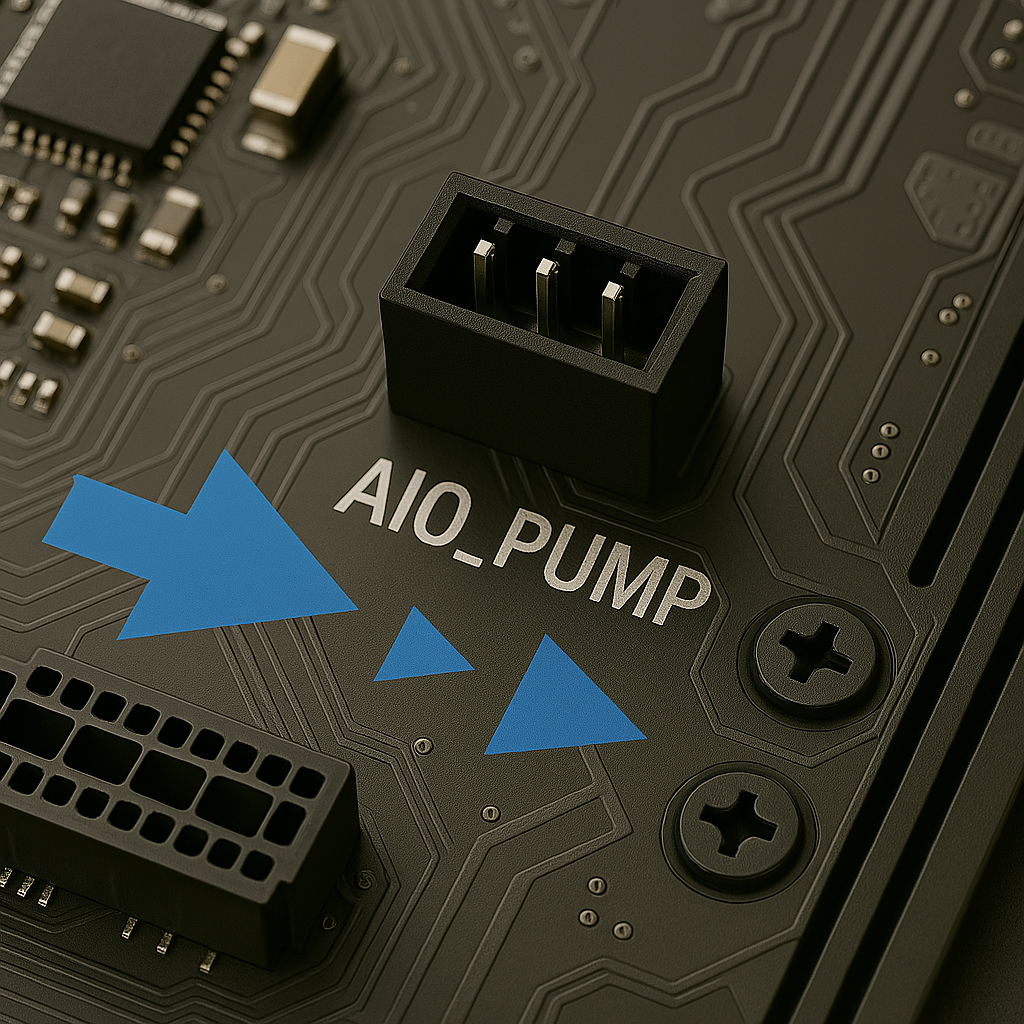
The Cable Connection
Connect your CPU_Fan or dedicated AIO pump header. Connect your fan cables to the motherboard fan headers or controller. If your cooler features RGB or ARGB lighting, connect it to your lighting controller or RGB headers. Worth noting!! After installation, double-check BIOS settings to ensure the pump and fans are functioning correctly.
It's time to test your Setup
Power on your system and boot into the BIOS. Monitor your CPU and ensure it remains within a stable temperature range. The ideal temp range is between 40 °C and 65 °C. If necessary, adjust the fan curves using the BIOS or companion software, such as CAM, iCUE, or Armour Crate.
Final Thoughts
Installing an AIO cooler requires a combination of engineering skills and visual flair. When building a high-performance PC gaming system or a compact PC, consider how the cooler placement and airflow align with your build’s overall thermal strategy and aesthetic goals.