How to Tell if Your PC is Overheating: Signs, Causes, and Diagnosis
Modern processors and graphics cards are engineered to push clock frequencies to their limits, which in turn raises temperatures. As a result, sustained excessive heat degrades hardware performance, causing system instability and shortening the lifespan of critical components. Recognizing the signs of thermal distress can save your system in the long run.
The Physical and Behavioral Signs
Before checking your thermal sensors, look for several operational and auditory signs that may be glaringly obvious.
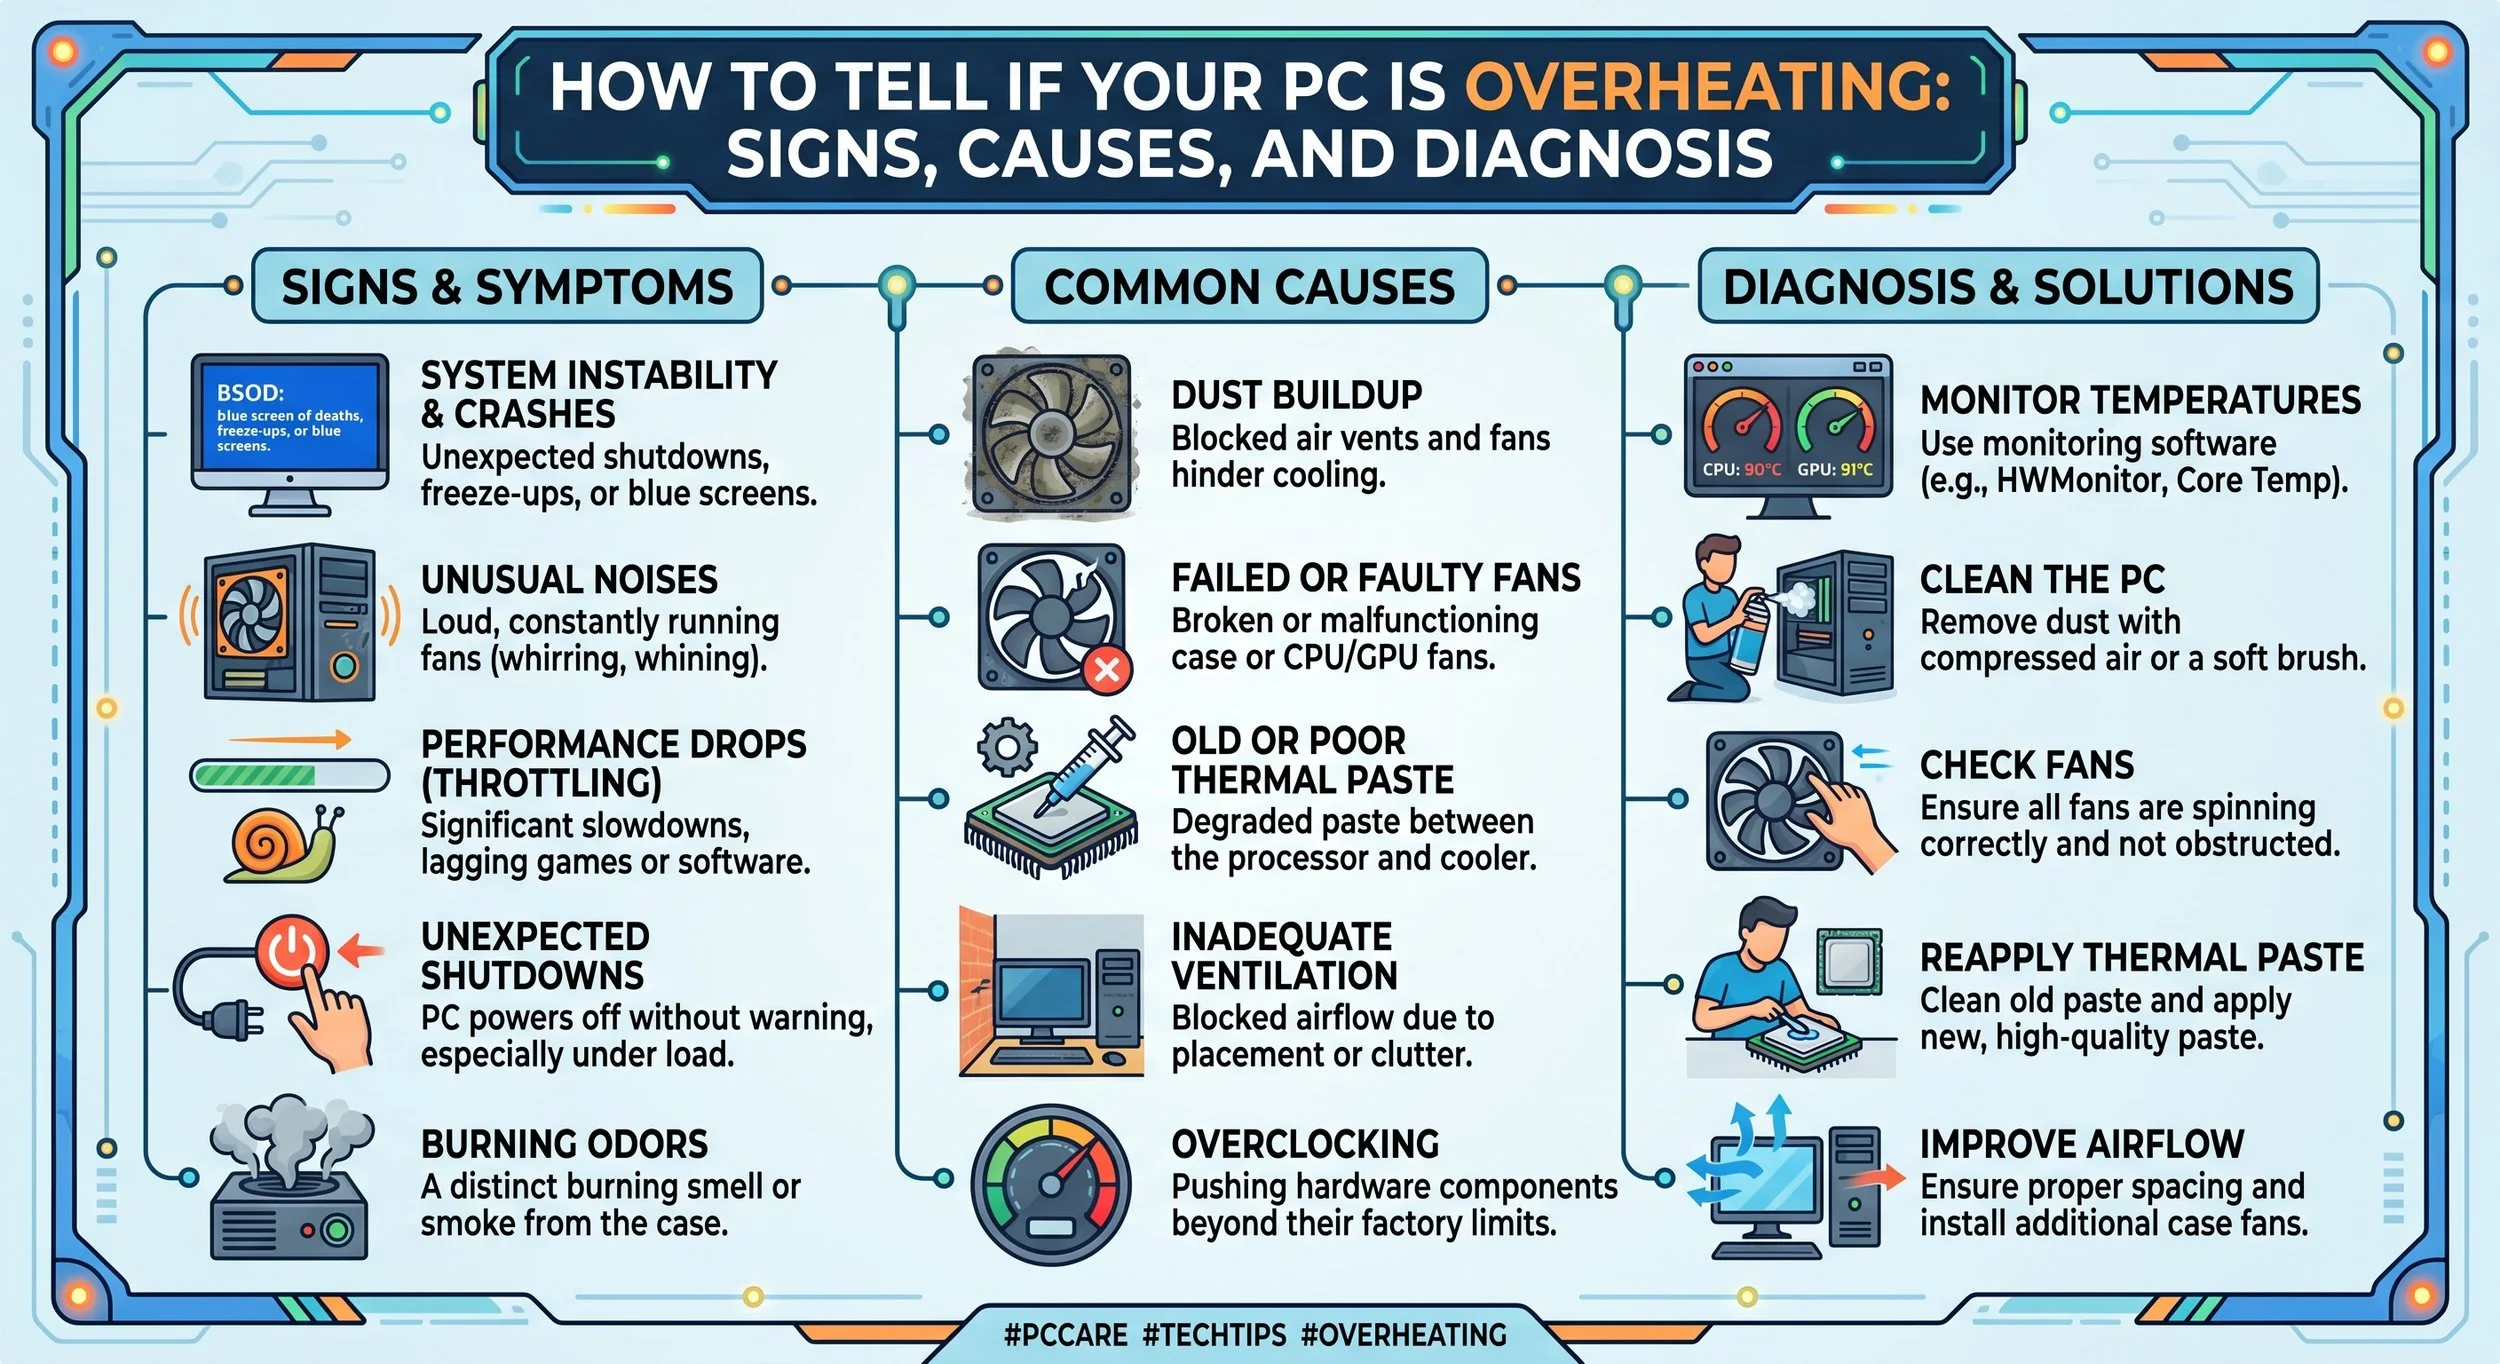
Persistent fan acceleration ( yes, the jet engine effect) is one of many glaring signs that components are overheating. Case fans, CPU coolers, or GPU blowers ramping to 100% RPM during low-intensity tasks definitely point to inefficient heat dissipation.
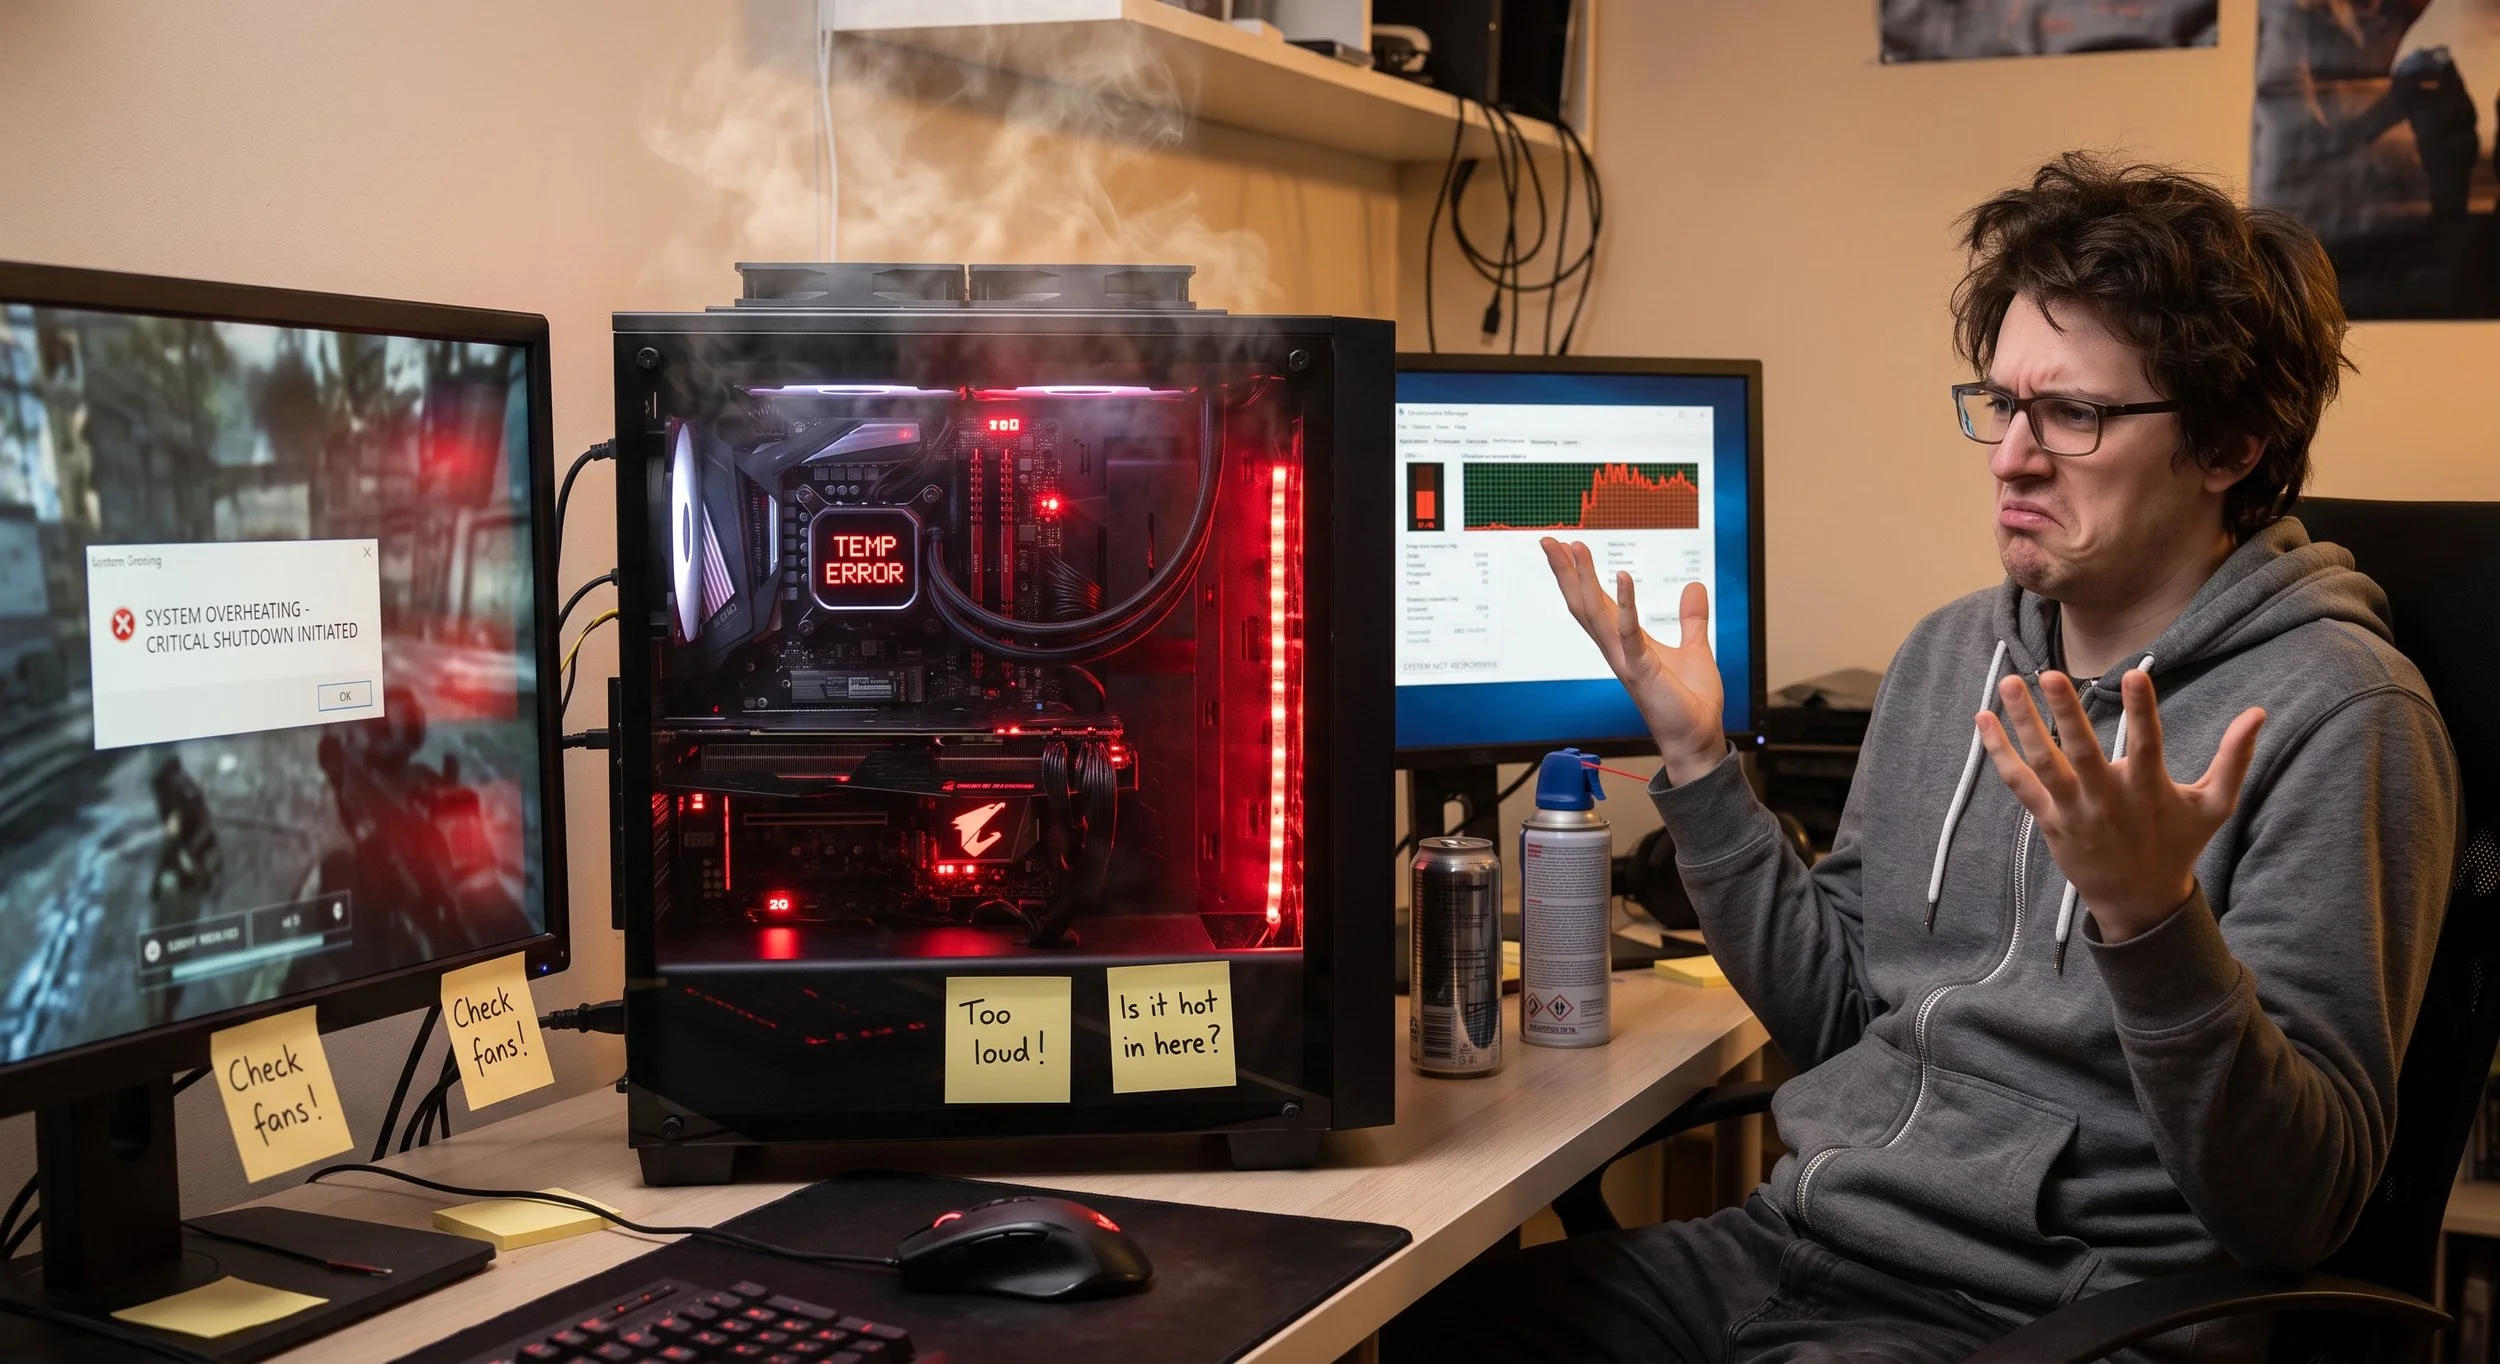
Your system may experience thermal throttling ( Micro-stuttering and sudden FPS drops). This happens when the processor reaches its critical thermal threshold (TjMax); components automatically scale back clock frequencies and voltage to avoid severe damage. This results in frame drops or sluggishness in multi-threaded workflows.
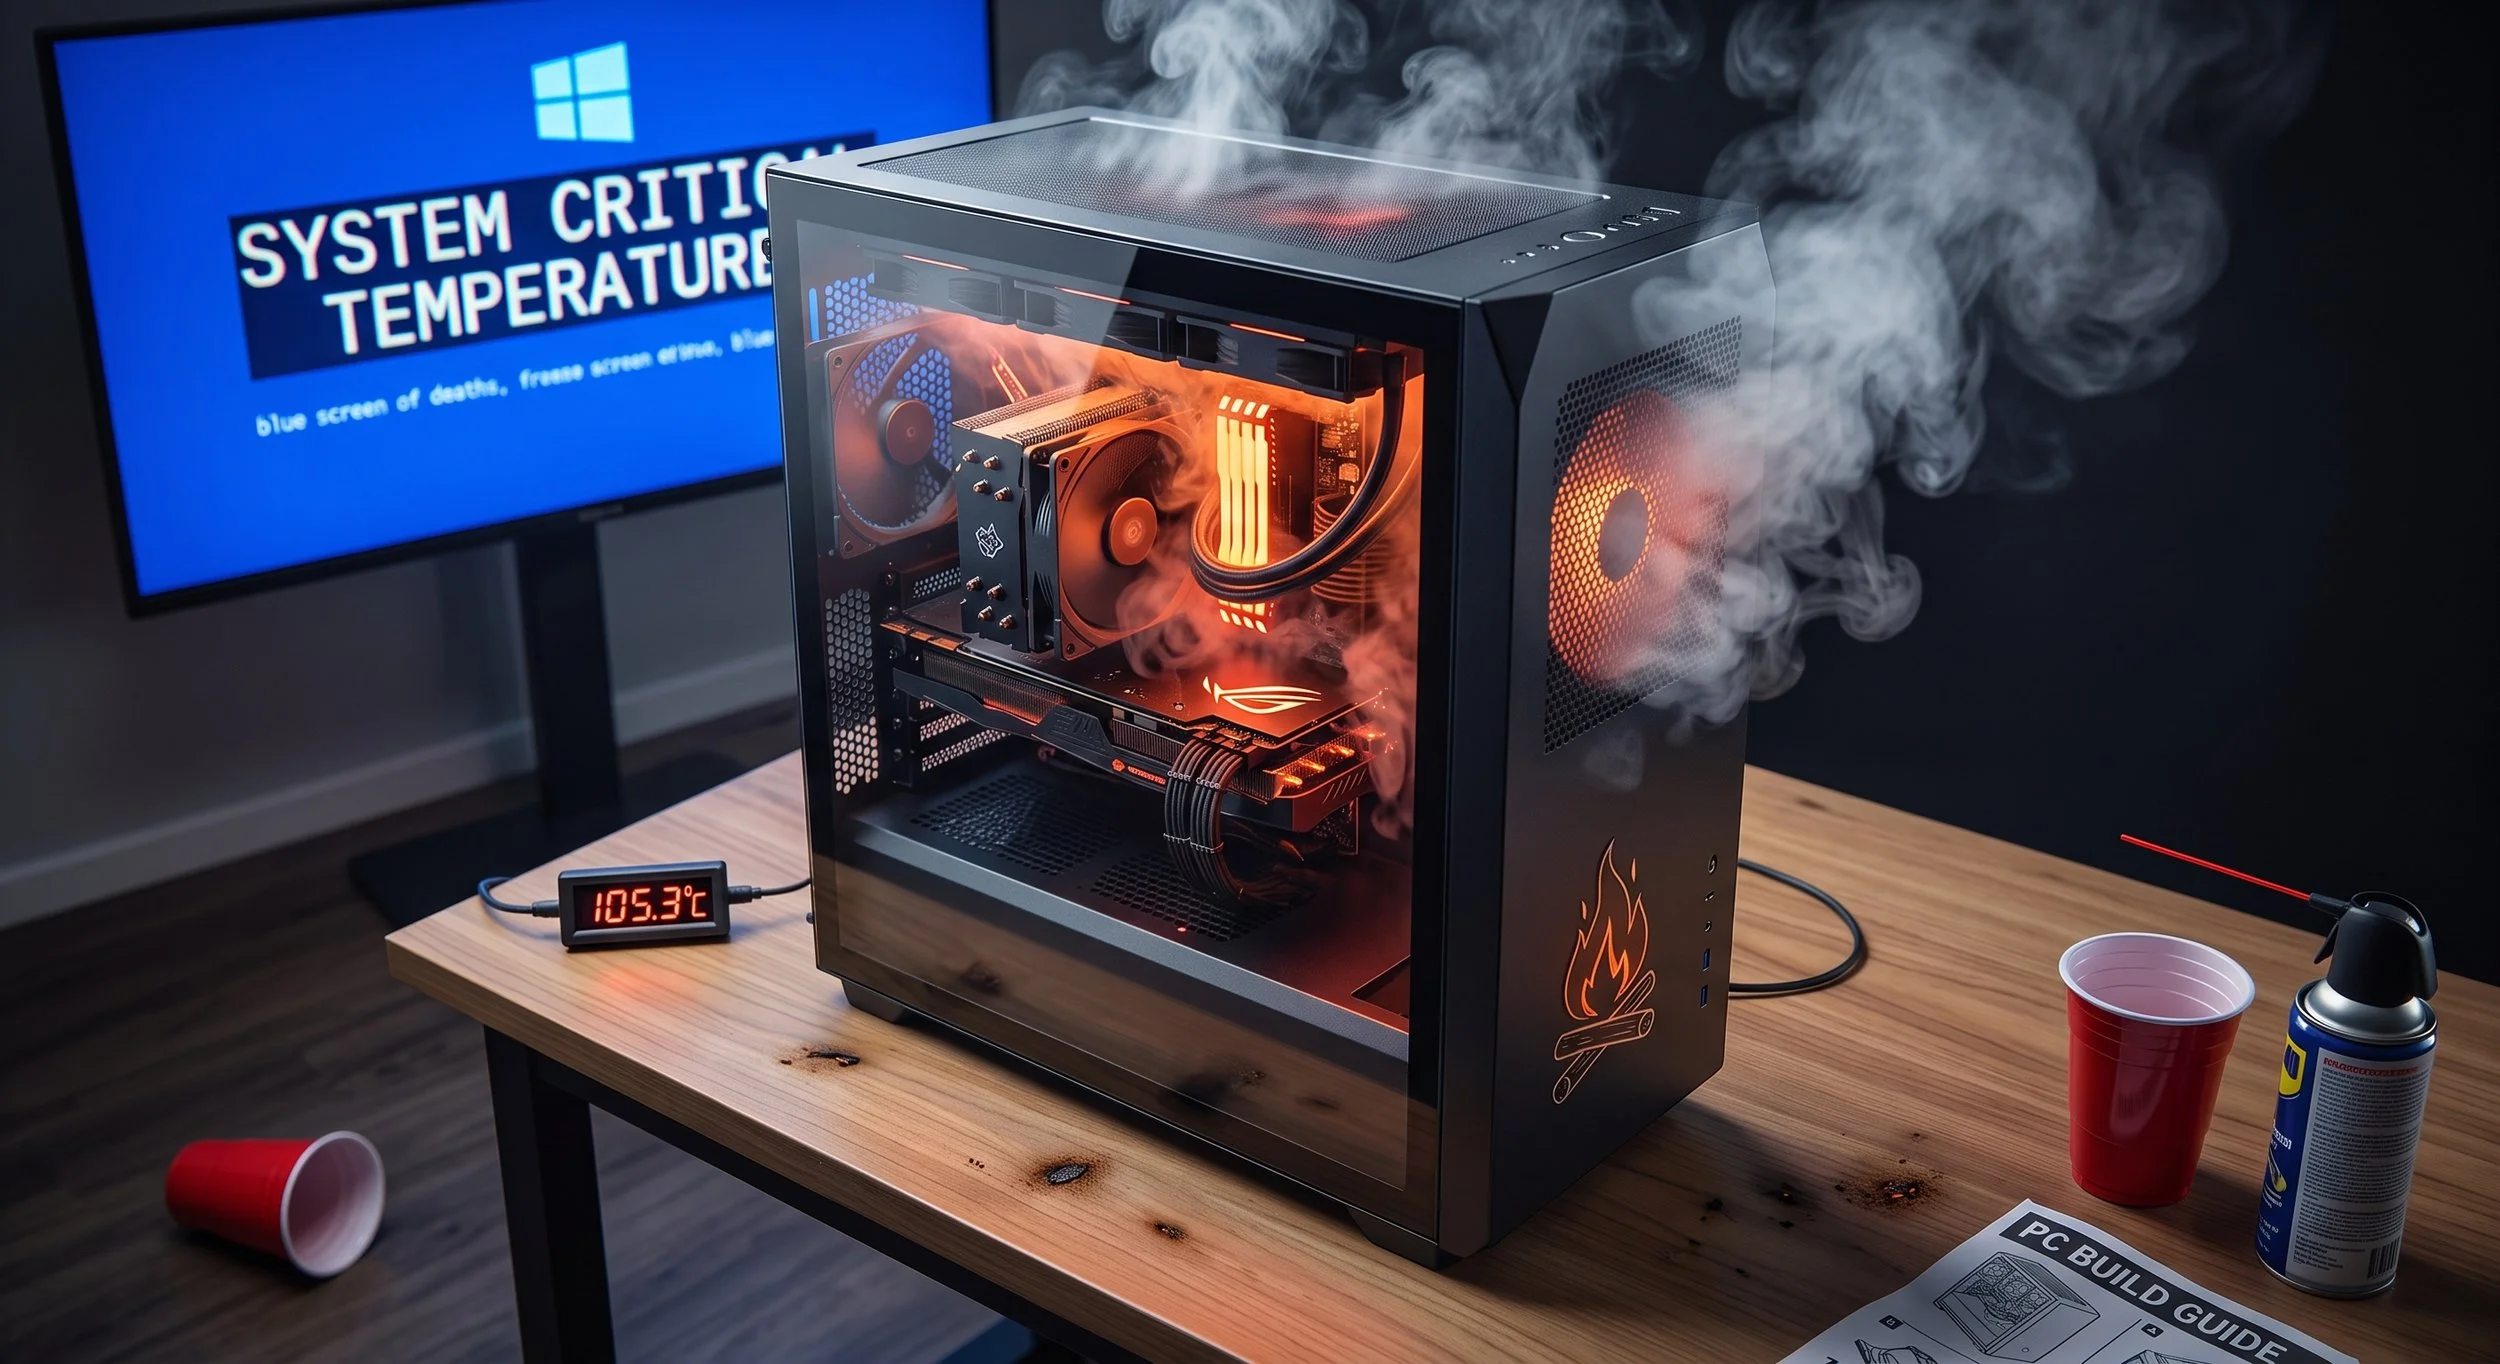
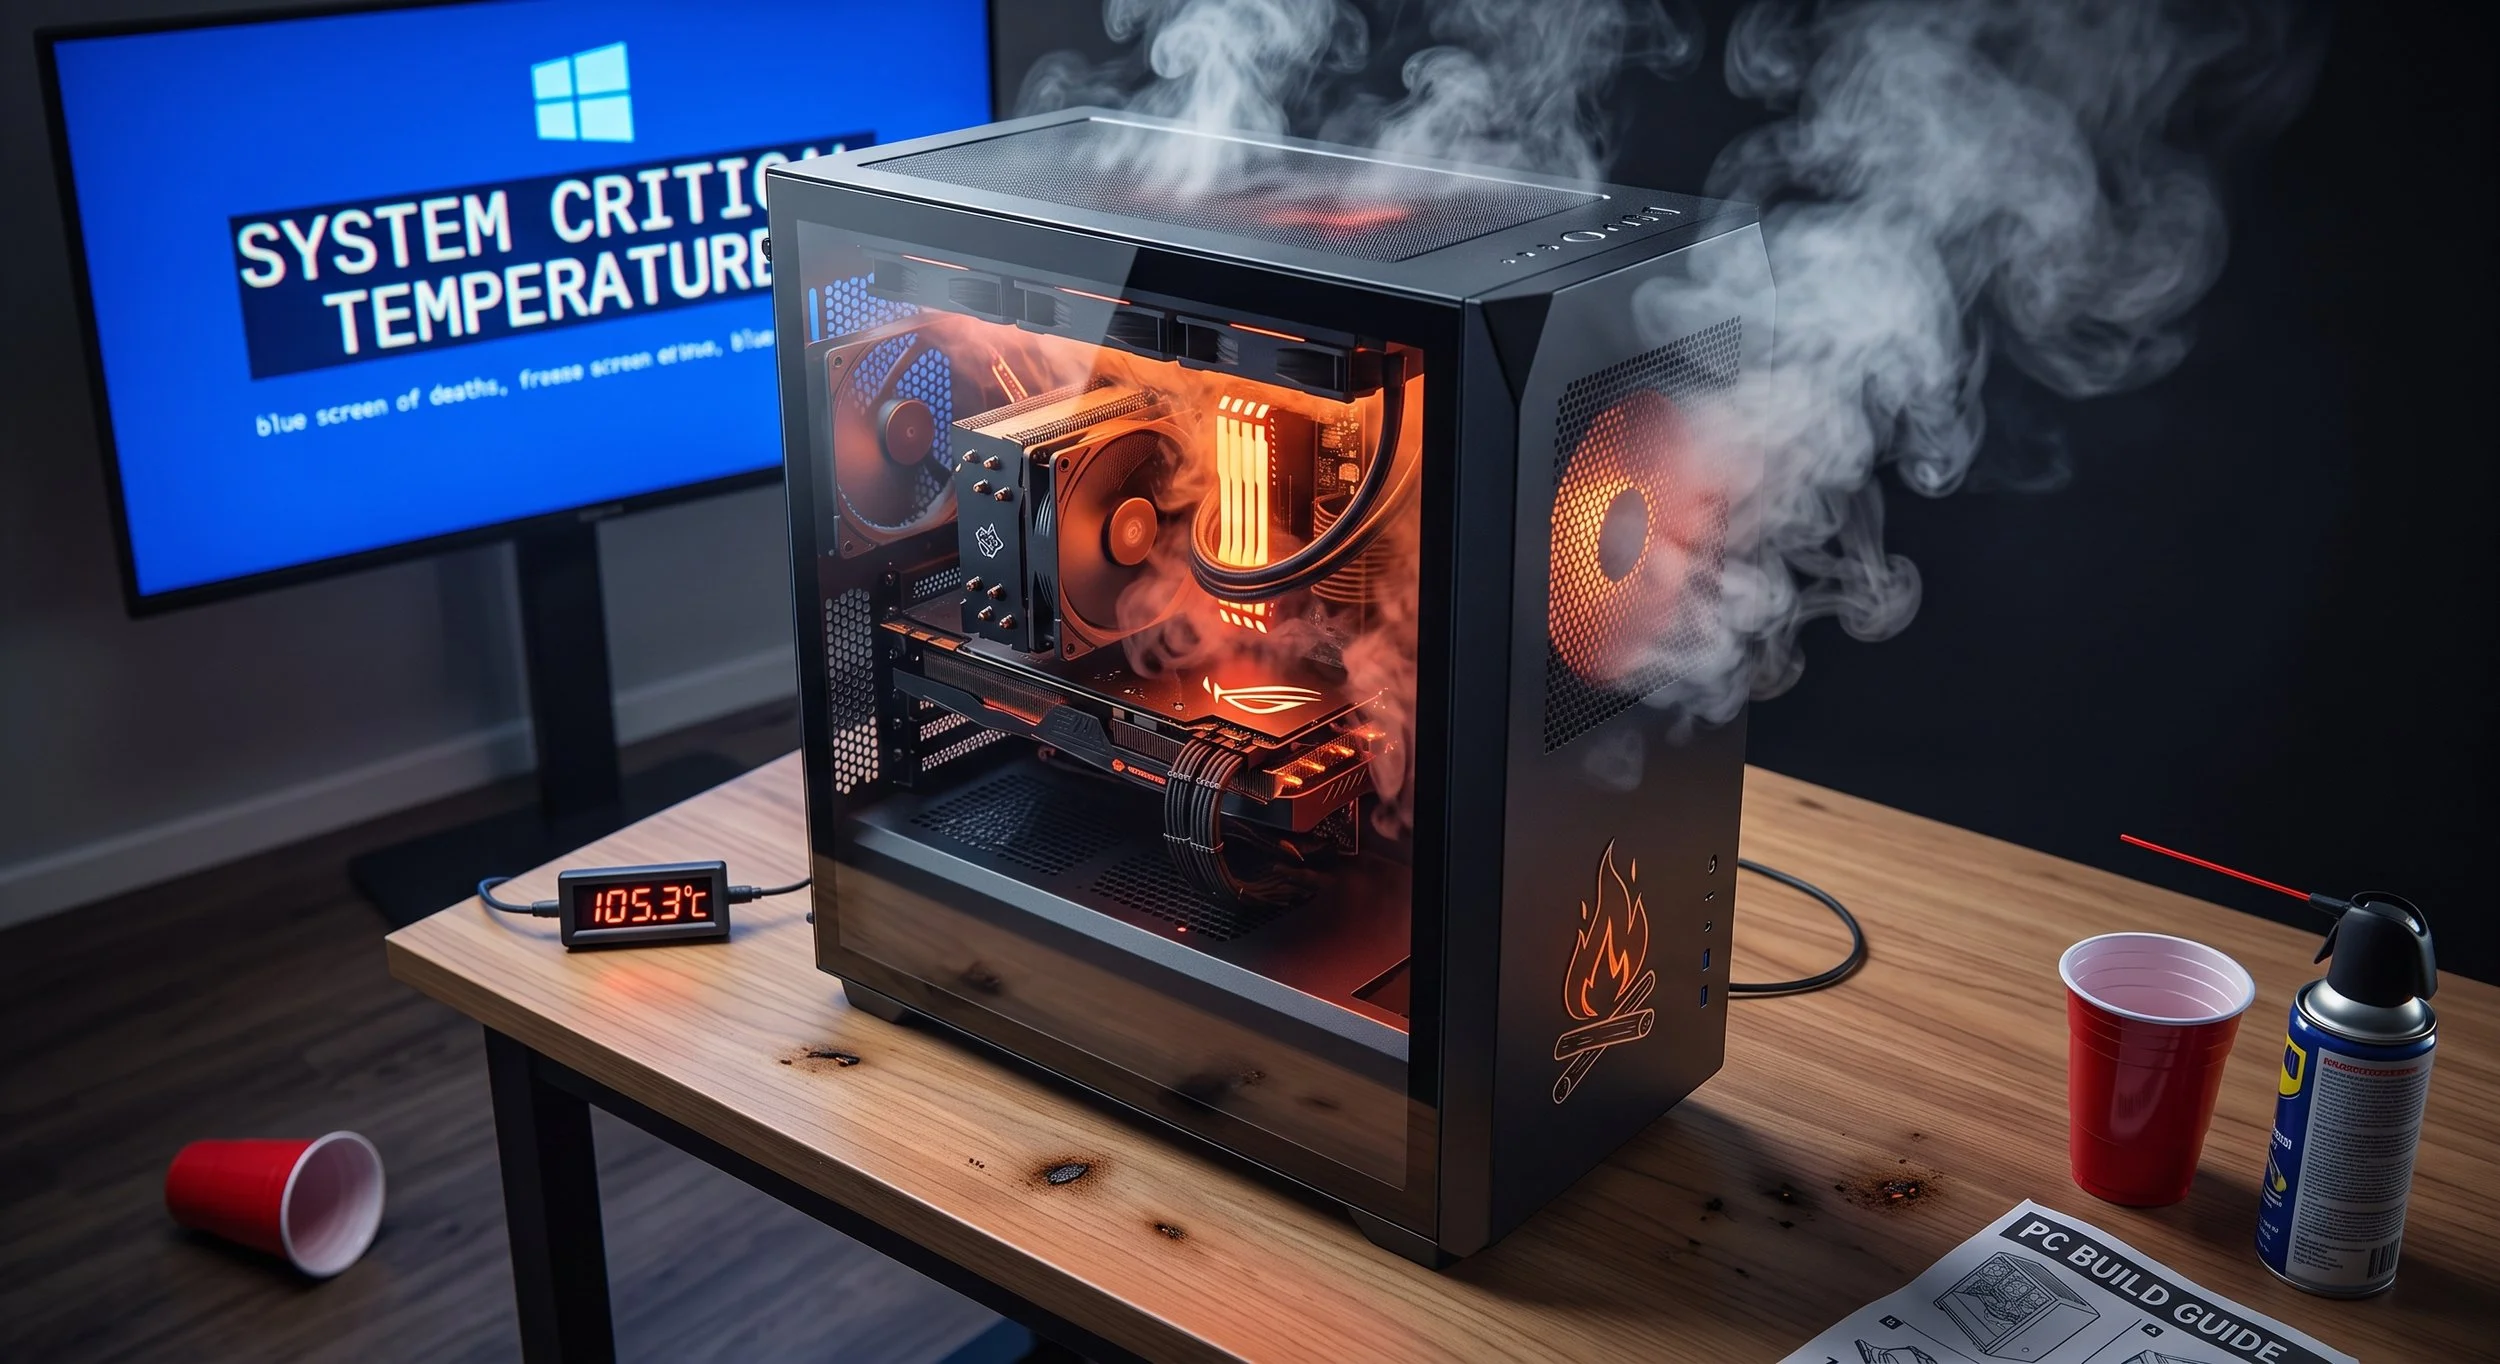
Hard freezes, BSODs, and abrupt shutdowns are the clearest signs of thermal issues. Modern motherboards and power management ICs all feature fail-safe thermal triggers. If temperatures cross certain safe trip points, the system abruptly cuts power or triggers a Blue Screen of Death, safeguarding critical components, particularly the processor.
Understanding and Reading Internal Sensors and Temperature Ranges
Normal internal temperatures for gaming or desktop PC CPUs generally range from 30 °C to 50 °C at idle and 65 °C to 85 °C under heavy load, like video encoding. A normal temperature range for the GPU is 30 °C to 45 °C at idle and 65 °C to 85 °C under load.
Here are Recommended Tools
To closely monitor thermal activity inside your computer, don't rely on basic OS task manager tools, which often report incomplete or smoothed telemetry. Several third-party options can accurately measure whether heat is dissipating properly.
The gold-standard diagnostic utility I personally love using is HWiNFO64. It tracks per-core temperature, package power, VRM temps, and GPU memory junction metrics, and flags active throttling (Core Critical Temperature or Packaging/Ring Thermal Throttling).
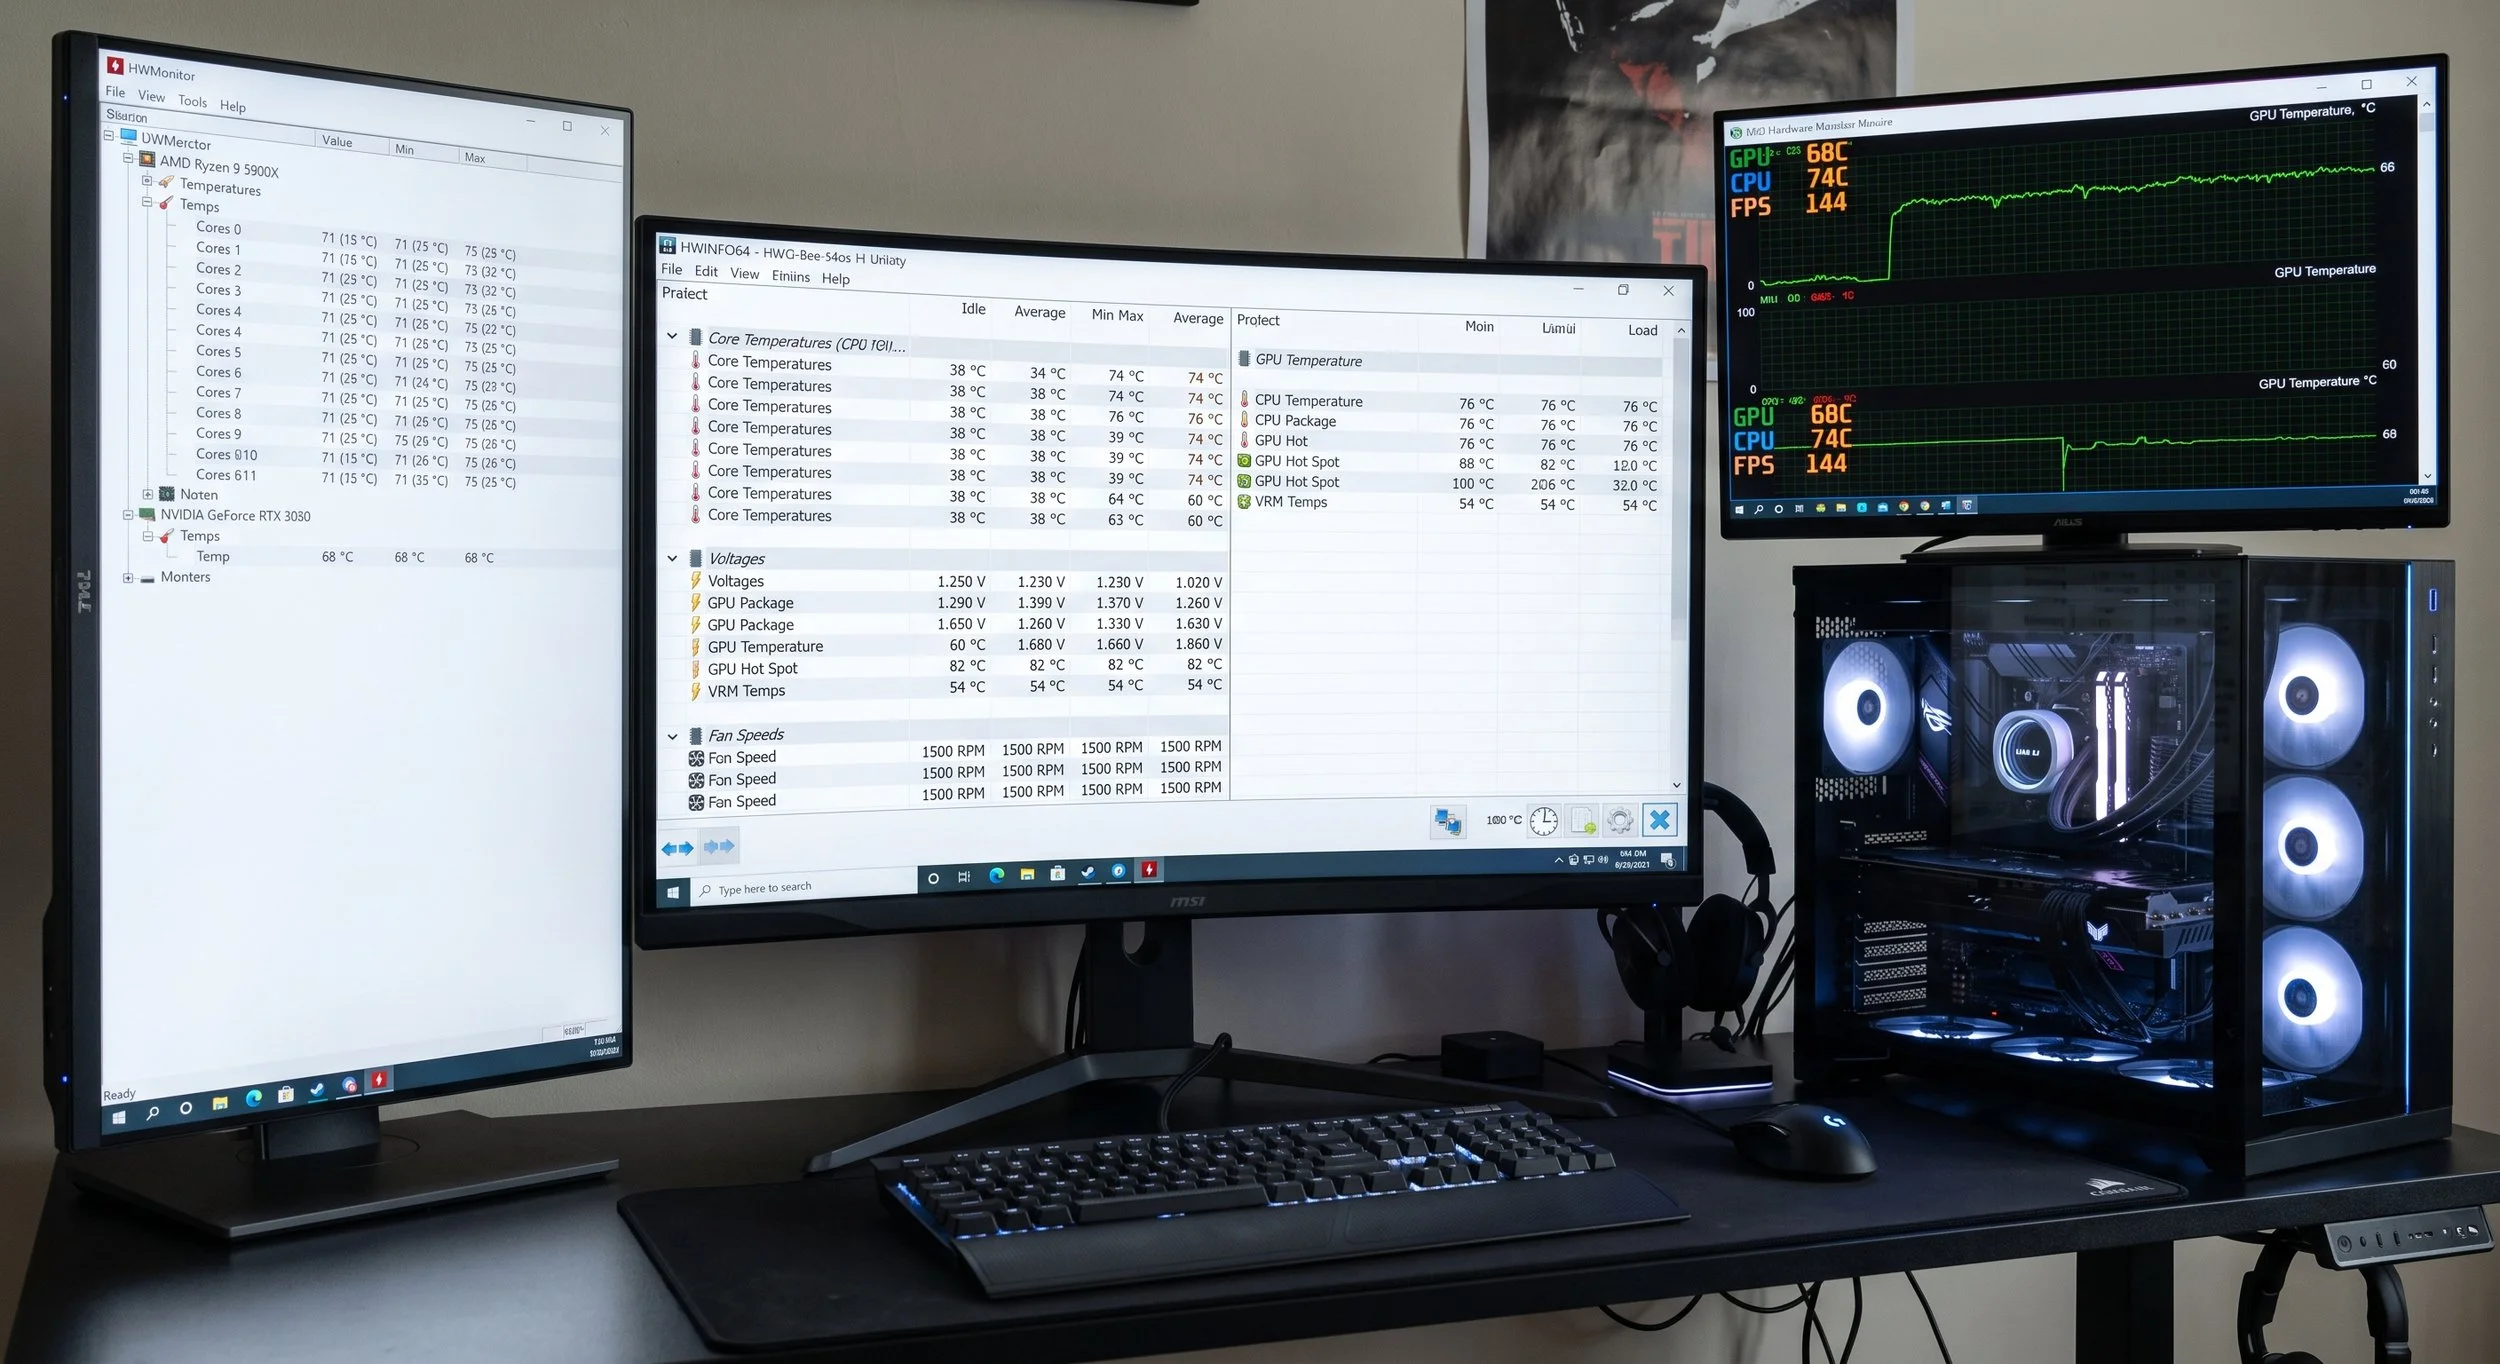
MSI Afterburner with RivaTuner Statistics Server ( RTSS) measures real-time in-game monitoring through a customizable On-Screen Display (OSD) tracking GPU/CPU temps and clock speeds during load spikes.
Graphics card manufacturers offer control panel software, like AMD's Adrenalin or NVIDIA App, with built-in performance overlays that monitor GPU clock stability against temperature targets.
The Main Causes of an Overheated System
When temperatures rise in your system, several things could be causing it. Thermal Interface Material (TIM): This happens when thermal paste dries out over time. Dust accumulation is probably the main culprit behind an overheated system. When dust mats get trapped in radiator fins, heatsink stacks, or intake mesh filters, they put pressure on fans while impeding proper heat transfer.
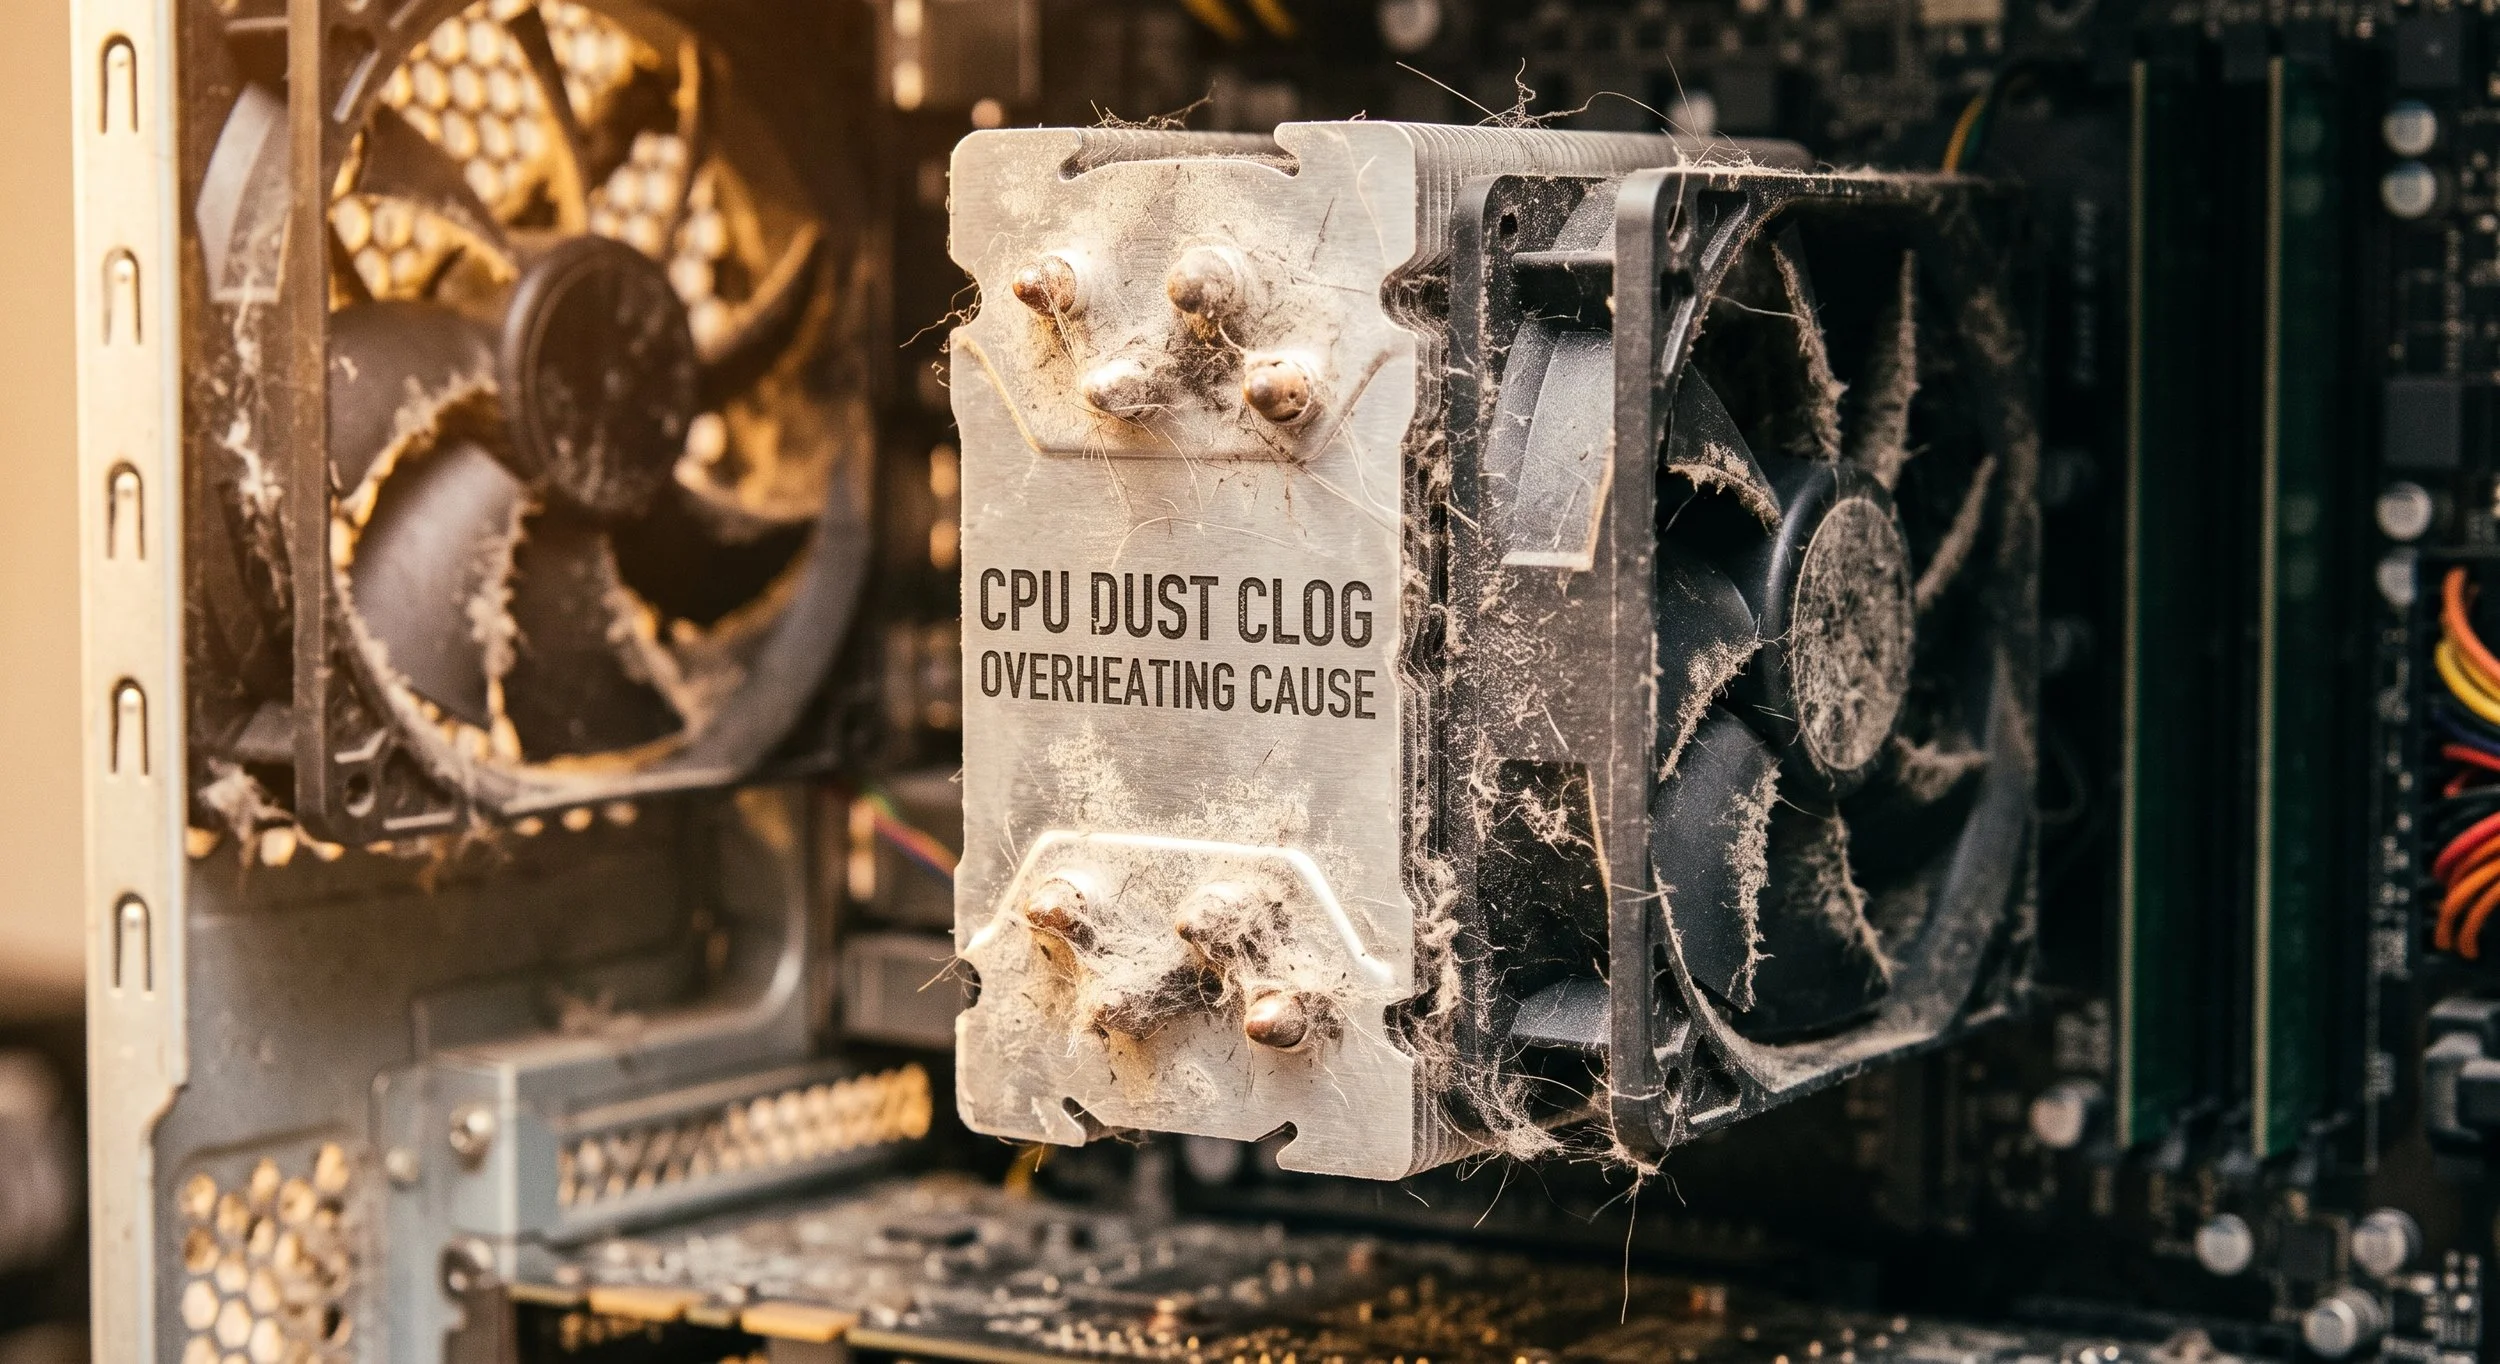
Failed cooling hardware can also cause an overheated system, such as a pump failure in AIO coolers, clogged micro-fins, or air permeation/air bubbles trapped in the pump block. With Air Coolers, seized fan bearings or uneven plate-mounting contact can be a recipe for thermal disaster.
Step-by-Step Troubleshooting Checklist
You can take several troubleshooting steps and create a methodical checklist from the least invasive external fixes to internal component servicing.
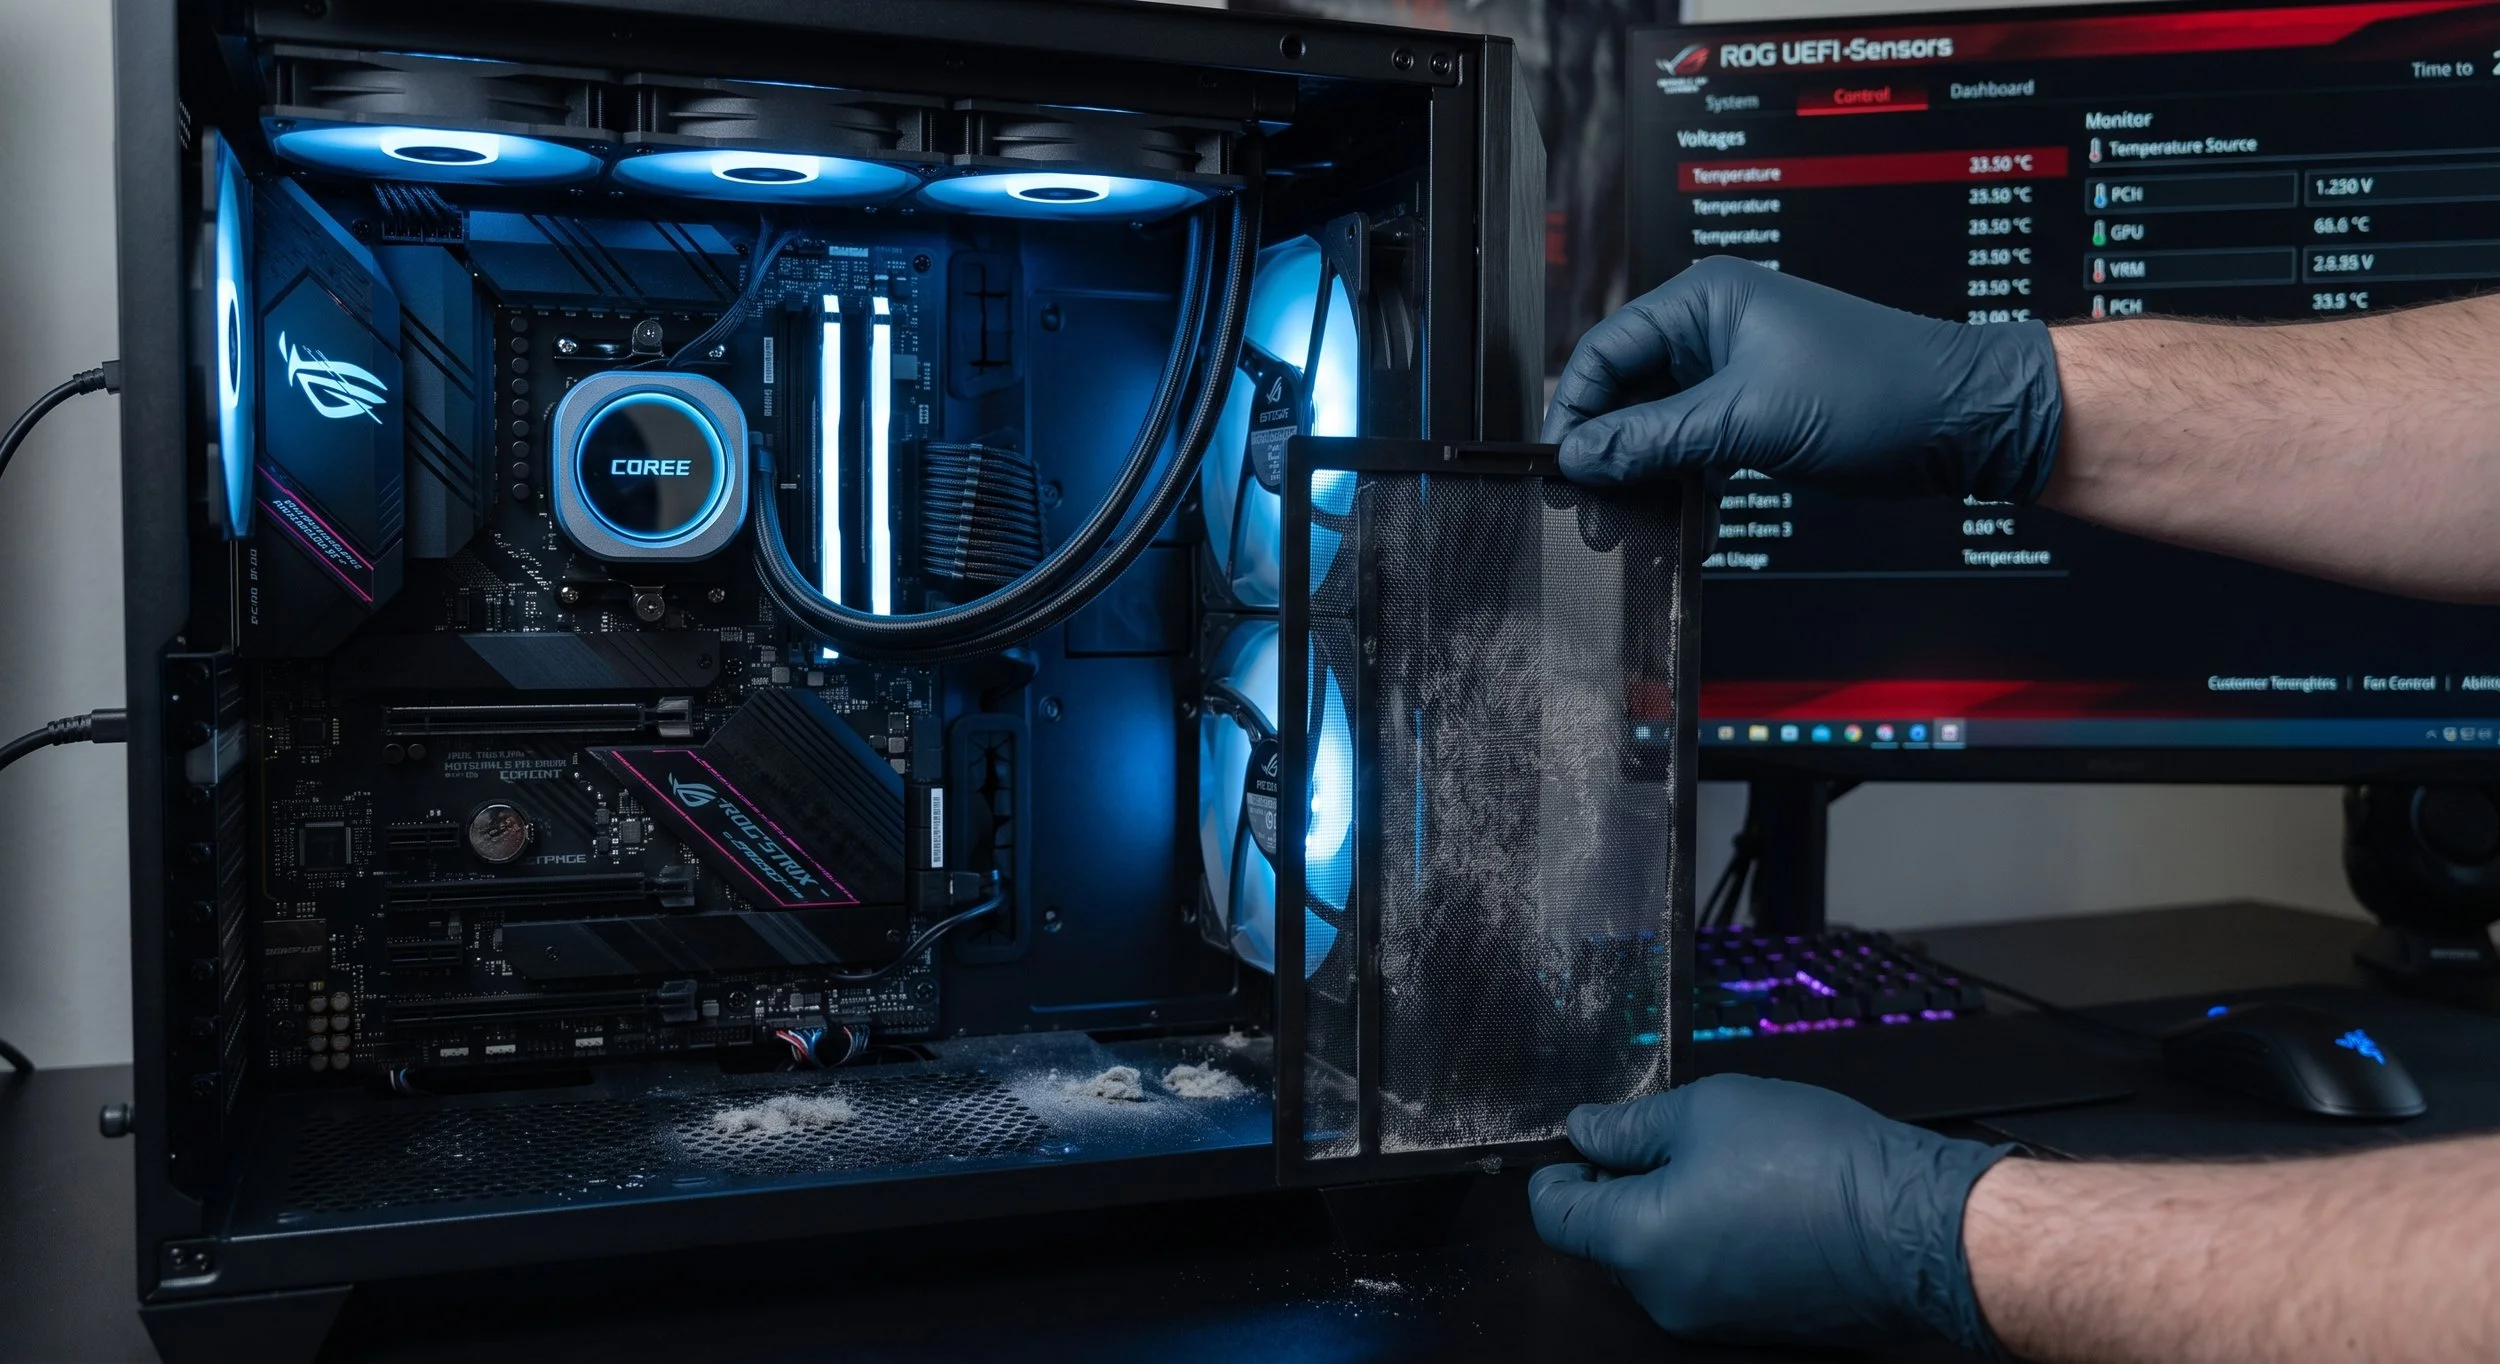
First, inspect and clear air pathways by removing the dust filters from the front, top, and bottom of the chassis, then clean them thoroughly using compressed air or an electric air duster to blast out dust blankets trapped between heatsinks, radiator matrices, and GPU shroud blades.
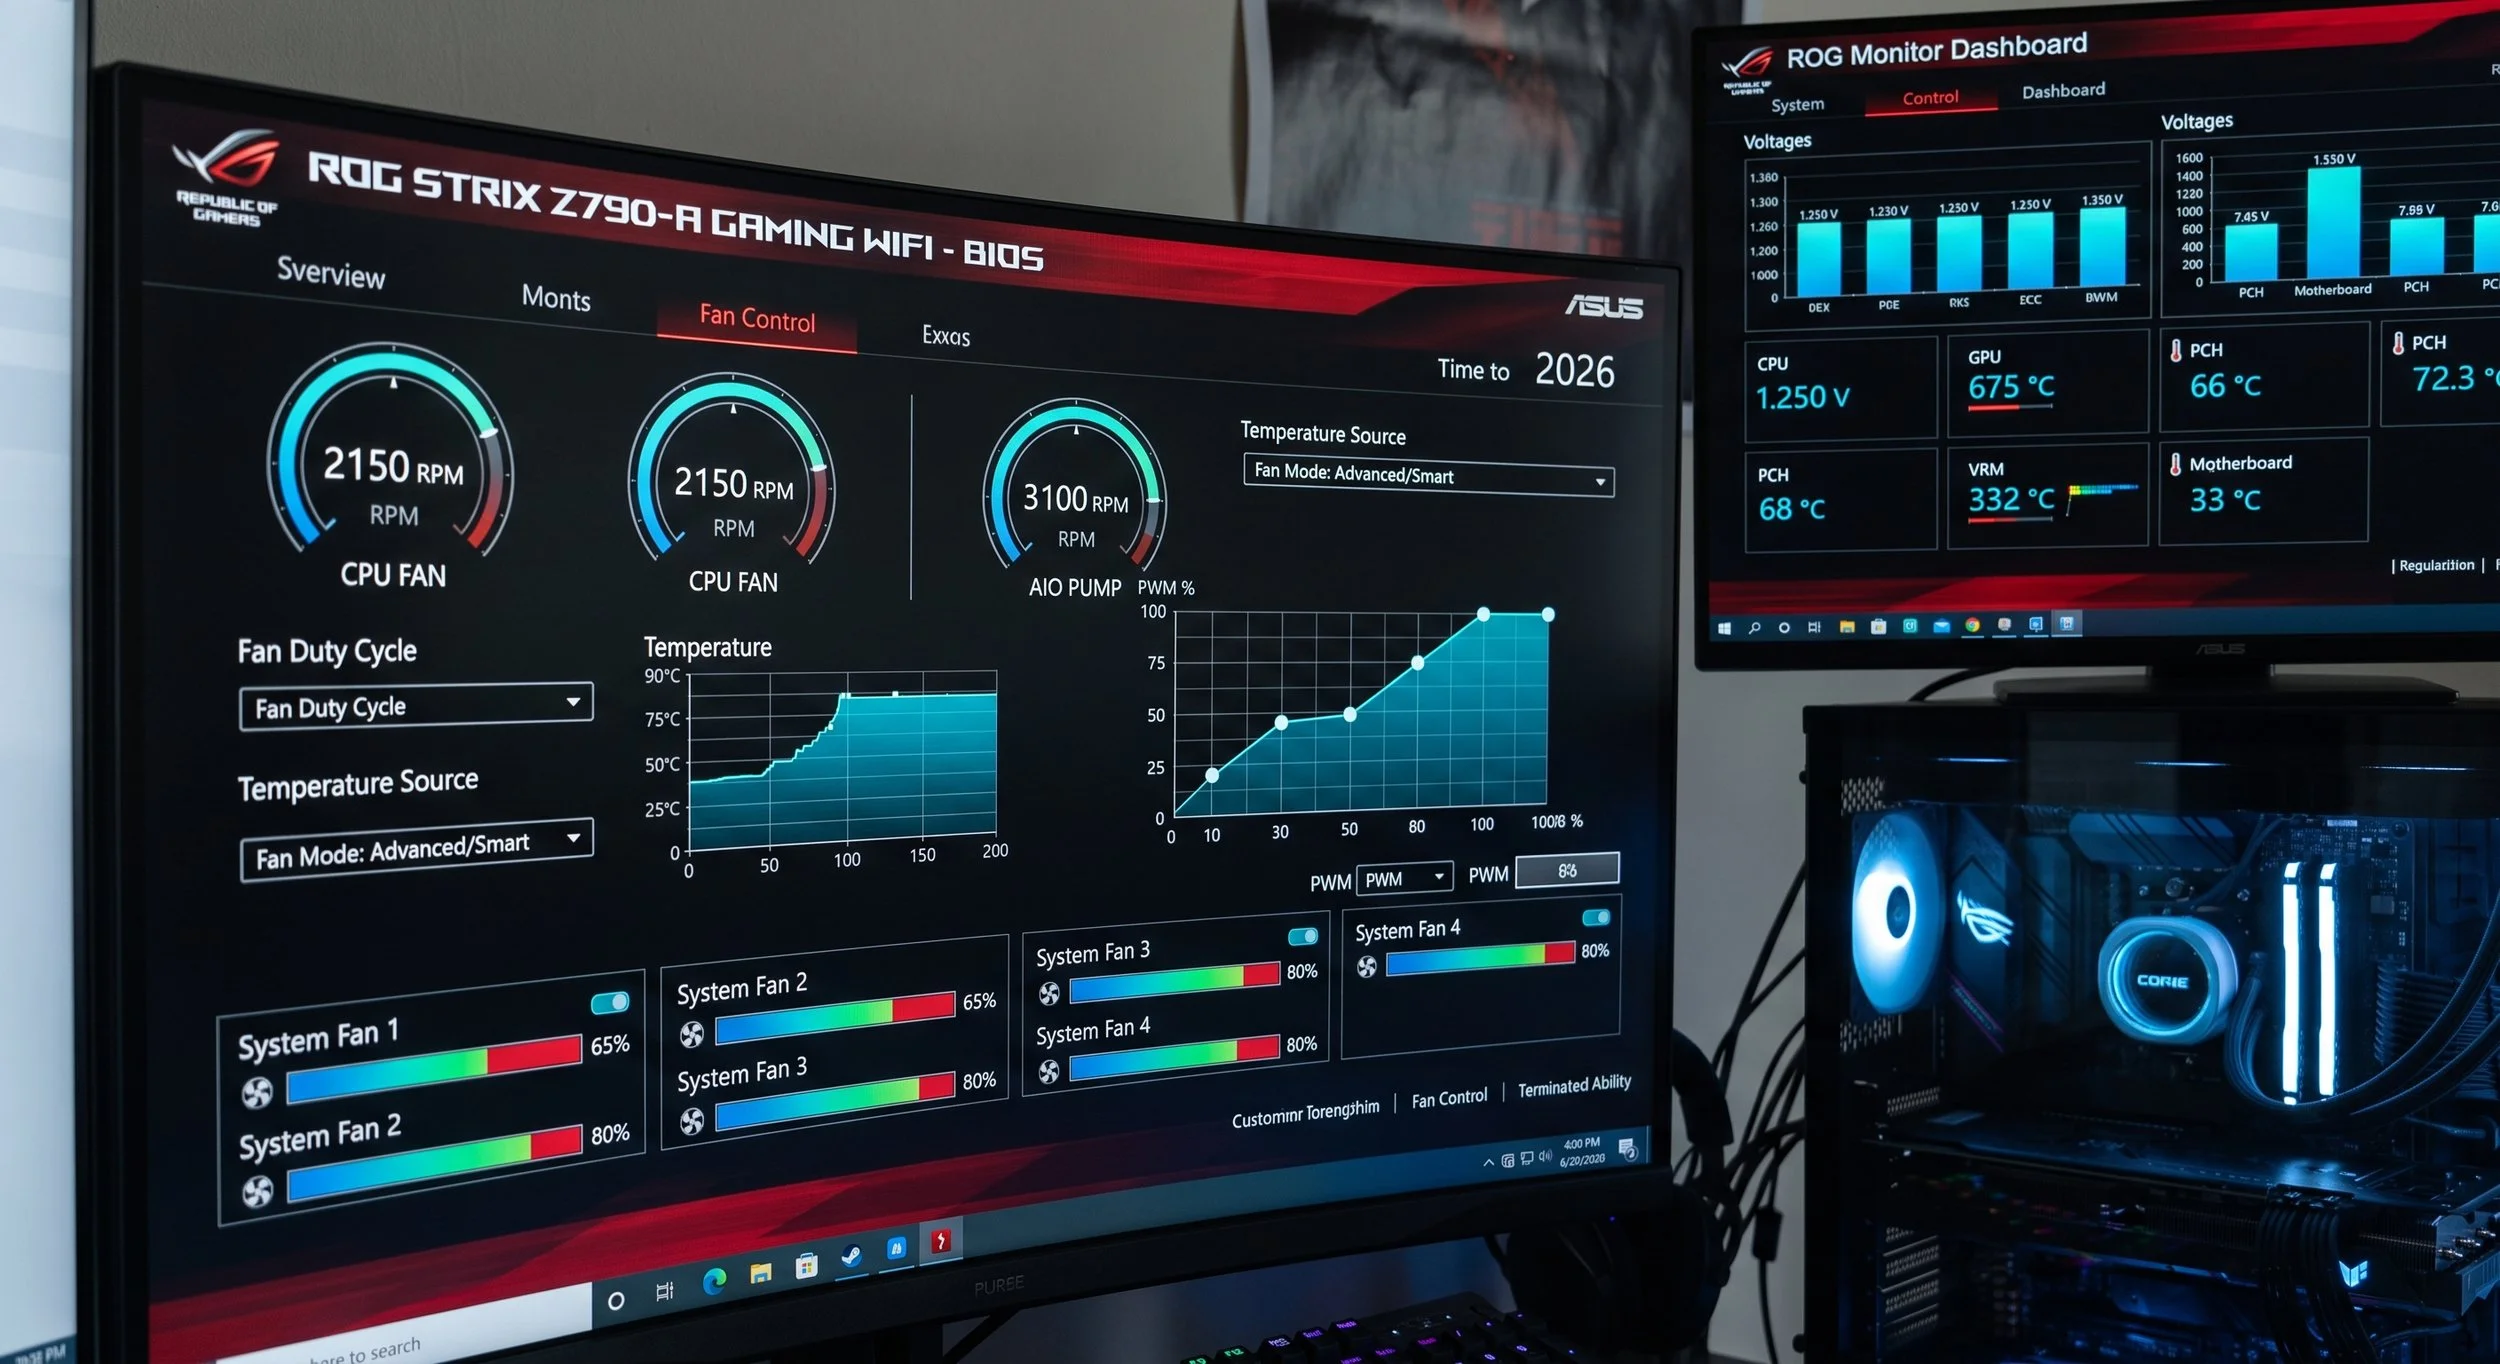
Verify fan curves and cooler operation by booting into BIOS/UEFI or launching your motherboard's fan control utility (Fan Control, Armory Crate, MSI Center) to confirm fan speeds scale with CPU/GPU temperature. For liquid coolers, check the pump RPM in the BIOS/software (pumps should run at near 100% duty cycle) and physically feel the cooling lines: one tube should feel slightly warmer than the other. If one tube is scorching hot, this means the cooling fluid is obstructed.
Audit the case airflow pressure and direction daily. Verify fan orientation by ensuring the front and bottom fans act as intakes (drawing cool air into the case), while the rear and top fans act as exhausts, pushing hot air out. Aim for a positive-pressure setup to prevent dust from being drawn through any unfiltered chassis gaps. Also, tidy up your cabling behind the motherboard tray, clearing direct airflow corridors to your GPU and CPU cooler.
Another preventive overheating measure is to replace and apply a fresh, quality non-conductive thermal paste using a pea-sized dot or cross pattern (X-pattern, that is) to ensure uniform mounting pressure.
Here’s a Conclusive Recap
Catching thermal issues in your PC early is the easiest way to protect your hardware from premature wear and ongoing performance degradation. Warning signs can include loud cooling fans, sudden frame rate drops while gaming, or unexpected crashes. Verifying those physical symptoms with accurate sensors gives you a clear picture. Also, keep air channels clear of dust, ensure proper fan curves, and refresh thermal paste when temperatures rise above the threshold. will ensure that your system delivers optimal performance.