
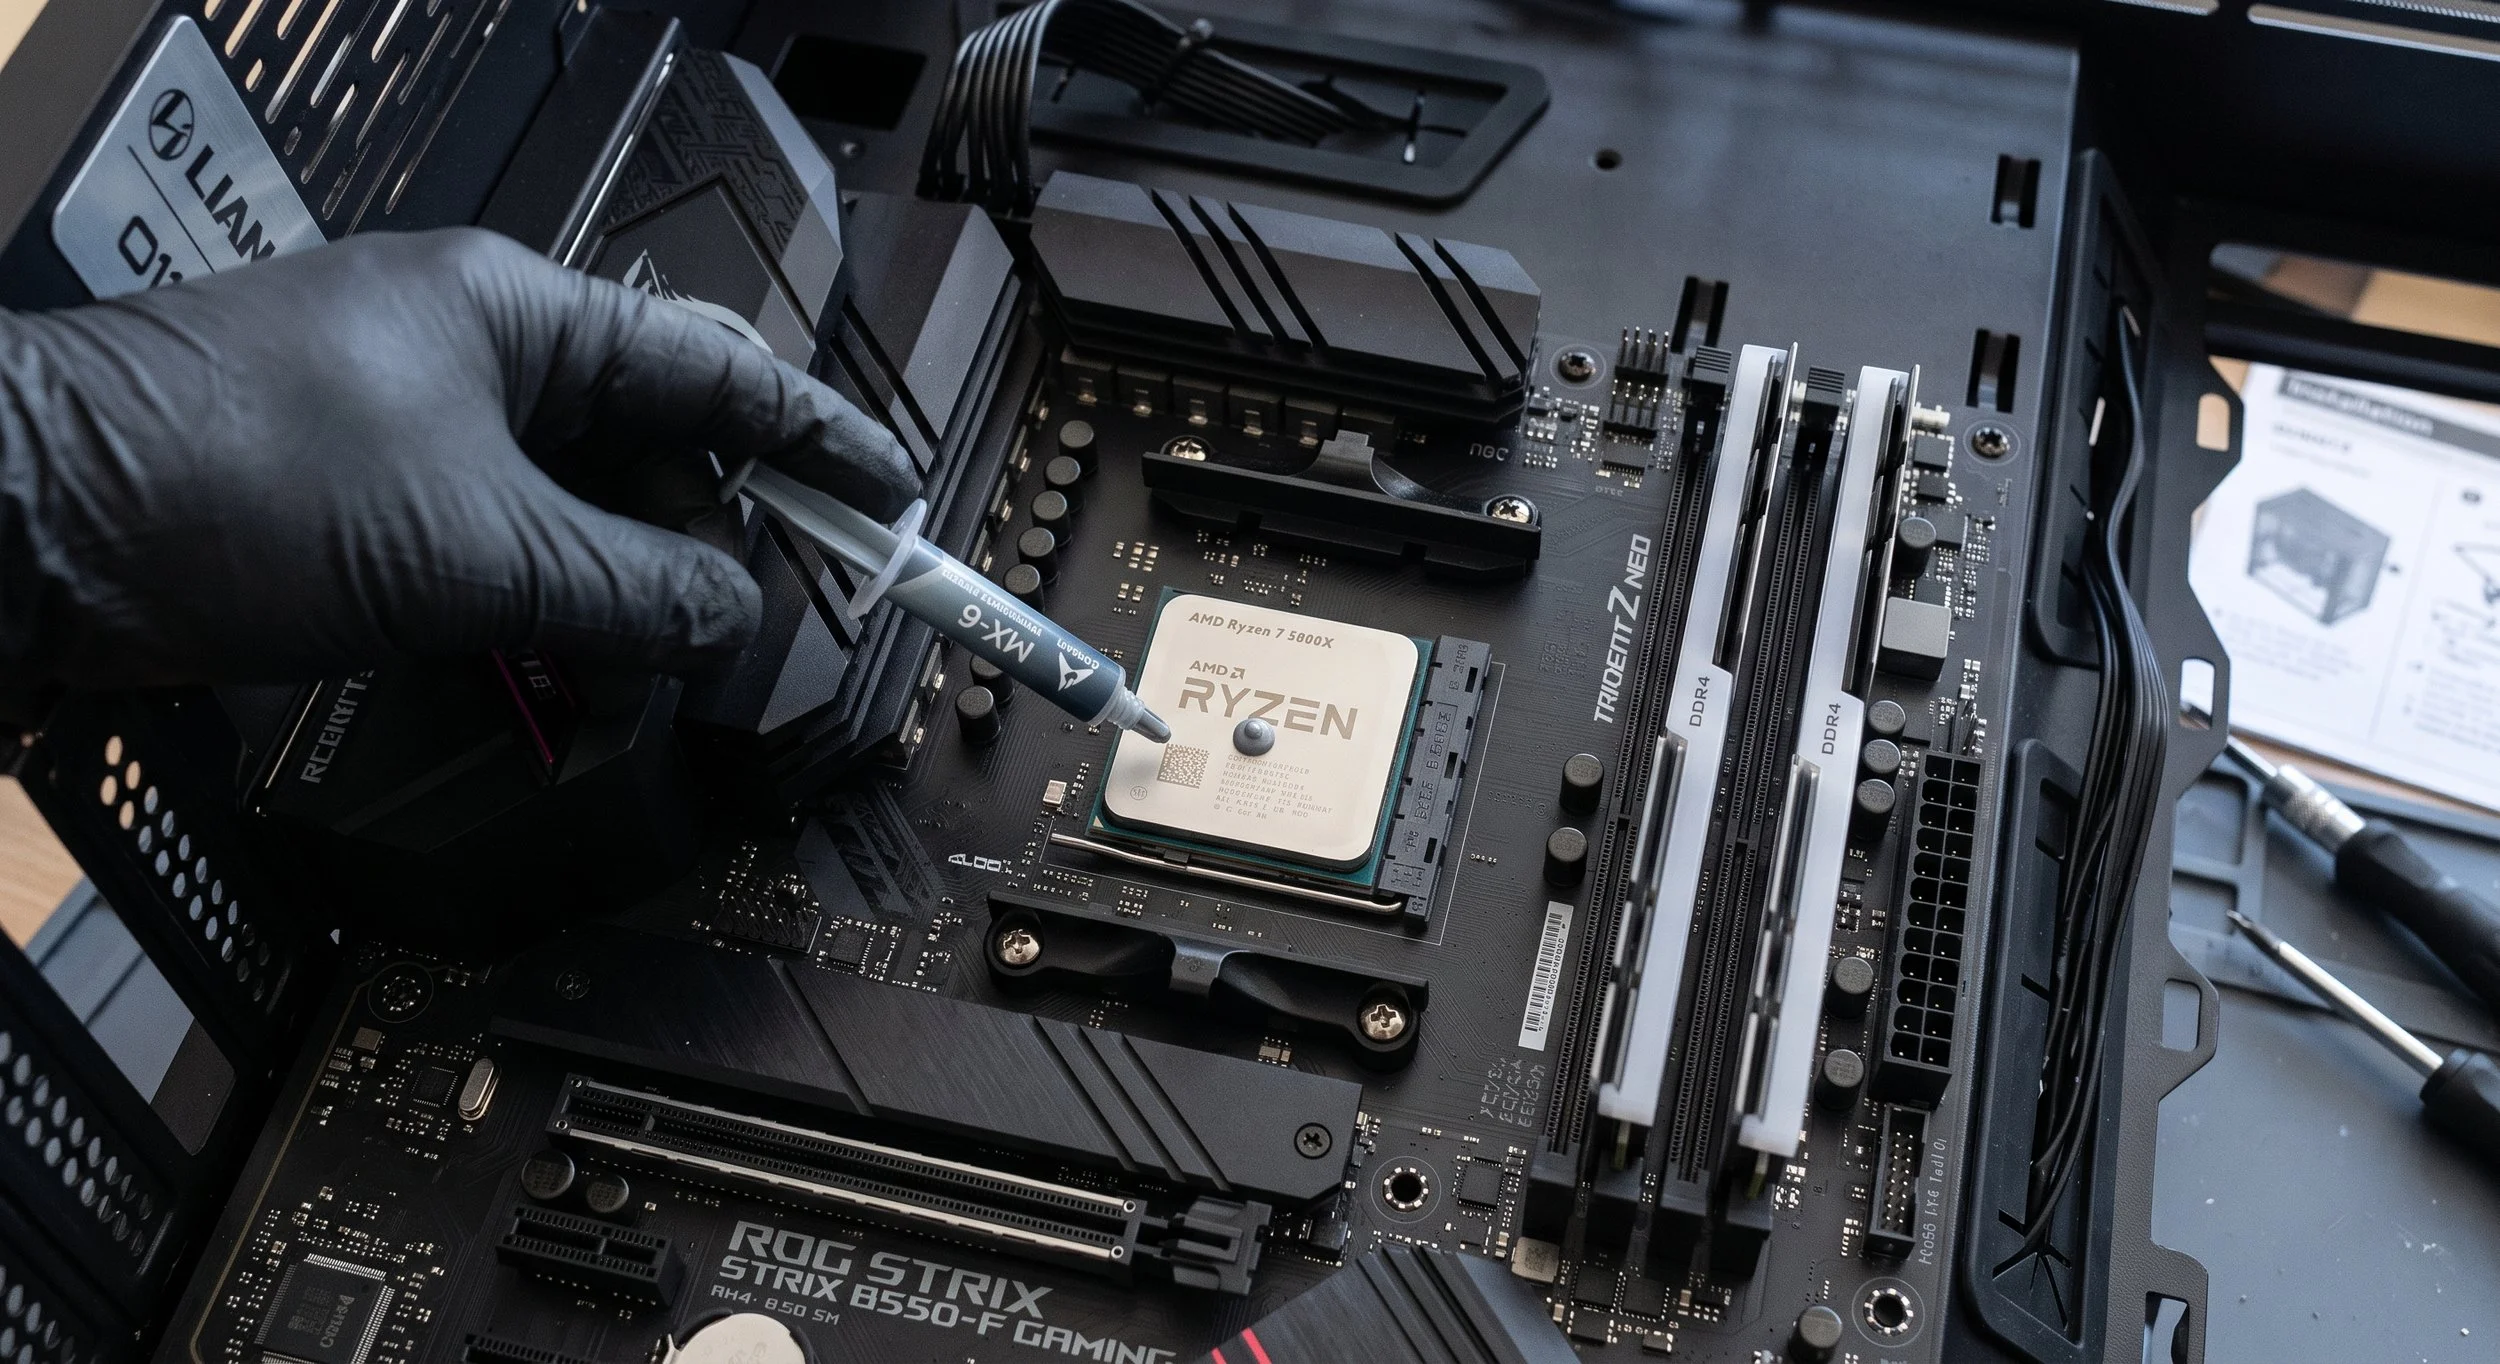
Repair Guide Series Presents: How to Reapply Thermal Paste to Your Processor
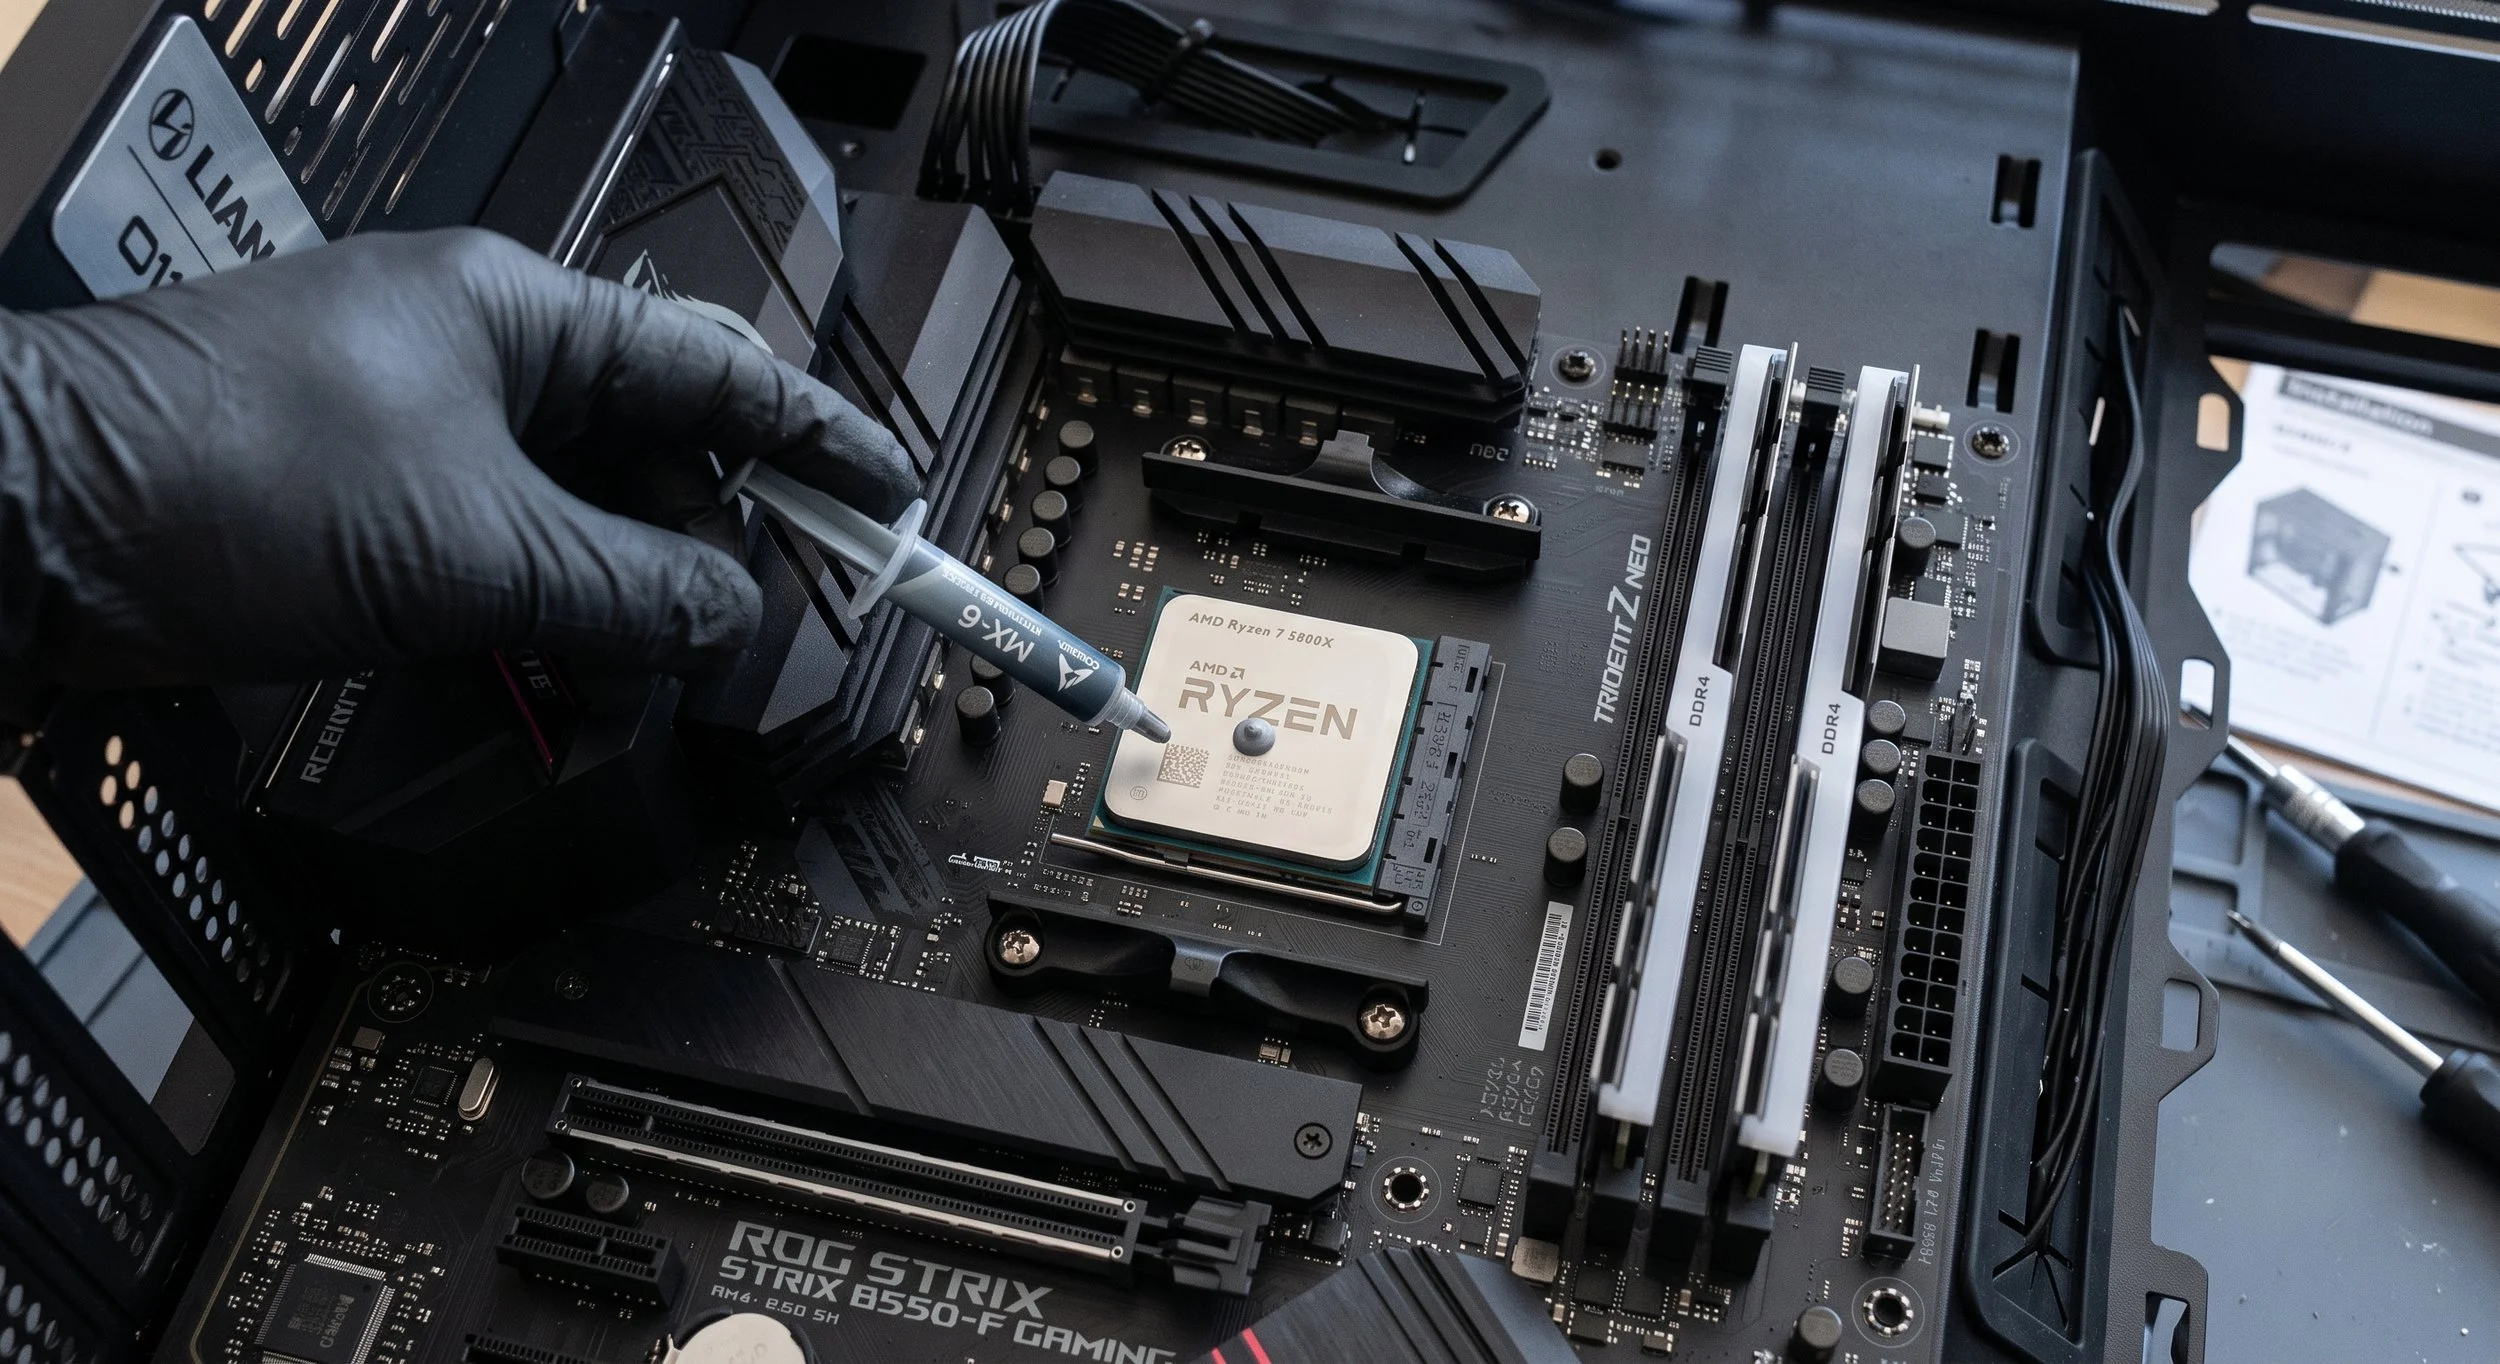
Over time, the thermal paste, responsible for proper heat transfer between your processor and heatsink, can degrade, leading to higher CPU temperatures, increased fan noise, and potential performance throttling. Replacing the thermal paste every two to three years should be part of your PC maintenance routine. Doing so will cool your system efficiently and stabilize performance.
I've provided you with a step-by-step guide to properly reapplying thermal paste to your processor. Follow along.
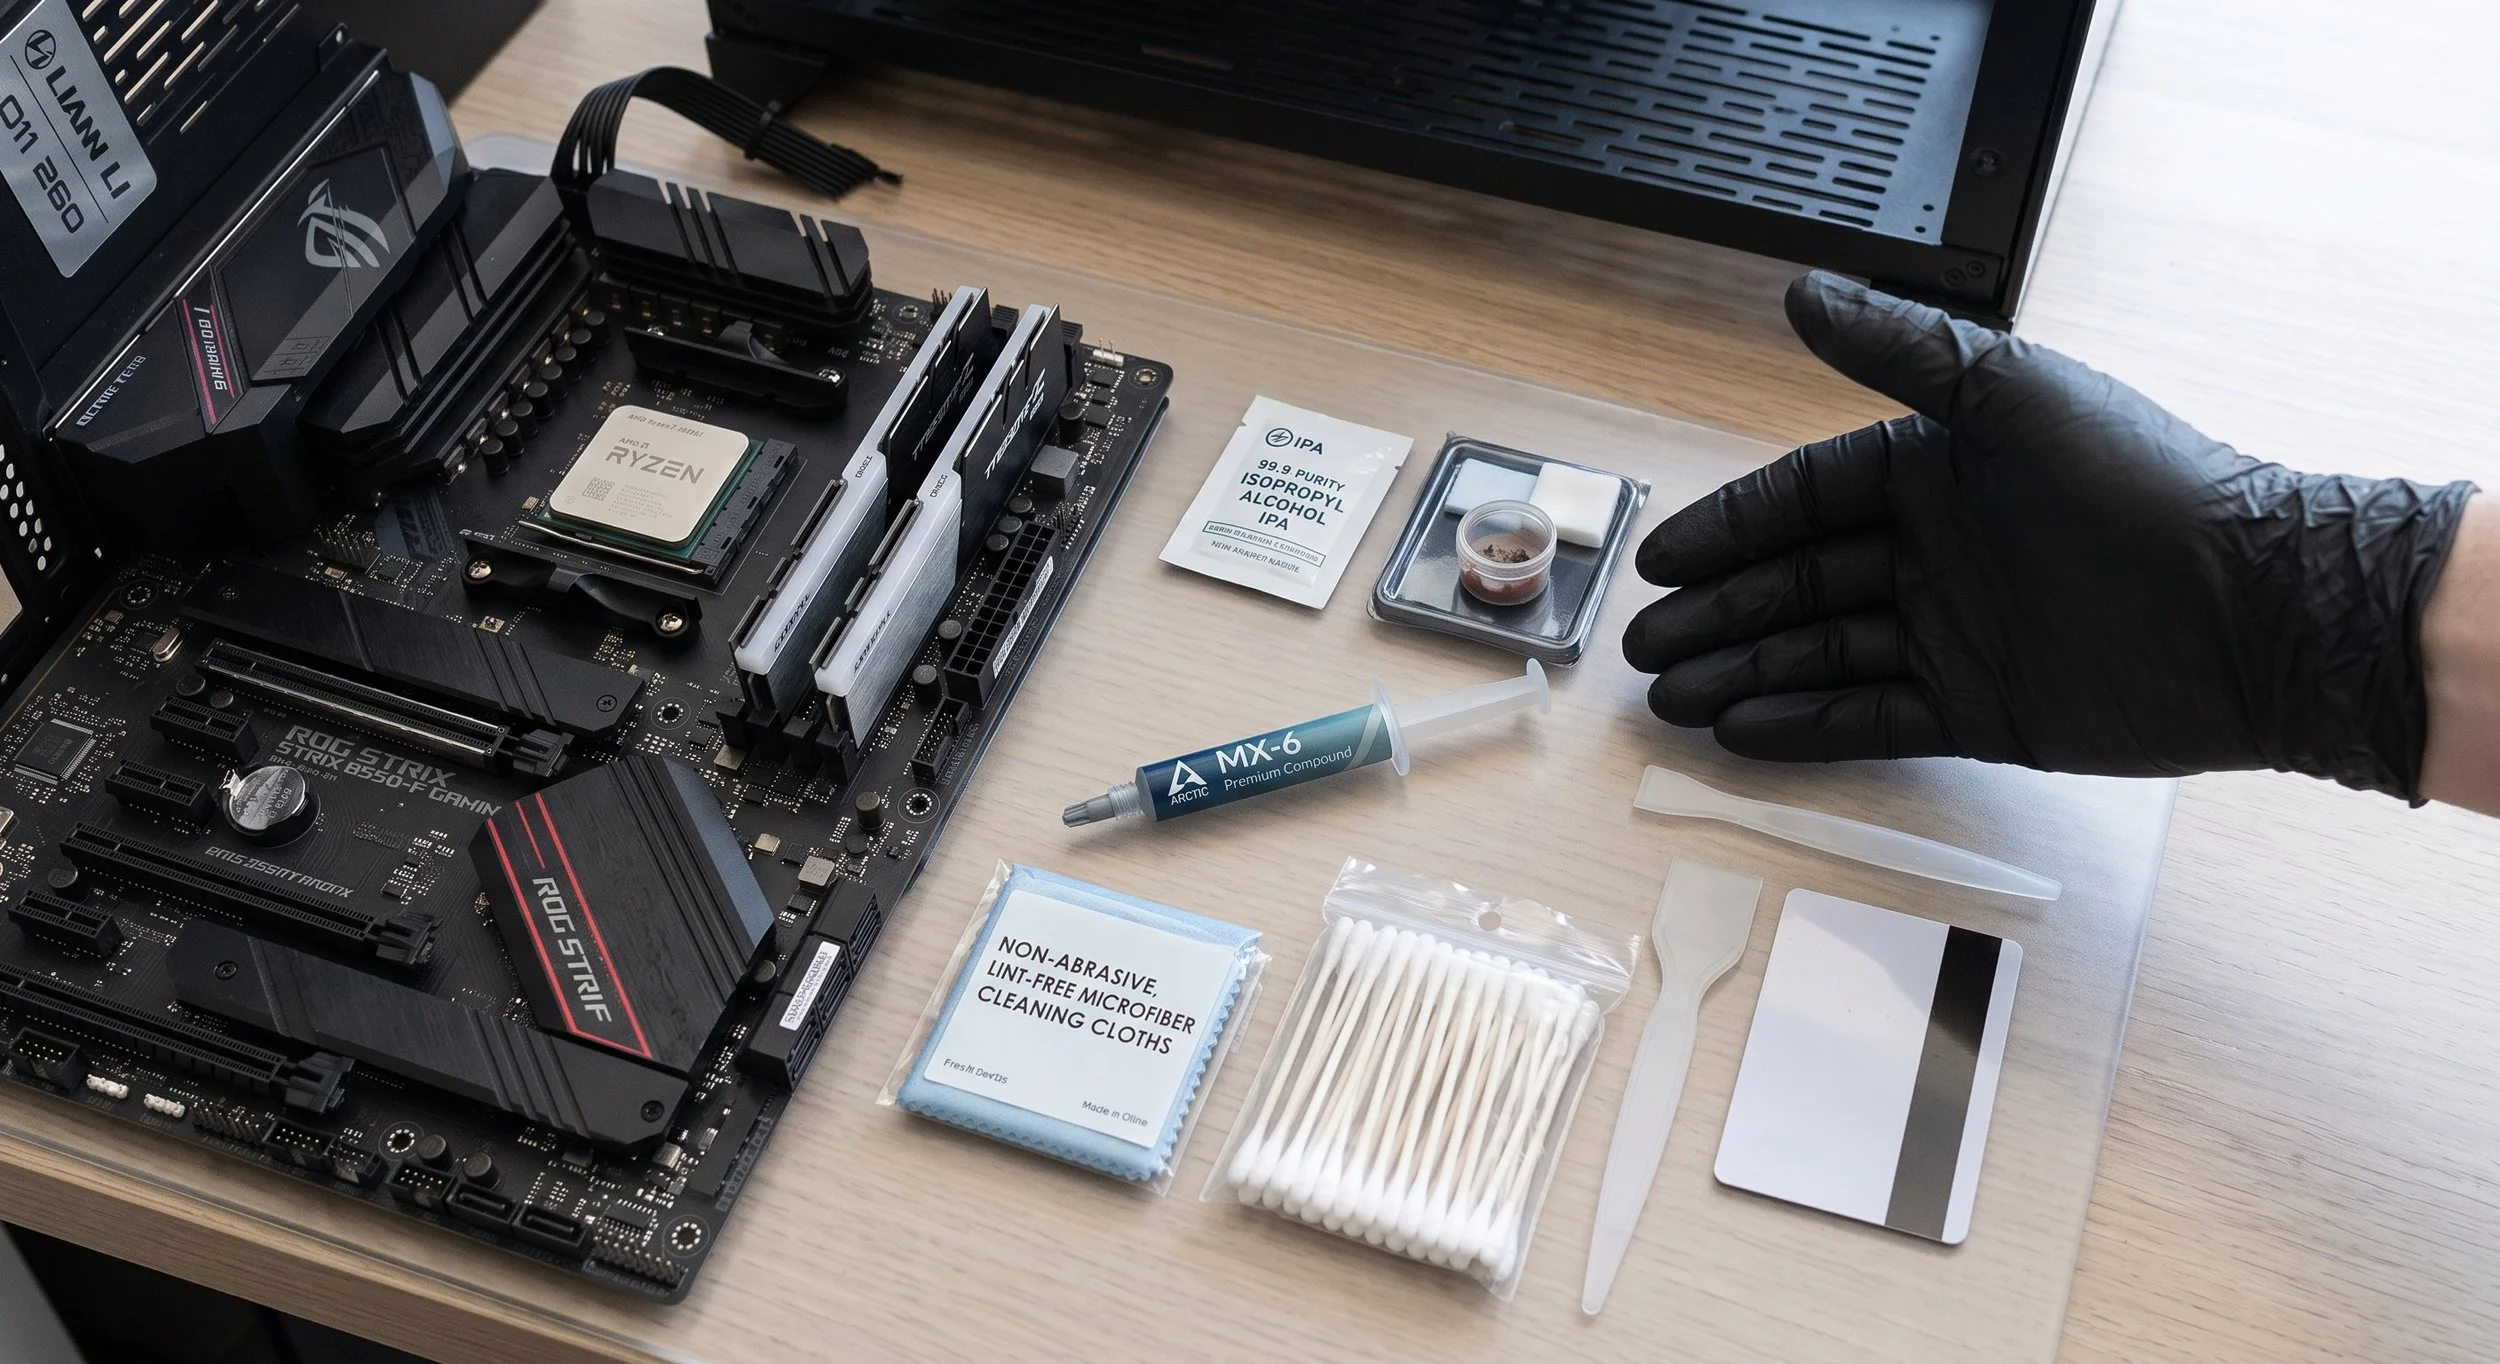
Tools and Materials Needed
Materials and tools needed for the maintenance tasks are isopropyl alcohol (90% or higher) to loosen and wipe the thermal paste off the CPU, a microfiber cloth or lint-free paper towels and swabs, fresh thermal paste, and a Phillips-head screwdriver.
The Prep and Be Safe
Power down your system, flip the PSU switch to off, and unplug the power cable — then hold down the power button for at least 5 seconds to drain any residual power. Carefully lay the PC case flat on a clean, static-free surface.
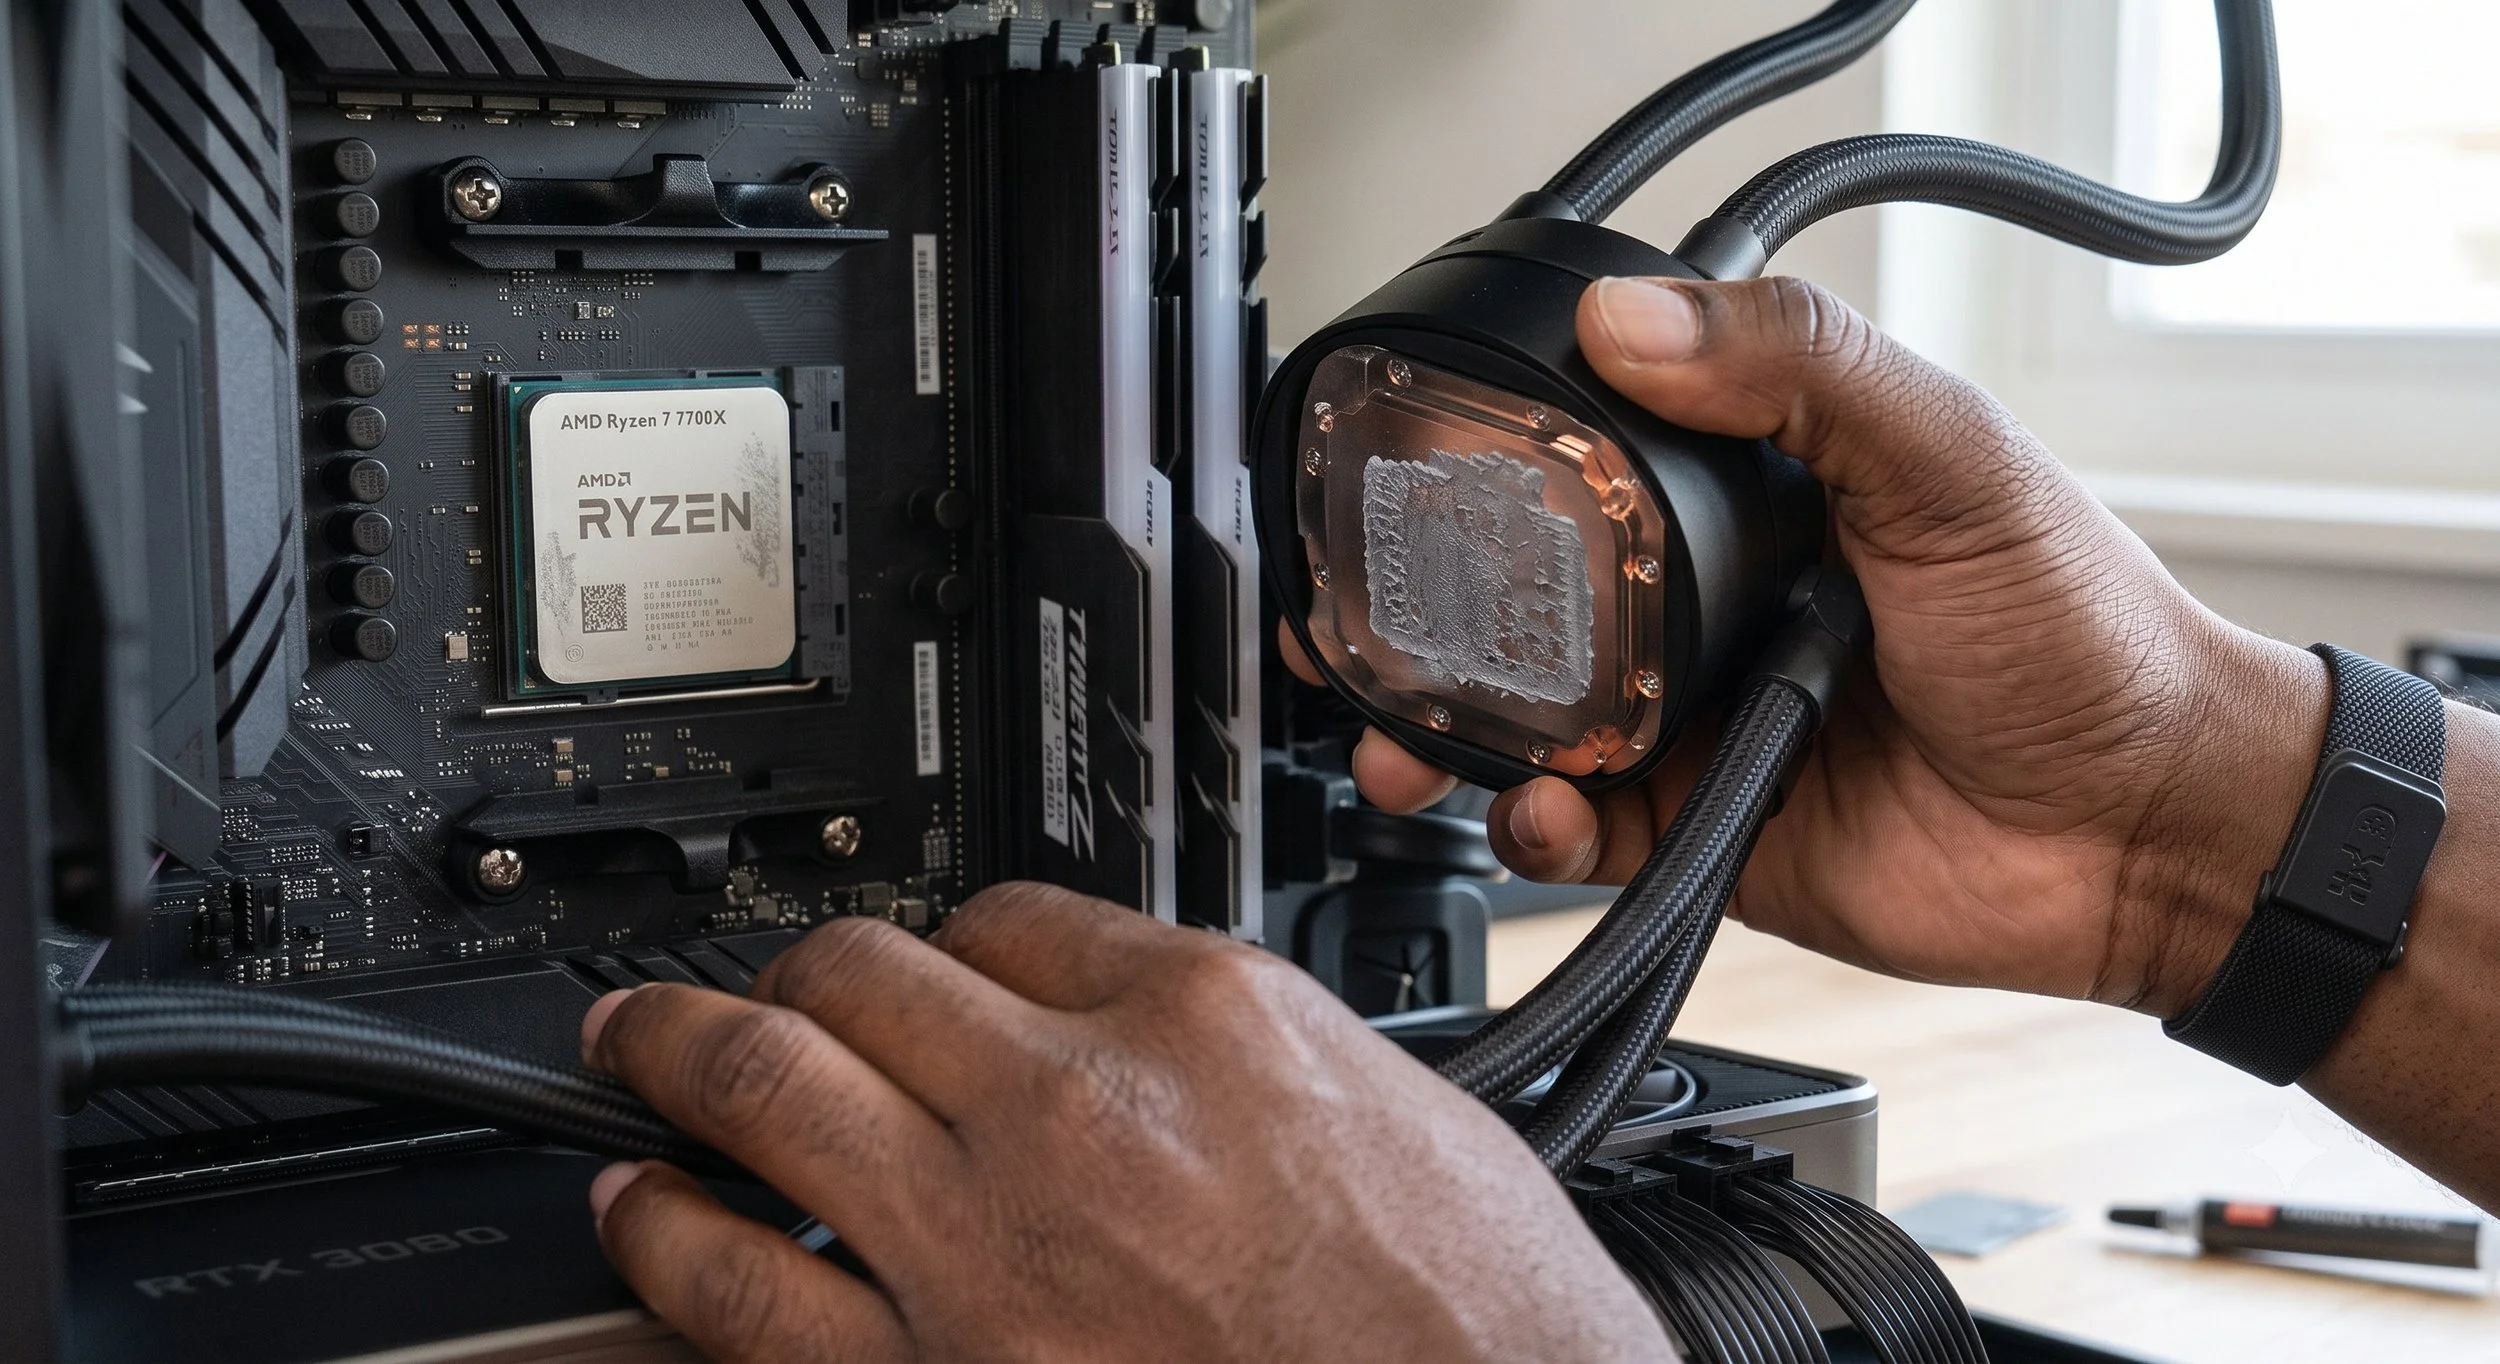
It's Time to Remove The Cooler
Once you have opened the PC case, (carefully) unplug the CPU fan or the AIO cooler header from the motherboard. Unscrew the CPU cooler in a diagonal-cross pattern to distribute tension evenly. The cooler may feel stuck; if that is the case, apply a gentle twist—never, I repeat, never pull it straight up; this can force the CPU out of the socket, which can cause considerable damage.
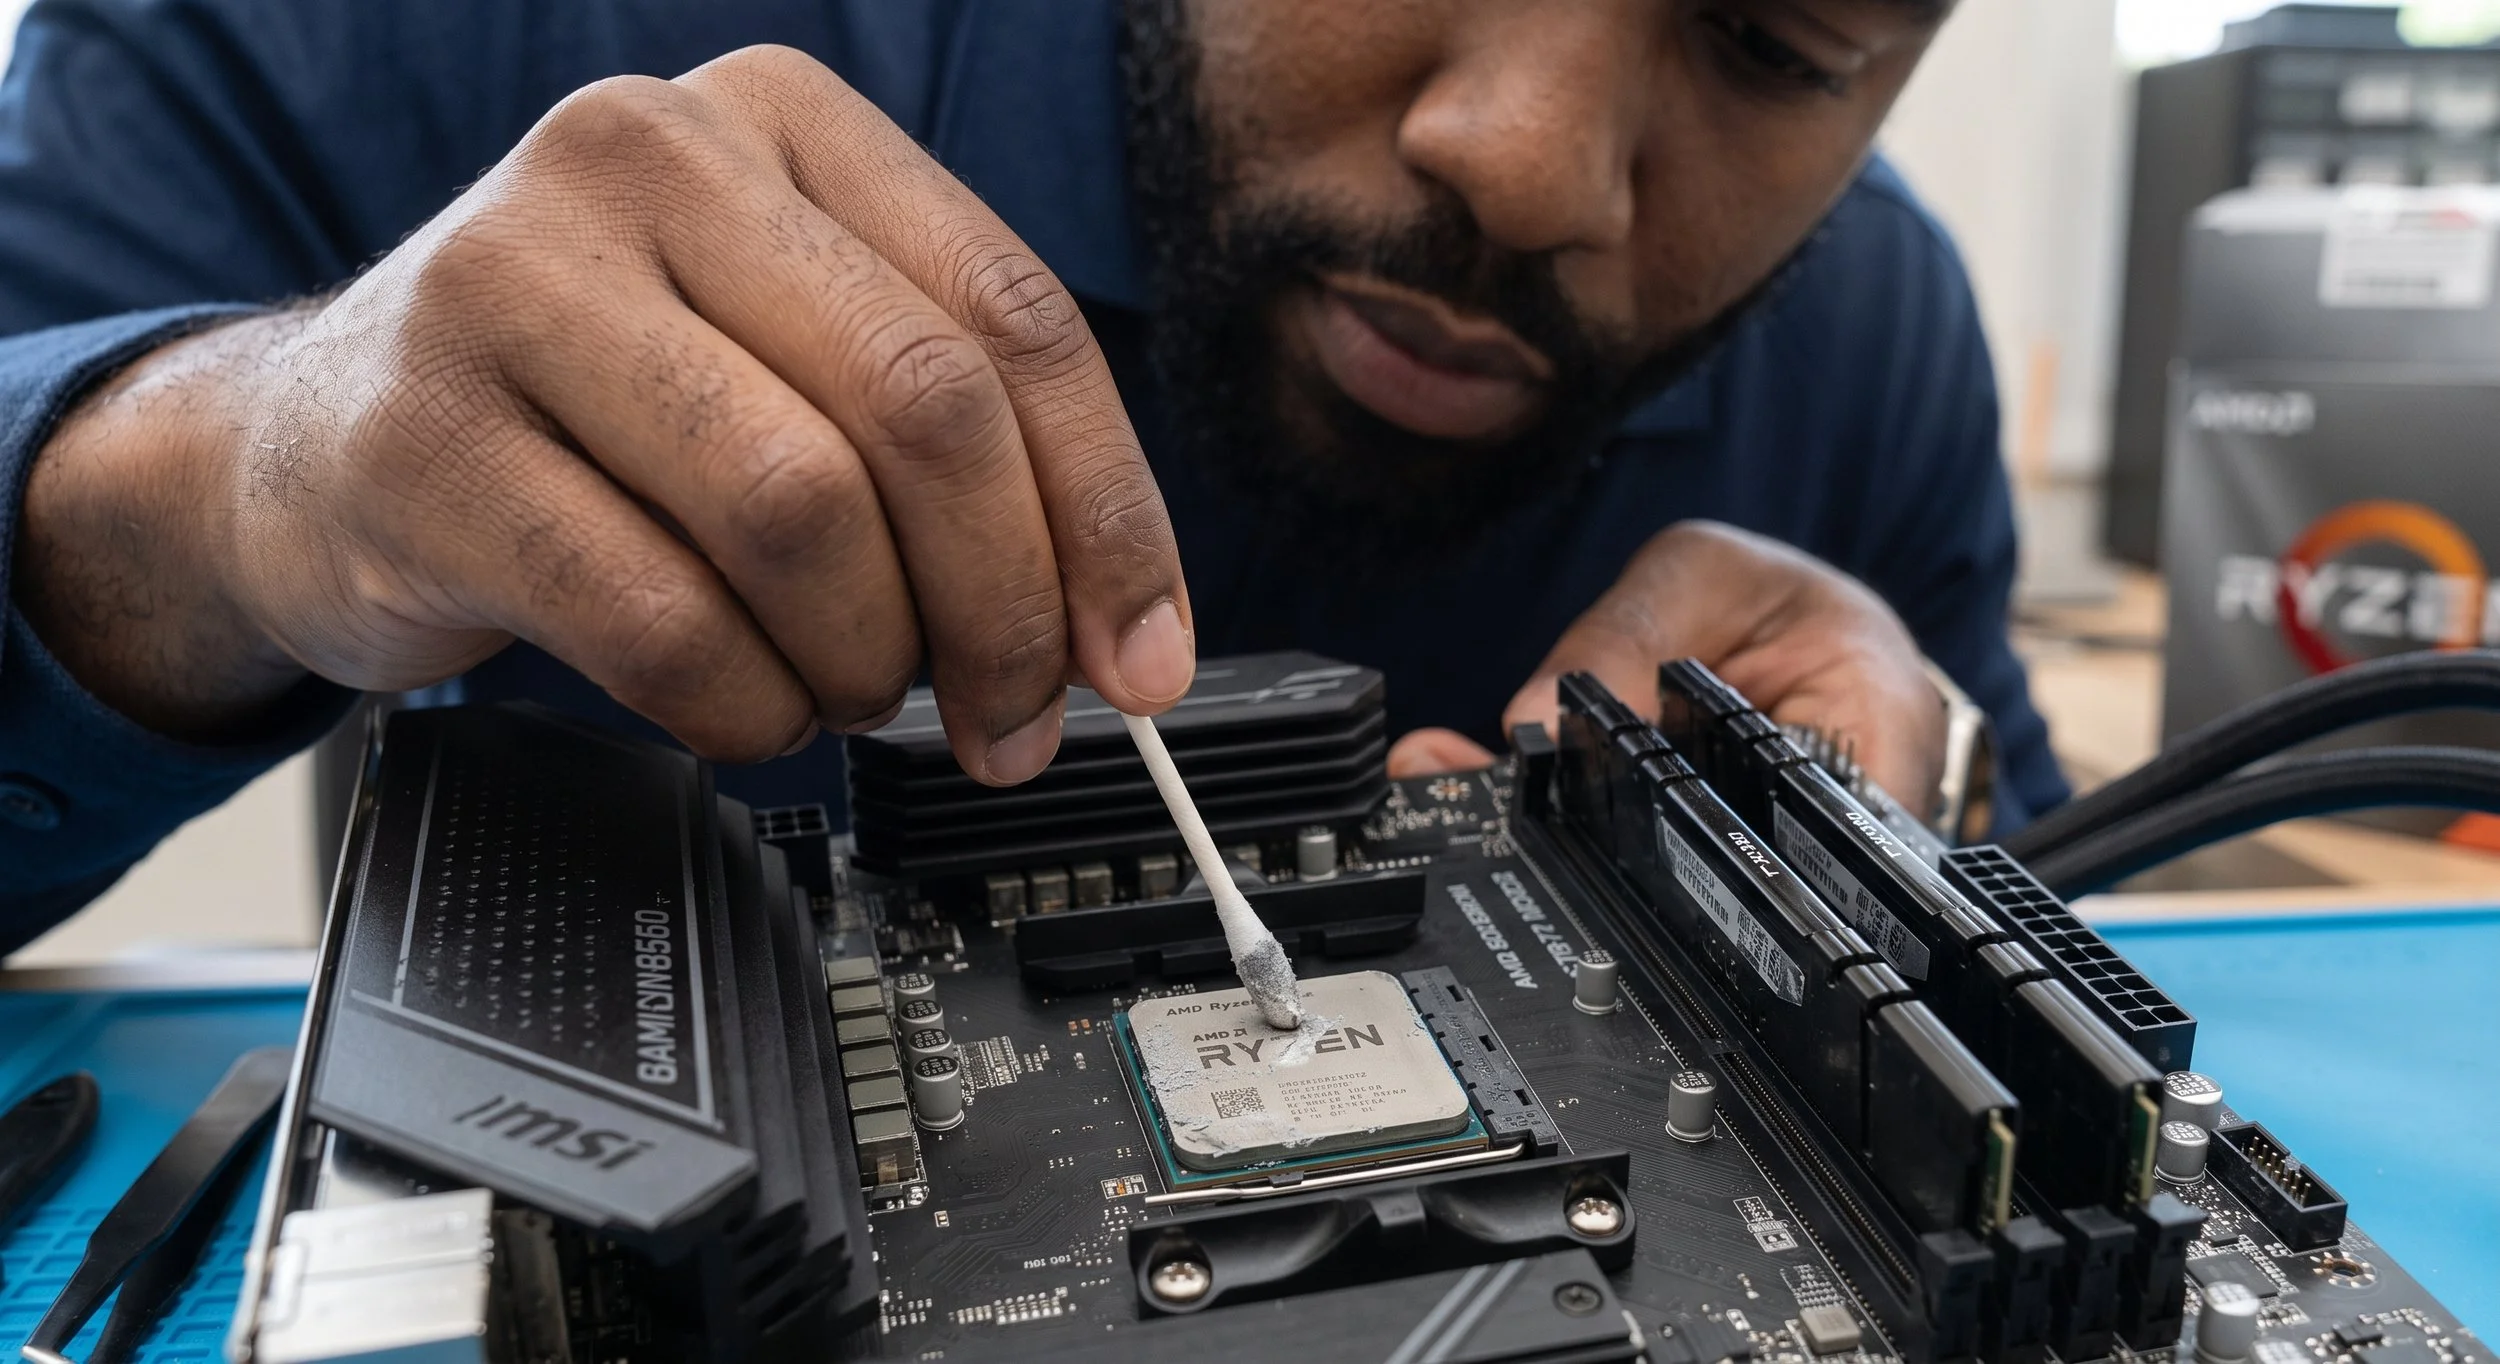
The Paste Clean-Up
Slightly dampen your microfiber cloth with isopropyl alcohol, then gently wipe away the dried paste from both the CPU heat spreader and the cooler base. Continue cleaning until both metal surfaces are completely free of residue. It should look very smooth and clean.
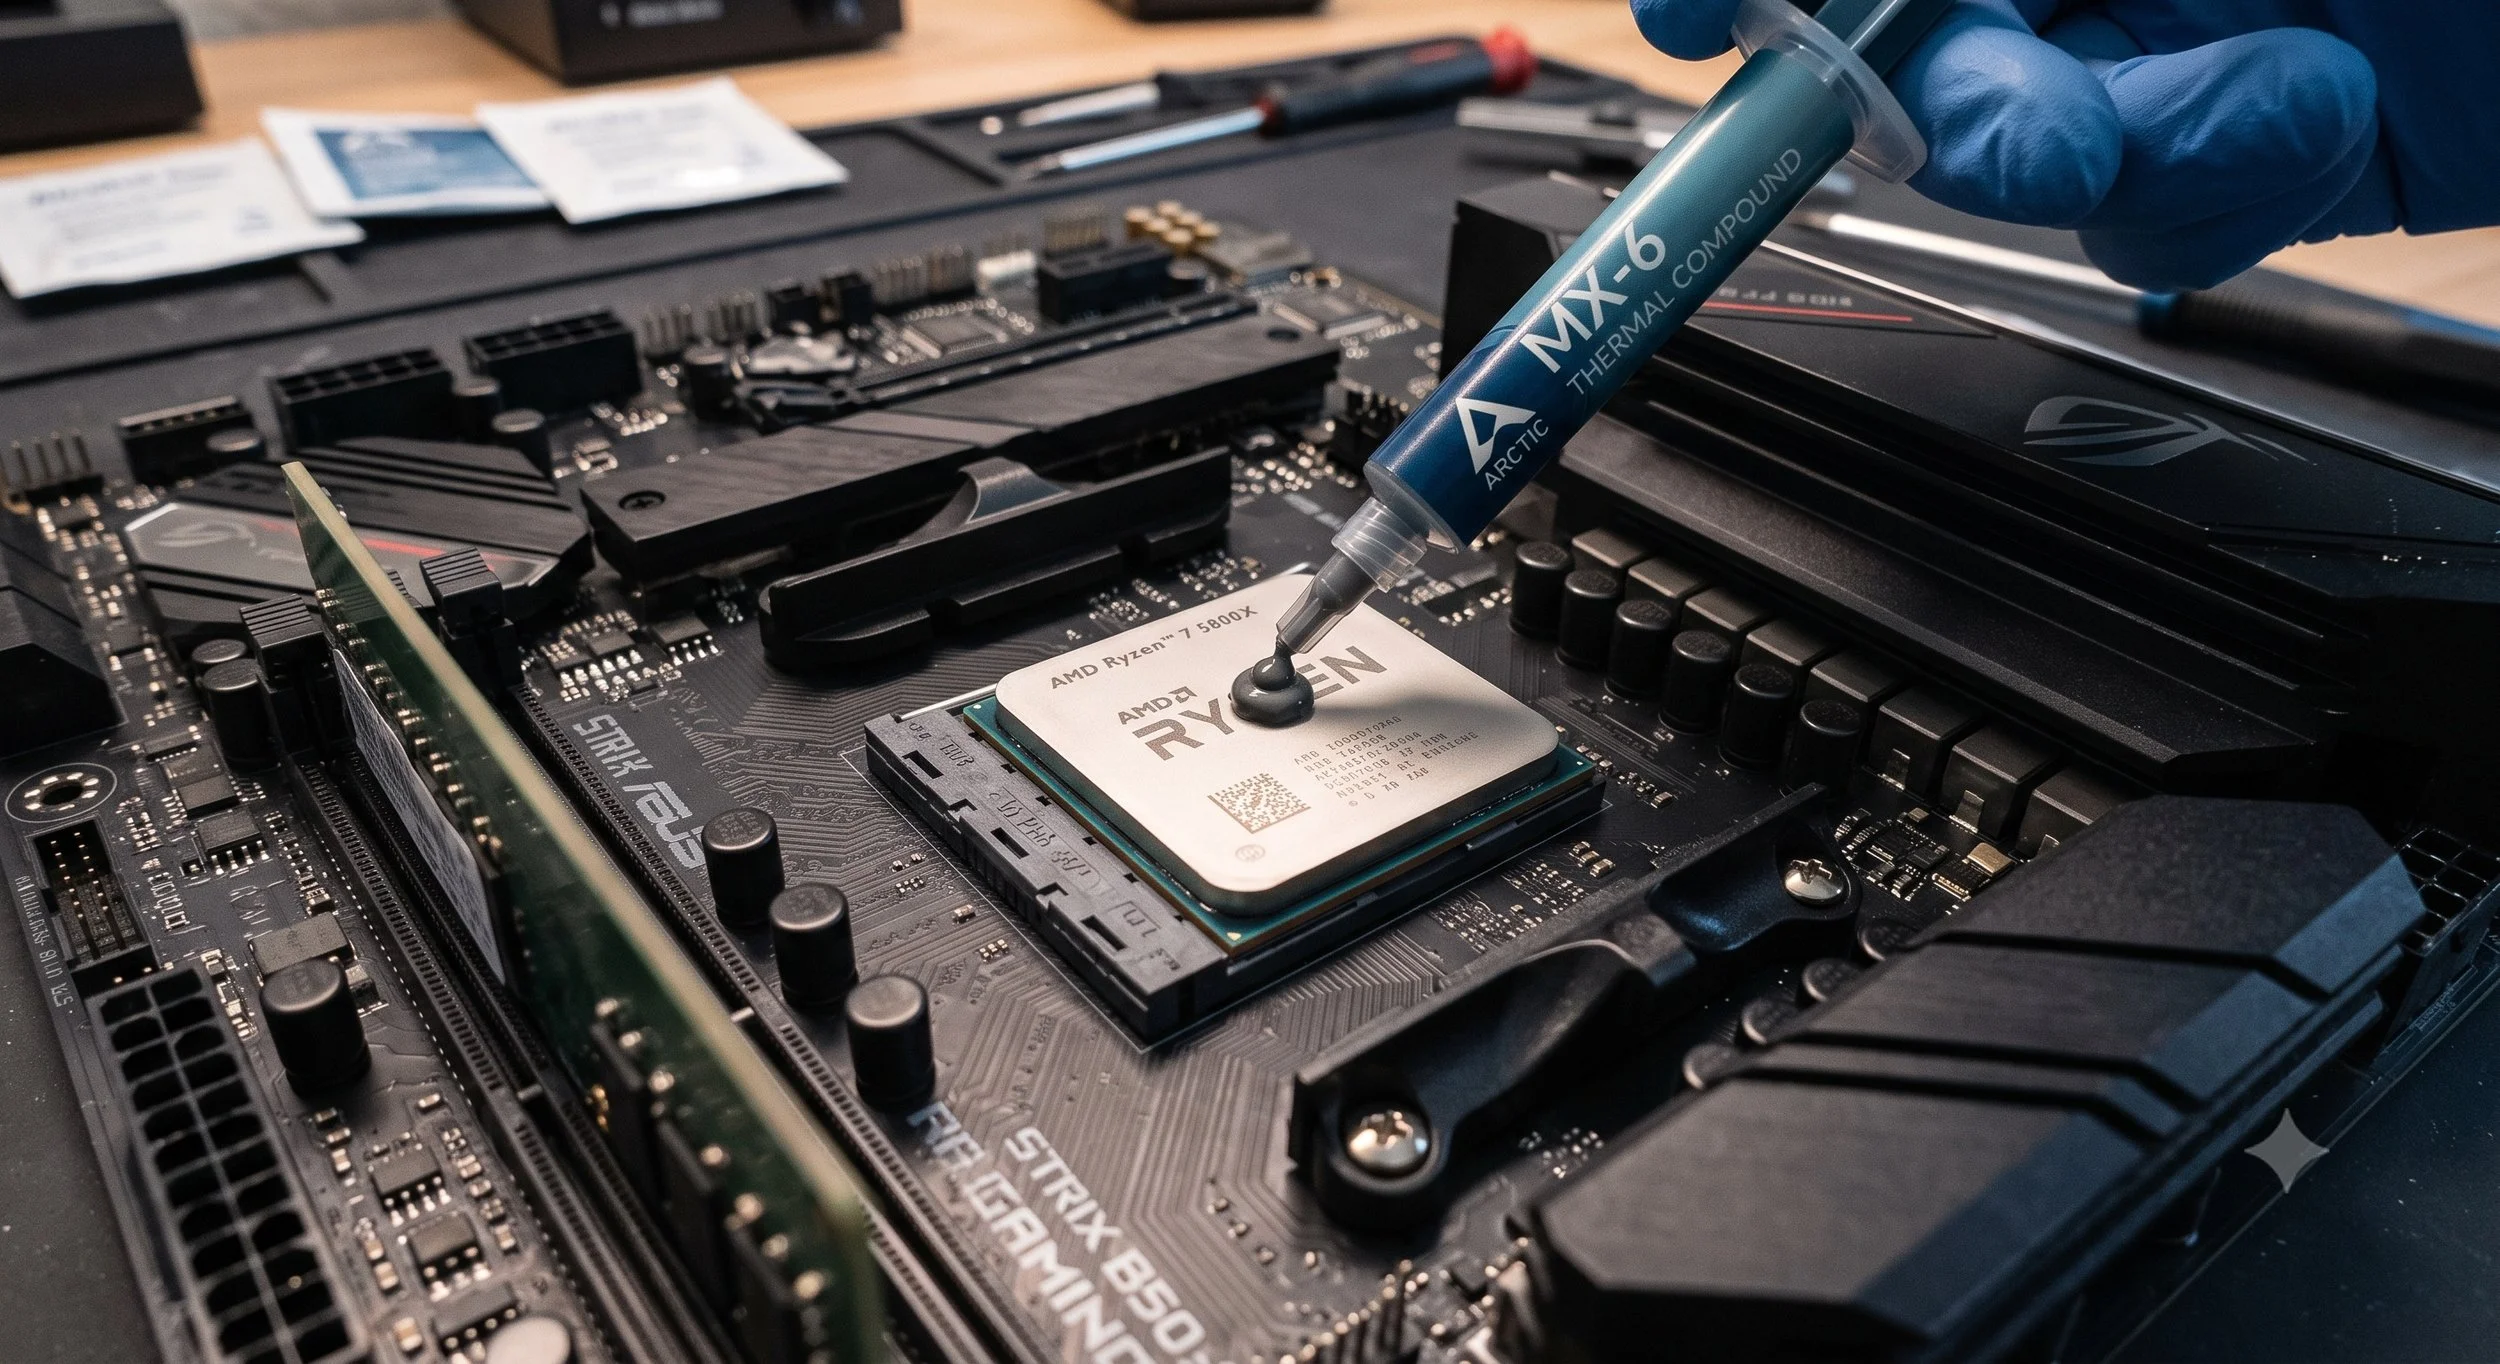
Apply the New Thermal Paste
Once you have cleaned your processor, apply the new thermal paste; it should be no more than two pea-sized dots in the center of the CPU heat spreader. Quick Tip: Avoid using too much paste; the mounting pressure alone from the cooler will spread it evenly across the surface.
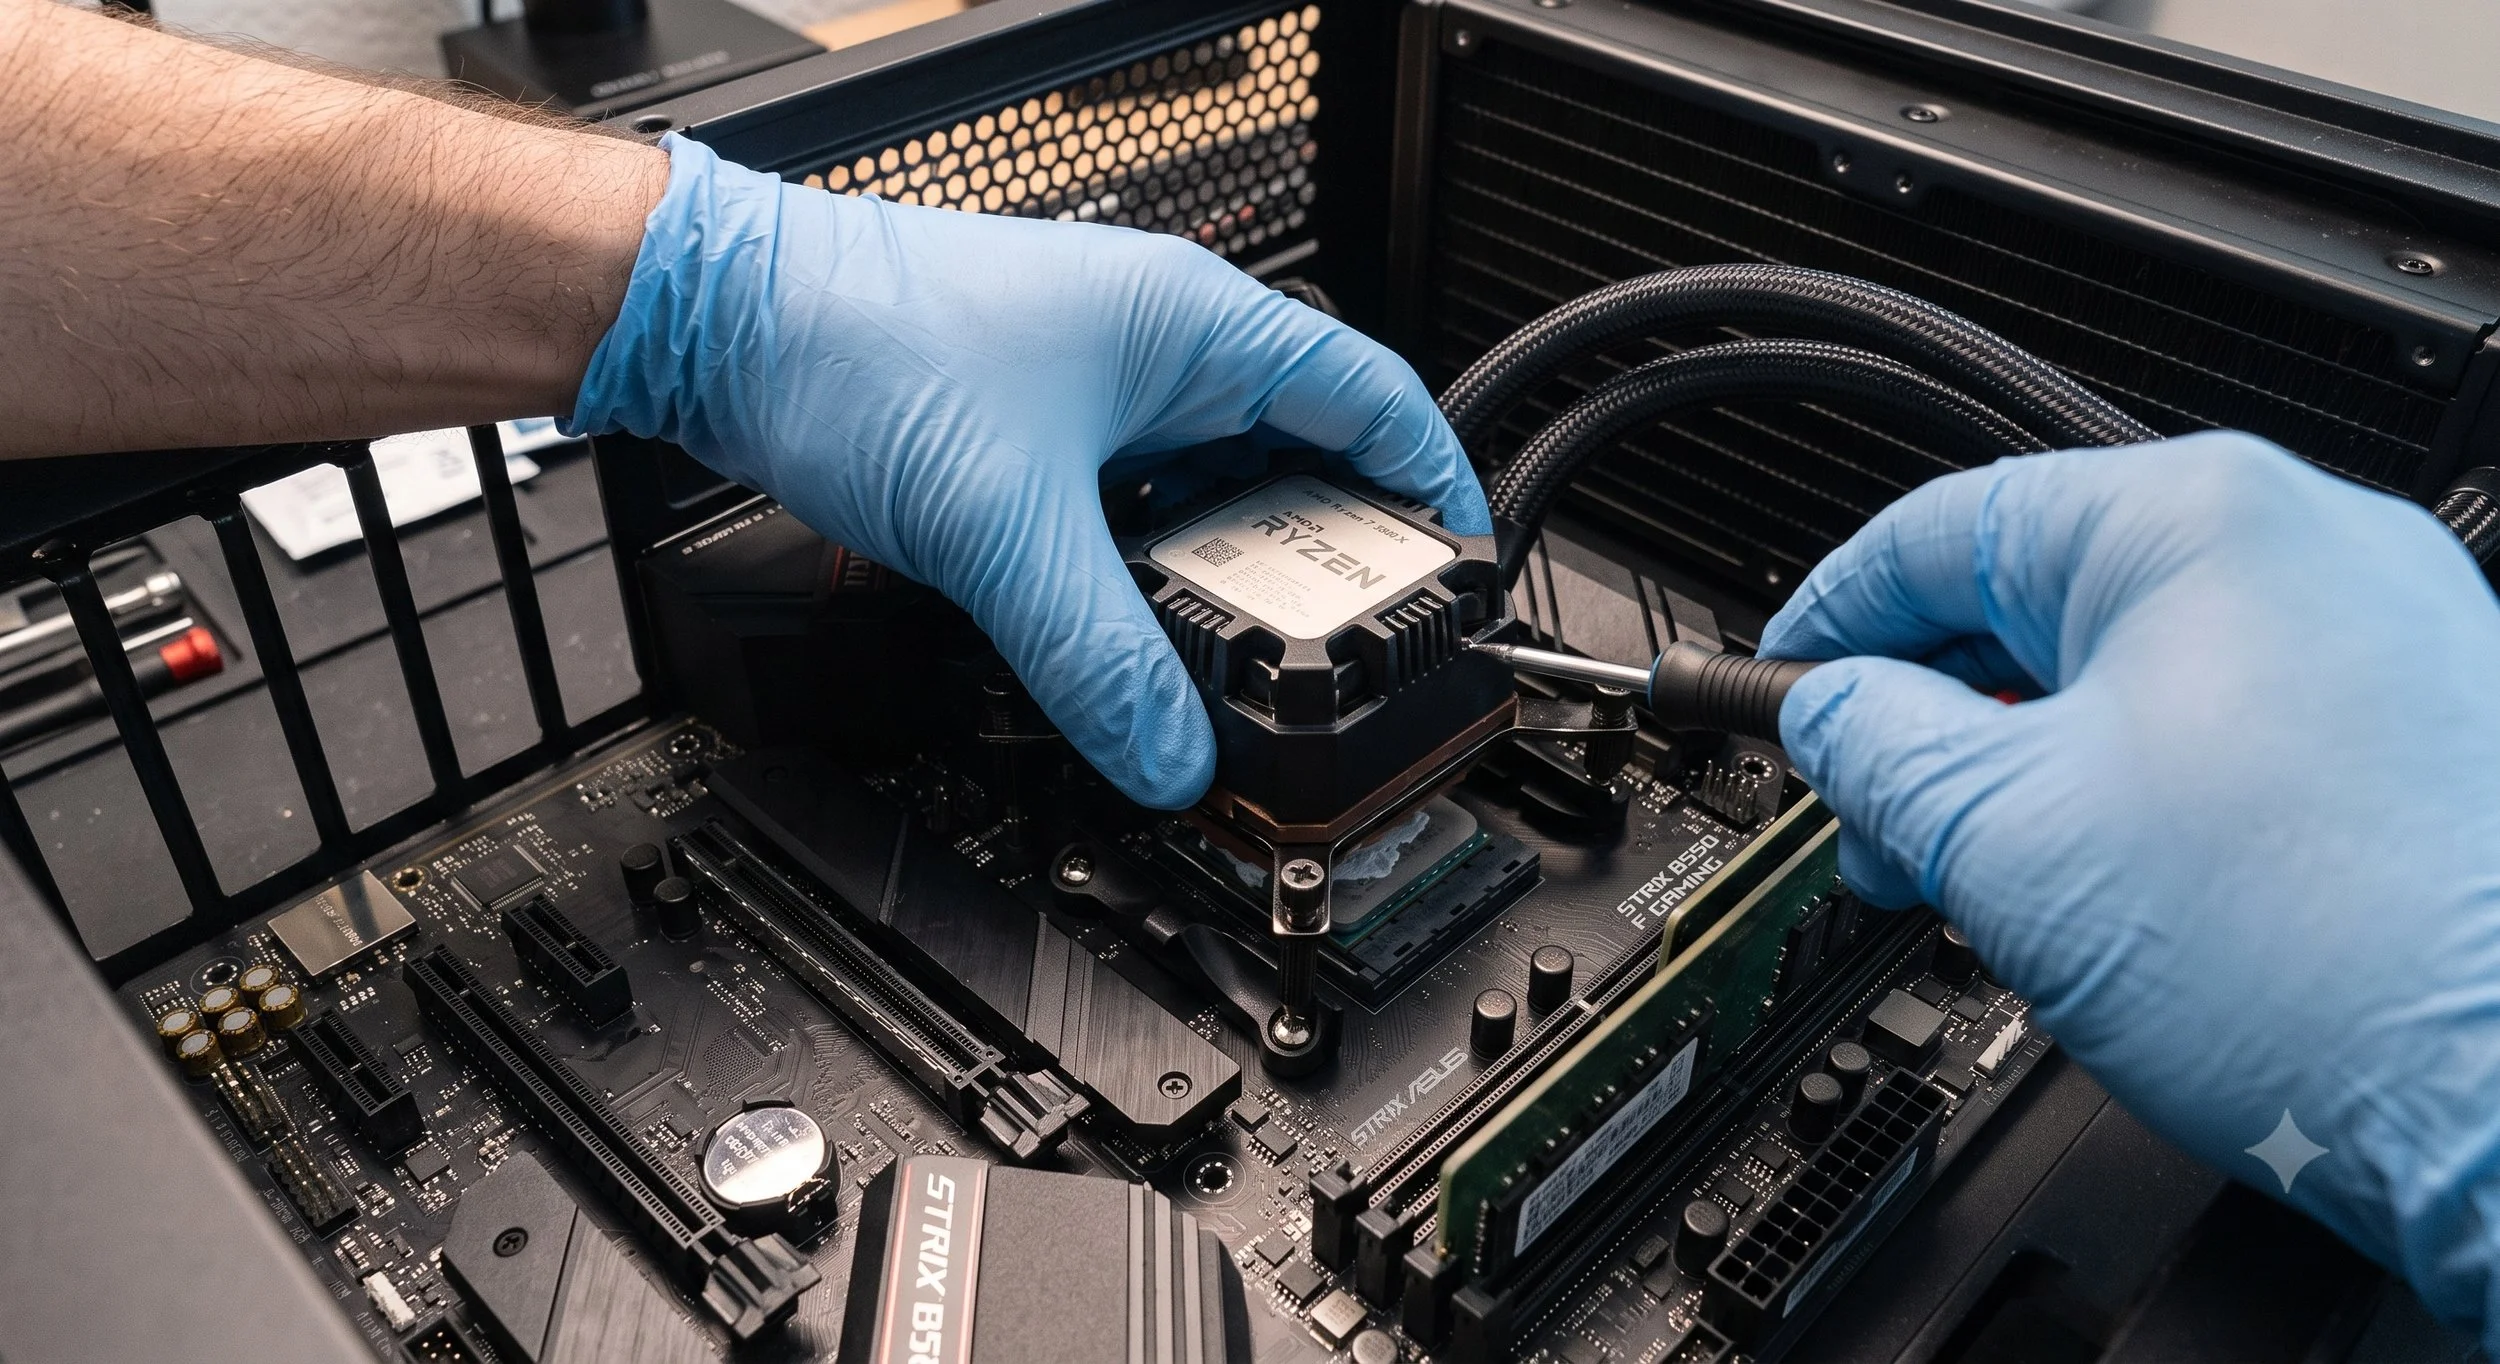
It's Time to Remount the Cooler
Place the cooler on the CPU, tighten the screws evenly in a cross pattern, reconnect its power header, and restart your PC. Boot into your BIOS or run a hardware monitor to verify that temperatures are normal, typically 86–122°F (30–50°C). If so, the installation is a success. You won.
I Highly Recommend These Two Thermal Pastes
My personal favorite; it’s the best all-around choice for daily desktop use and has an extensive lifespan. It offers excellent thermal conductivity and, importantly, is non-conductive.
For those who overclock their systems and own high-heat CPUs, this thermal paste is a must-have. Designed specifically for maximum heat dissipation. Just to be transparent, this particular thermal paste is pricier than many options on the market and tends to dry out faster if the CPU temperature is sustained above 80 °C. However, the paste is still ideal for PC enthusiasts who want to push their rigs past their limits.
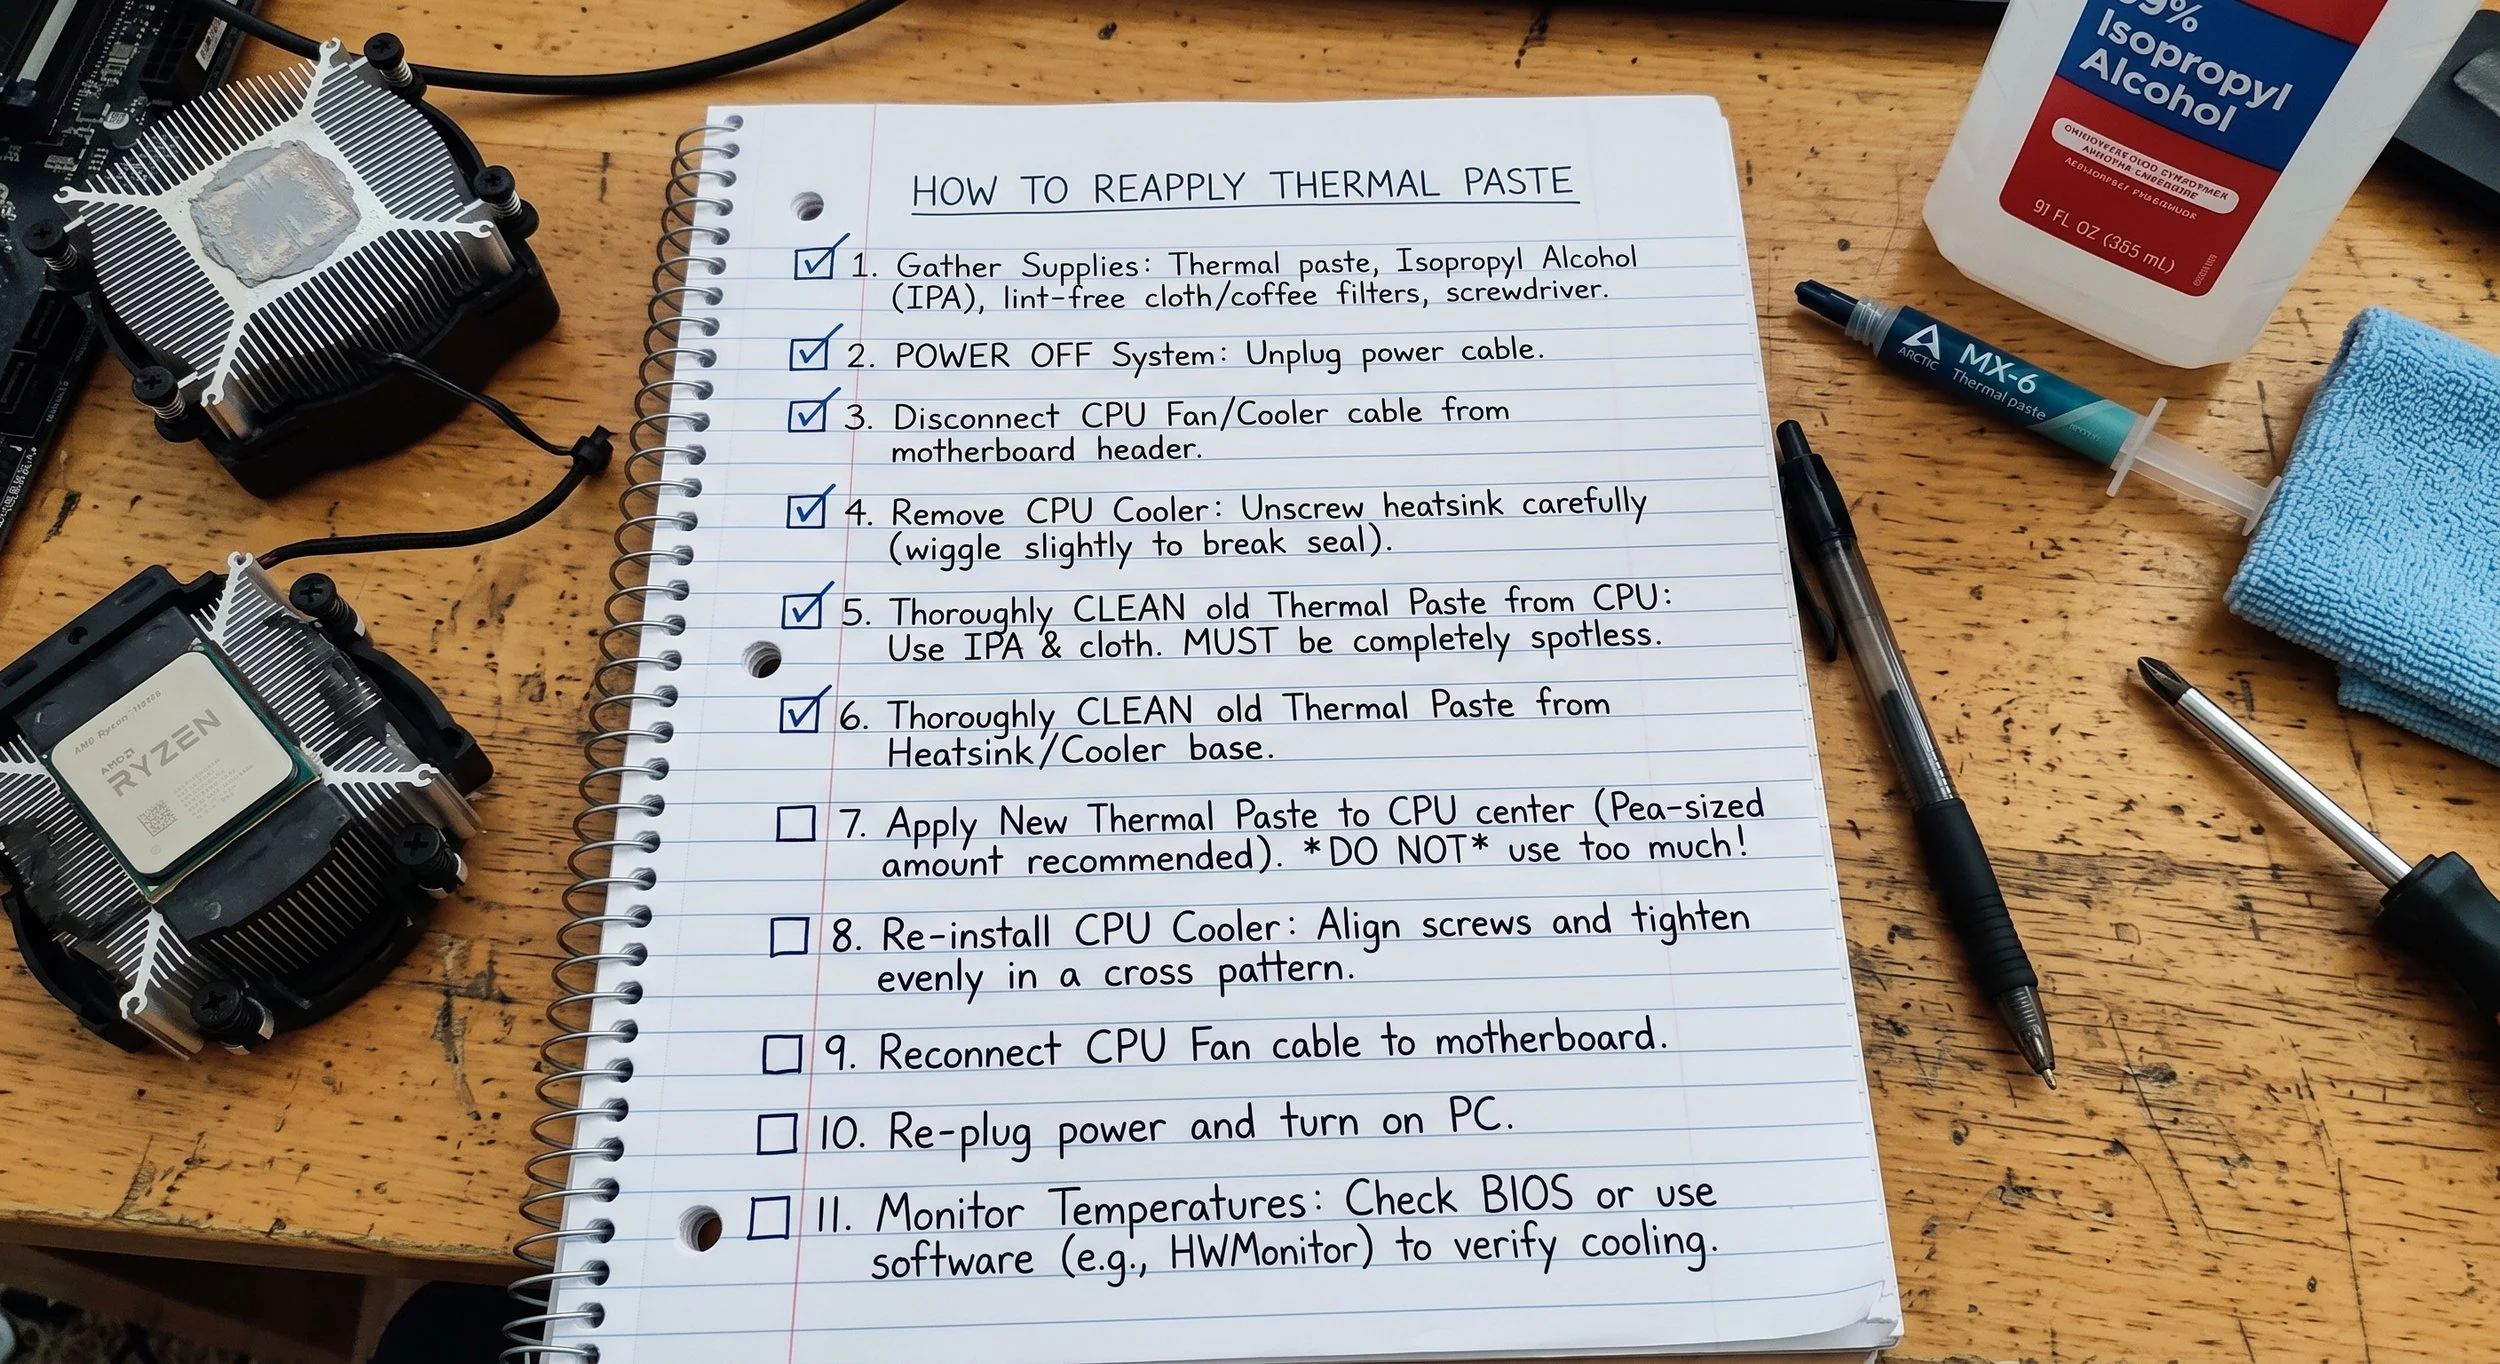
Reapplying thermal paste, if you're careful, can be a simple, low-maintenance task that will keep your PC running quietly and efficiently. With a clean, static-free surface, the right amount of thermal compound, and even mounting pressure, you will ensure optimal heat transfer to your cooler of choice. From here on out, your system is set for peak performance for years to come. That is, until you have to reapply thermal paste again. Good luck.