Here's How to Properly Install a Motherboard

The nerve-wracking part of building a PC is installing a motherboard, and with good reason. It's the most important component of the PC architecture. It governs communication among high-speed storage, memory interfaces, compute engines, and expansion hardware. Installing the motherboard incorrectly can cause the system to fail POST (Power-On Self-Test) and lead to sudden localized electrical faults, catastrophic grounding shorts, and structural stresses that can render the board inoperable.
Building a stable, reliable, high-performance system requires a methodical approach. With that said, if it’s your first time building a PC, let me guide you through installing the motherboard properly.
Pre-Assembly Out-of the-Case
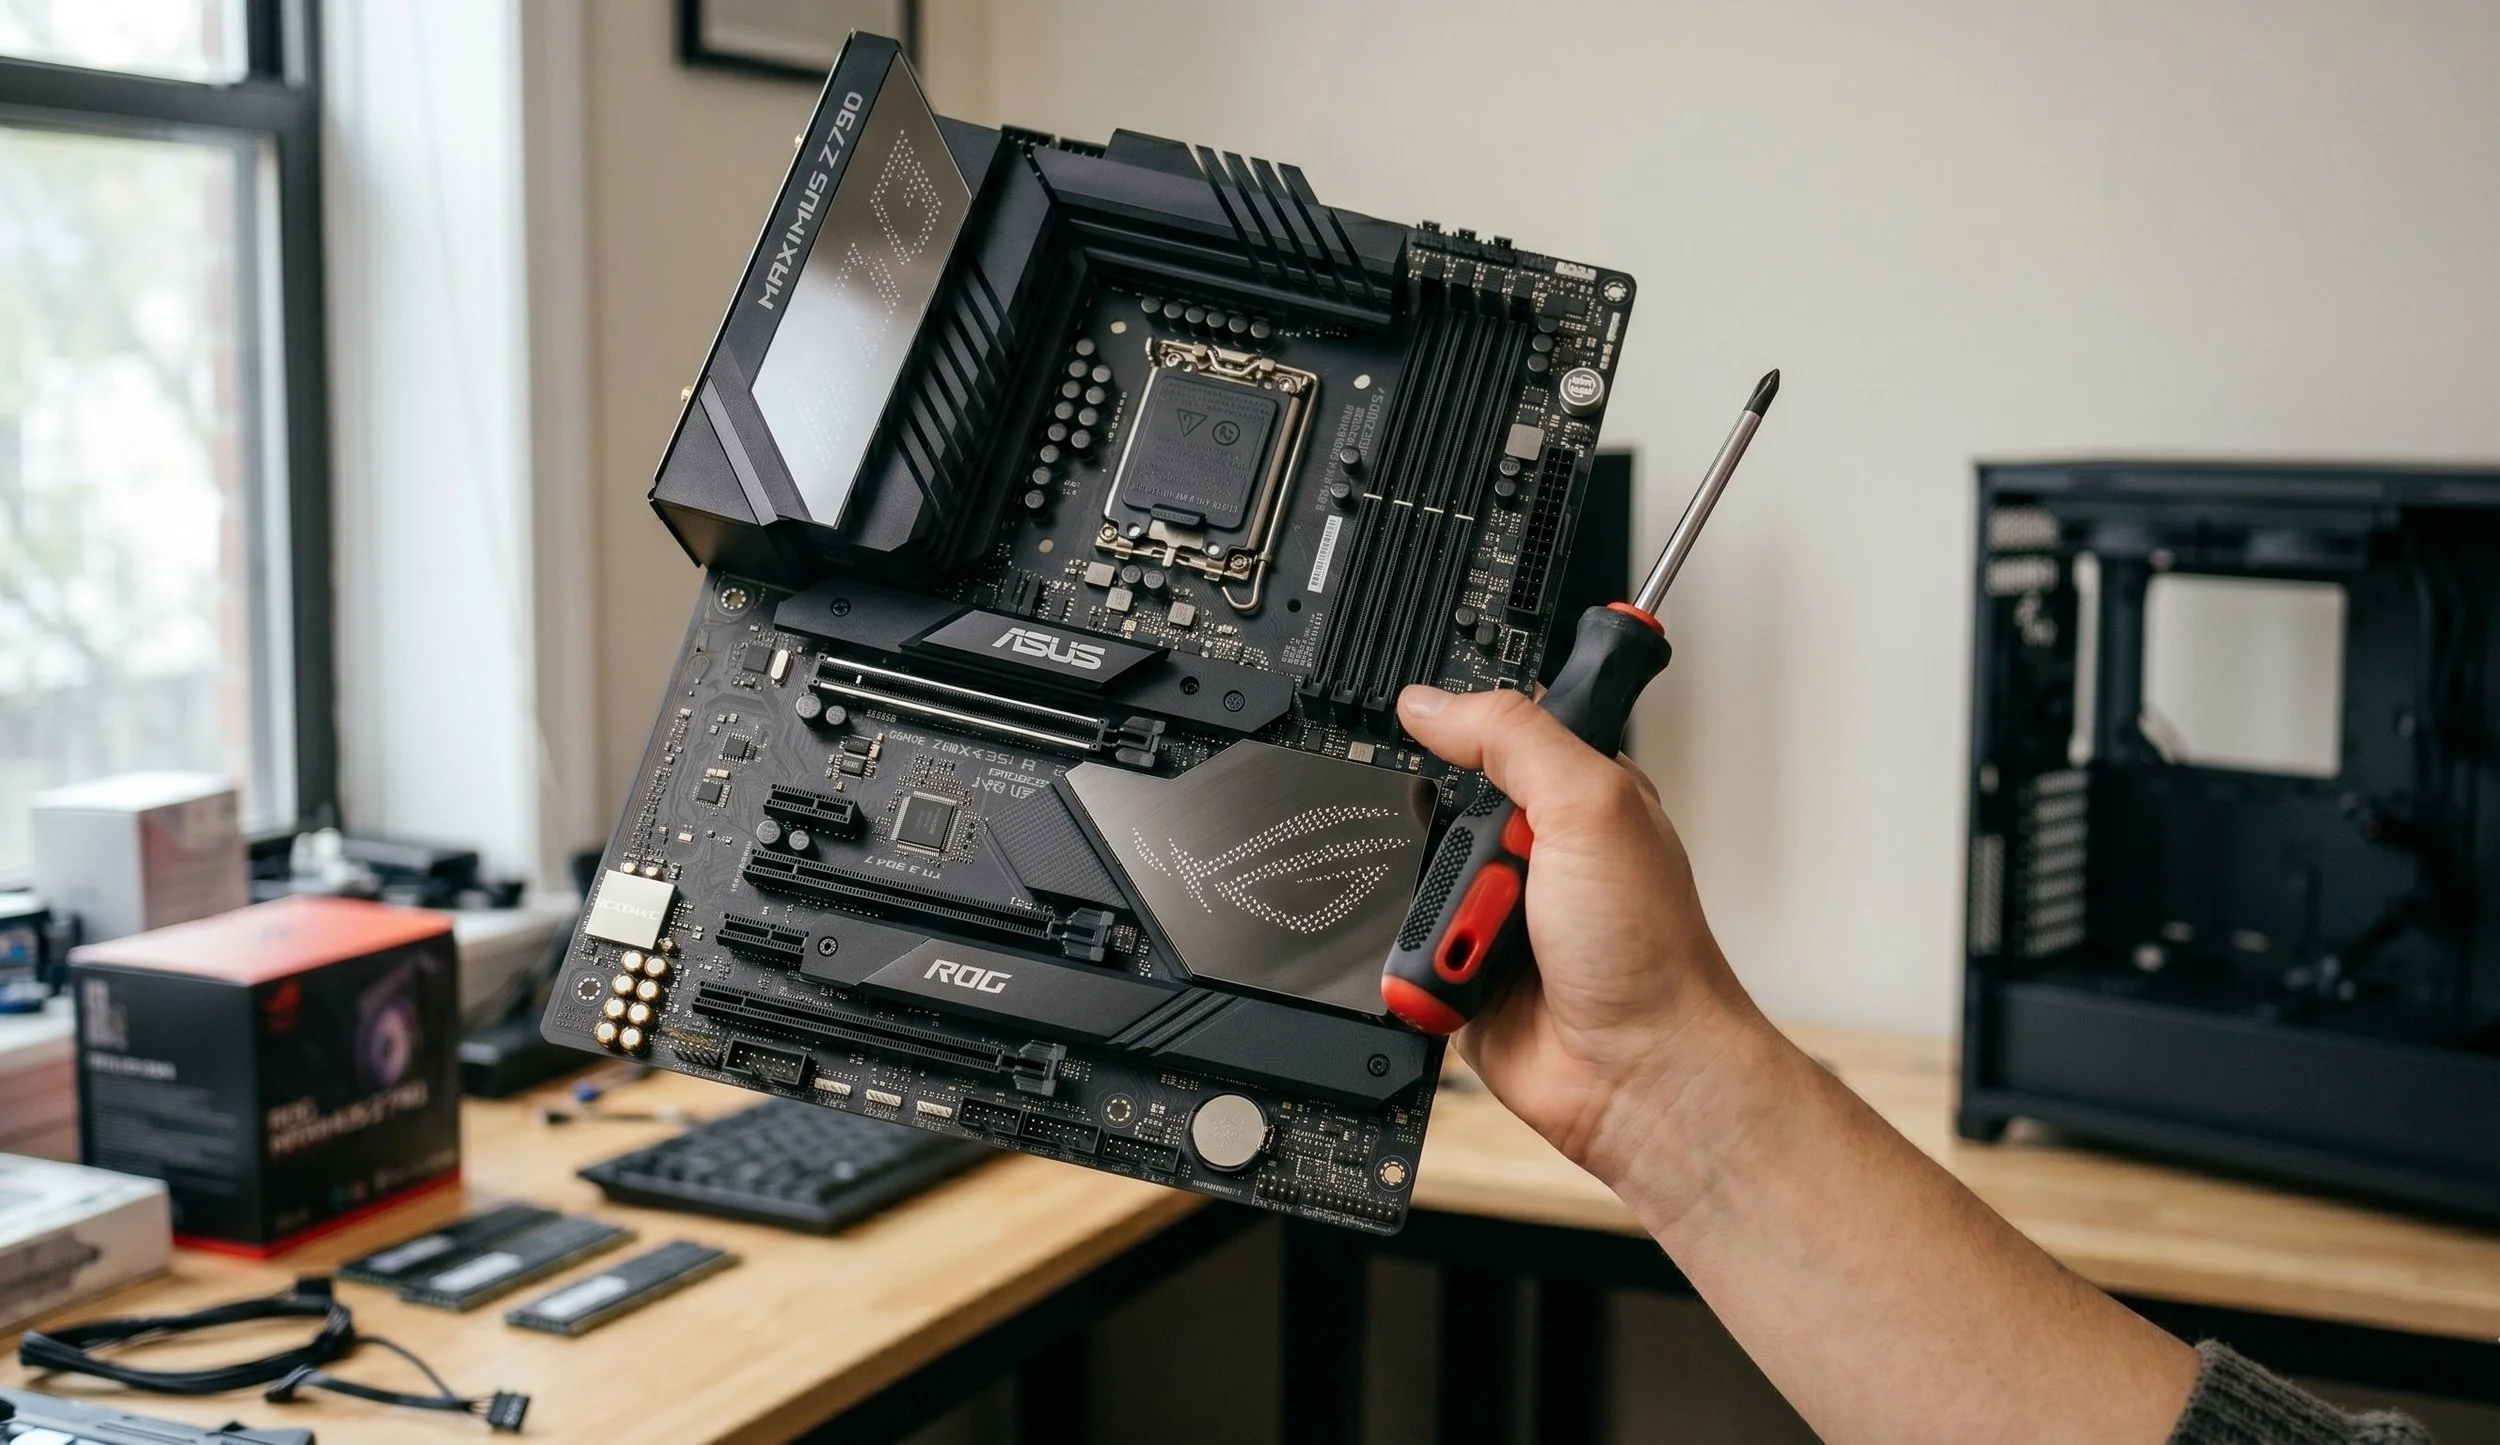
The number one mistake first-time builders make is immediately mounting the bare motherboard in the chassis, a bad move. Most standard PC cases restrict spatial access, thus forcing very awkward installation angles and excessive force that can damage components. Your components should be installed while the motherboard is lying on a flat, non-conductive surface.
Here is my pro tip recommendation: do not, I repeat, do not place the motherboard on top of an anti-static bag during assembly. The exterior of most of these bags is coated in a mildly conductive film that dissipates charges. Instead, you should set the motherboard on top of the clean cardboard box it was shipped in.
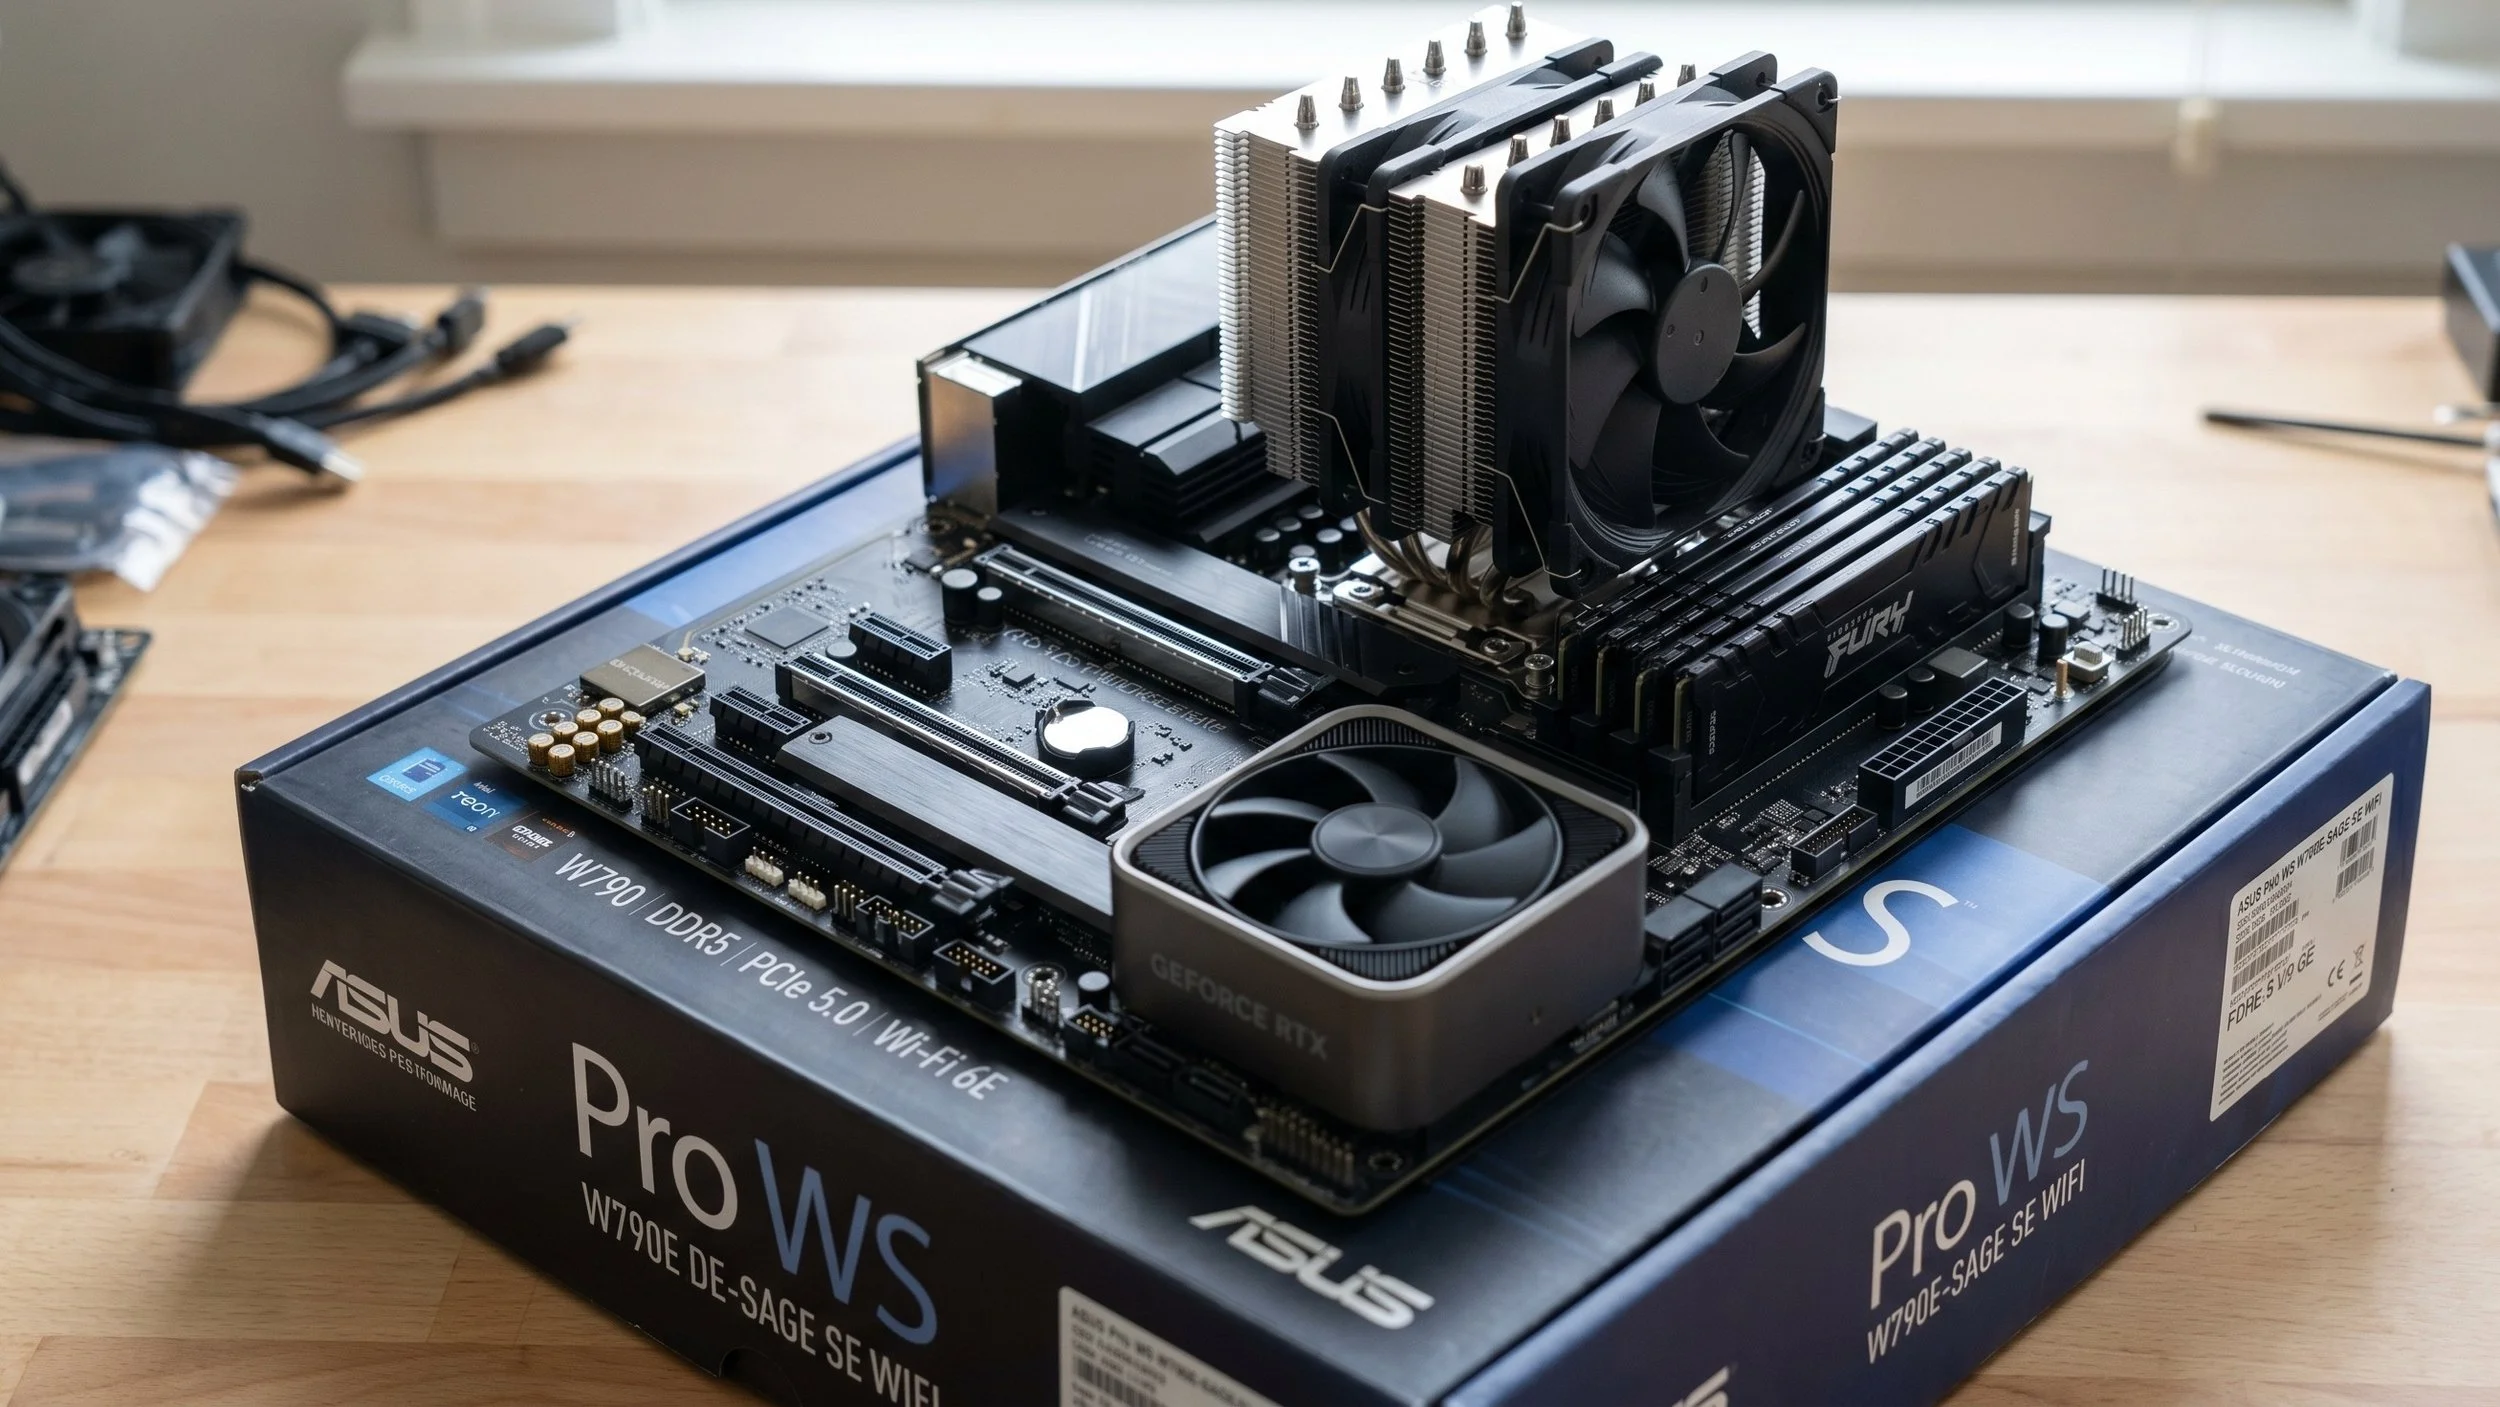
While the motherboard is on the cardboard box, install all of the crucial components in this order: the processor, the memory, and your solid-state drives, in particular the NVMe drives, and install the heavy structural black plate to the rear of the motherboard for the air tower cooling or an All-in-One (AIO) liquid cooling loop.
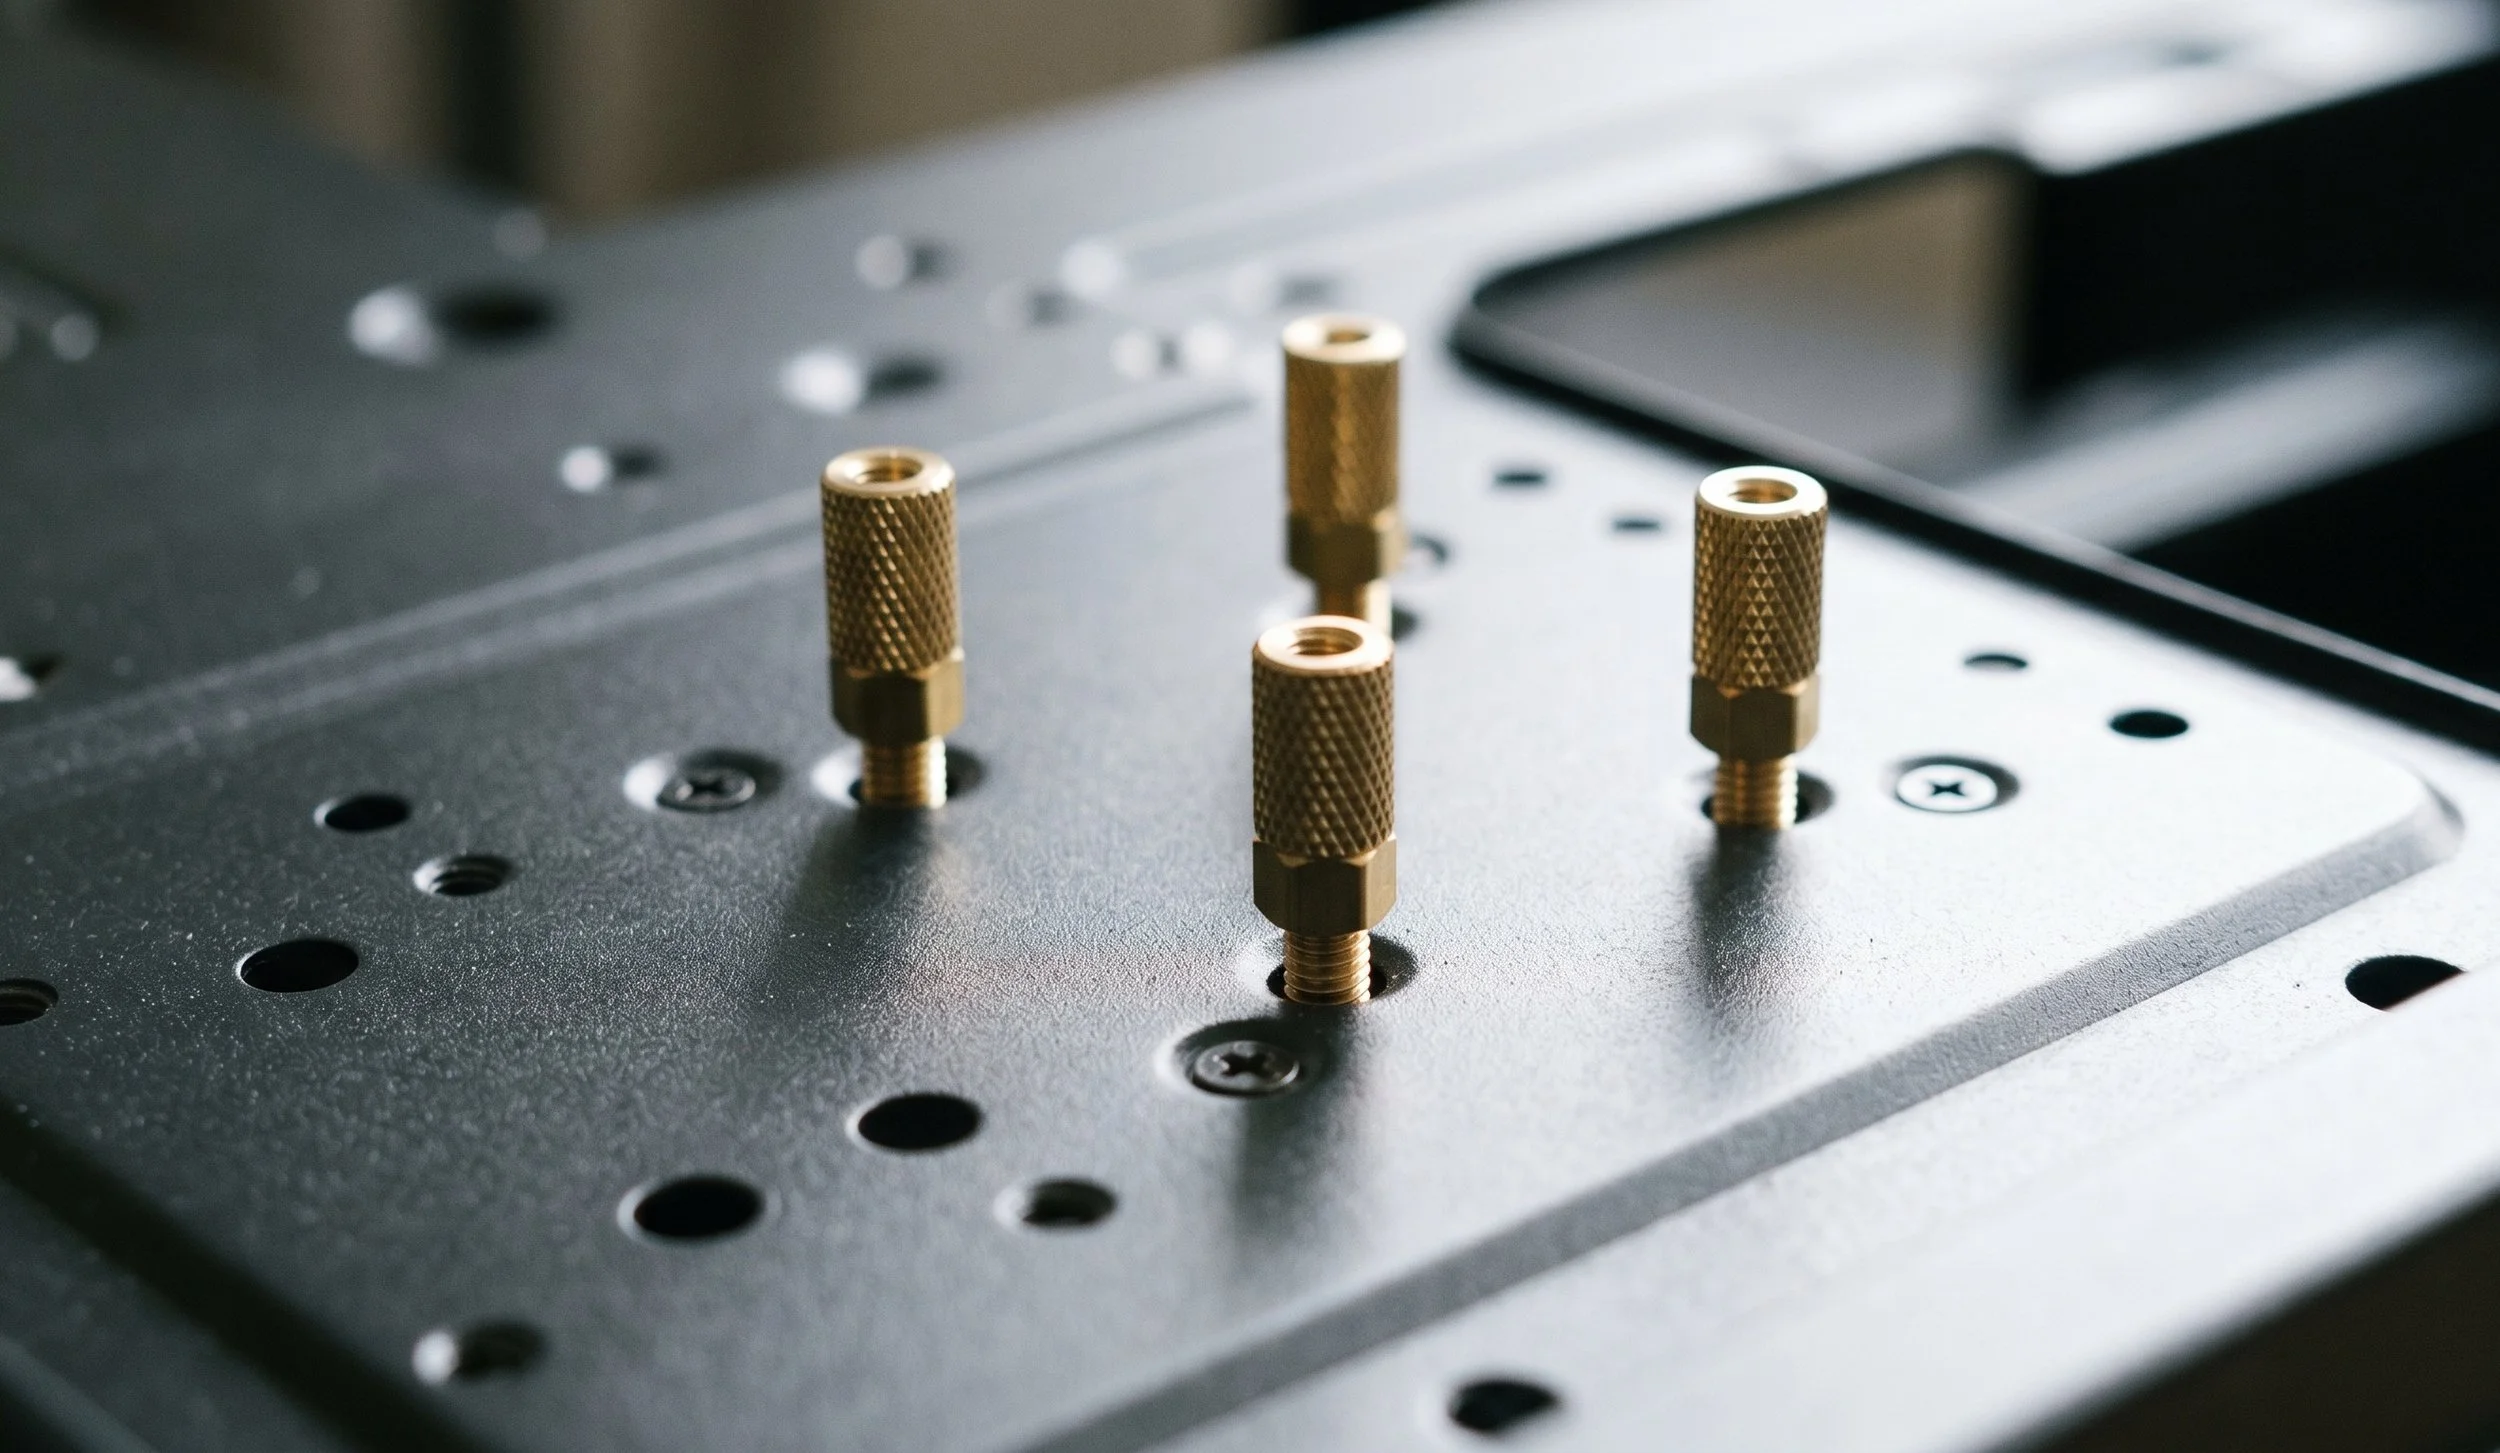
This is what Brass Standoffs look like
Prepare and Ground the Chassis
Before placing the motherboard into the enclosed metallic chassis, it must be mechanically organized internally. WARING!! FIRST TIME BUILDERS: A single misplaced brass standoff resting against an exposed circuit trace on the back of your motherboard will create an electrical short. This can literally fry your voltage regulator modules (VRMs) or permanently damage the chipset logic upon boot. Make sure you carefully align your motherboard with the brass standoffs.
Observe the layout and inspect the case's inner tray. You want to ensure that each brass standoffs are position to match the physical mounting holes of your form factor layout, be it ATX, Micro-ATX, or Mini-ITX.

This right here is a pre-installed I/O shieled
Most premium motherboards today feature an integrated, pre-installed I/O shield. If that is the case with you, skip this step. If it features a standalone metallic shield, lay your PC case down on a flat surface and orient it correctly, then snap it directly into the rectangular rear opening of the chassis from inside. Apply pressure to all four edges until it clicks firmly in place.
Seating and Component Fastening
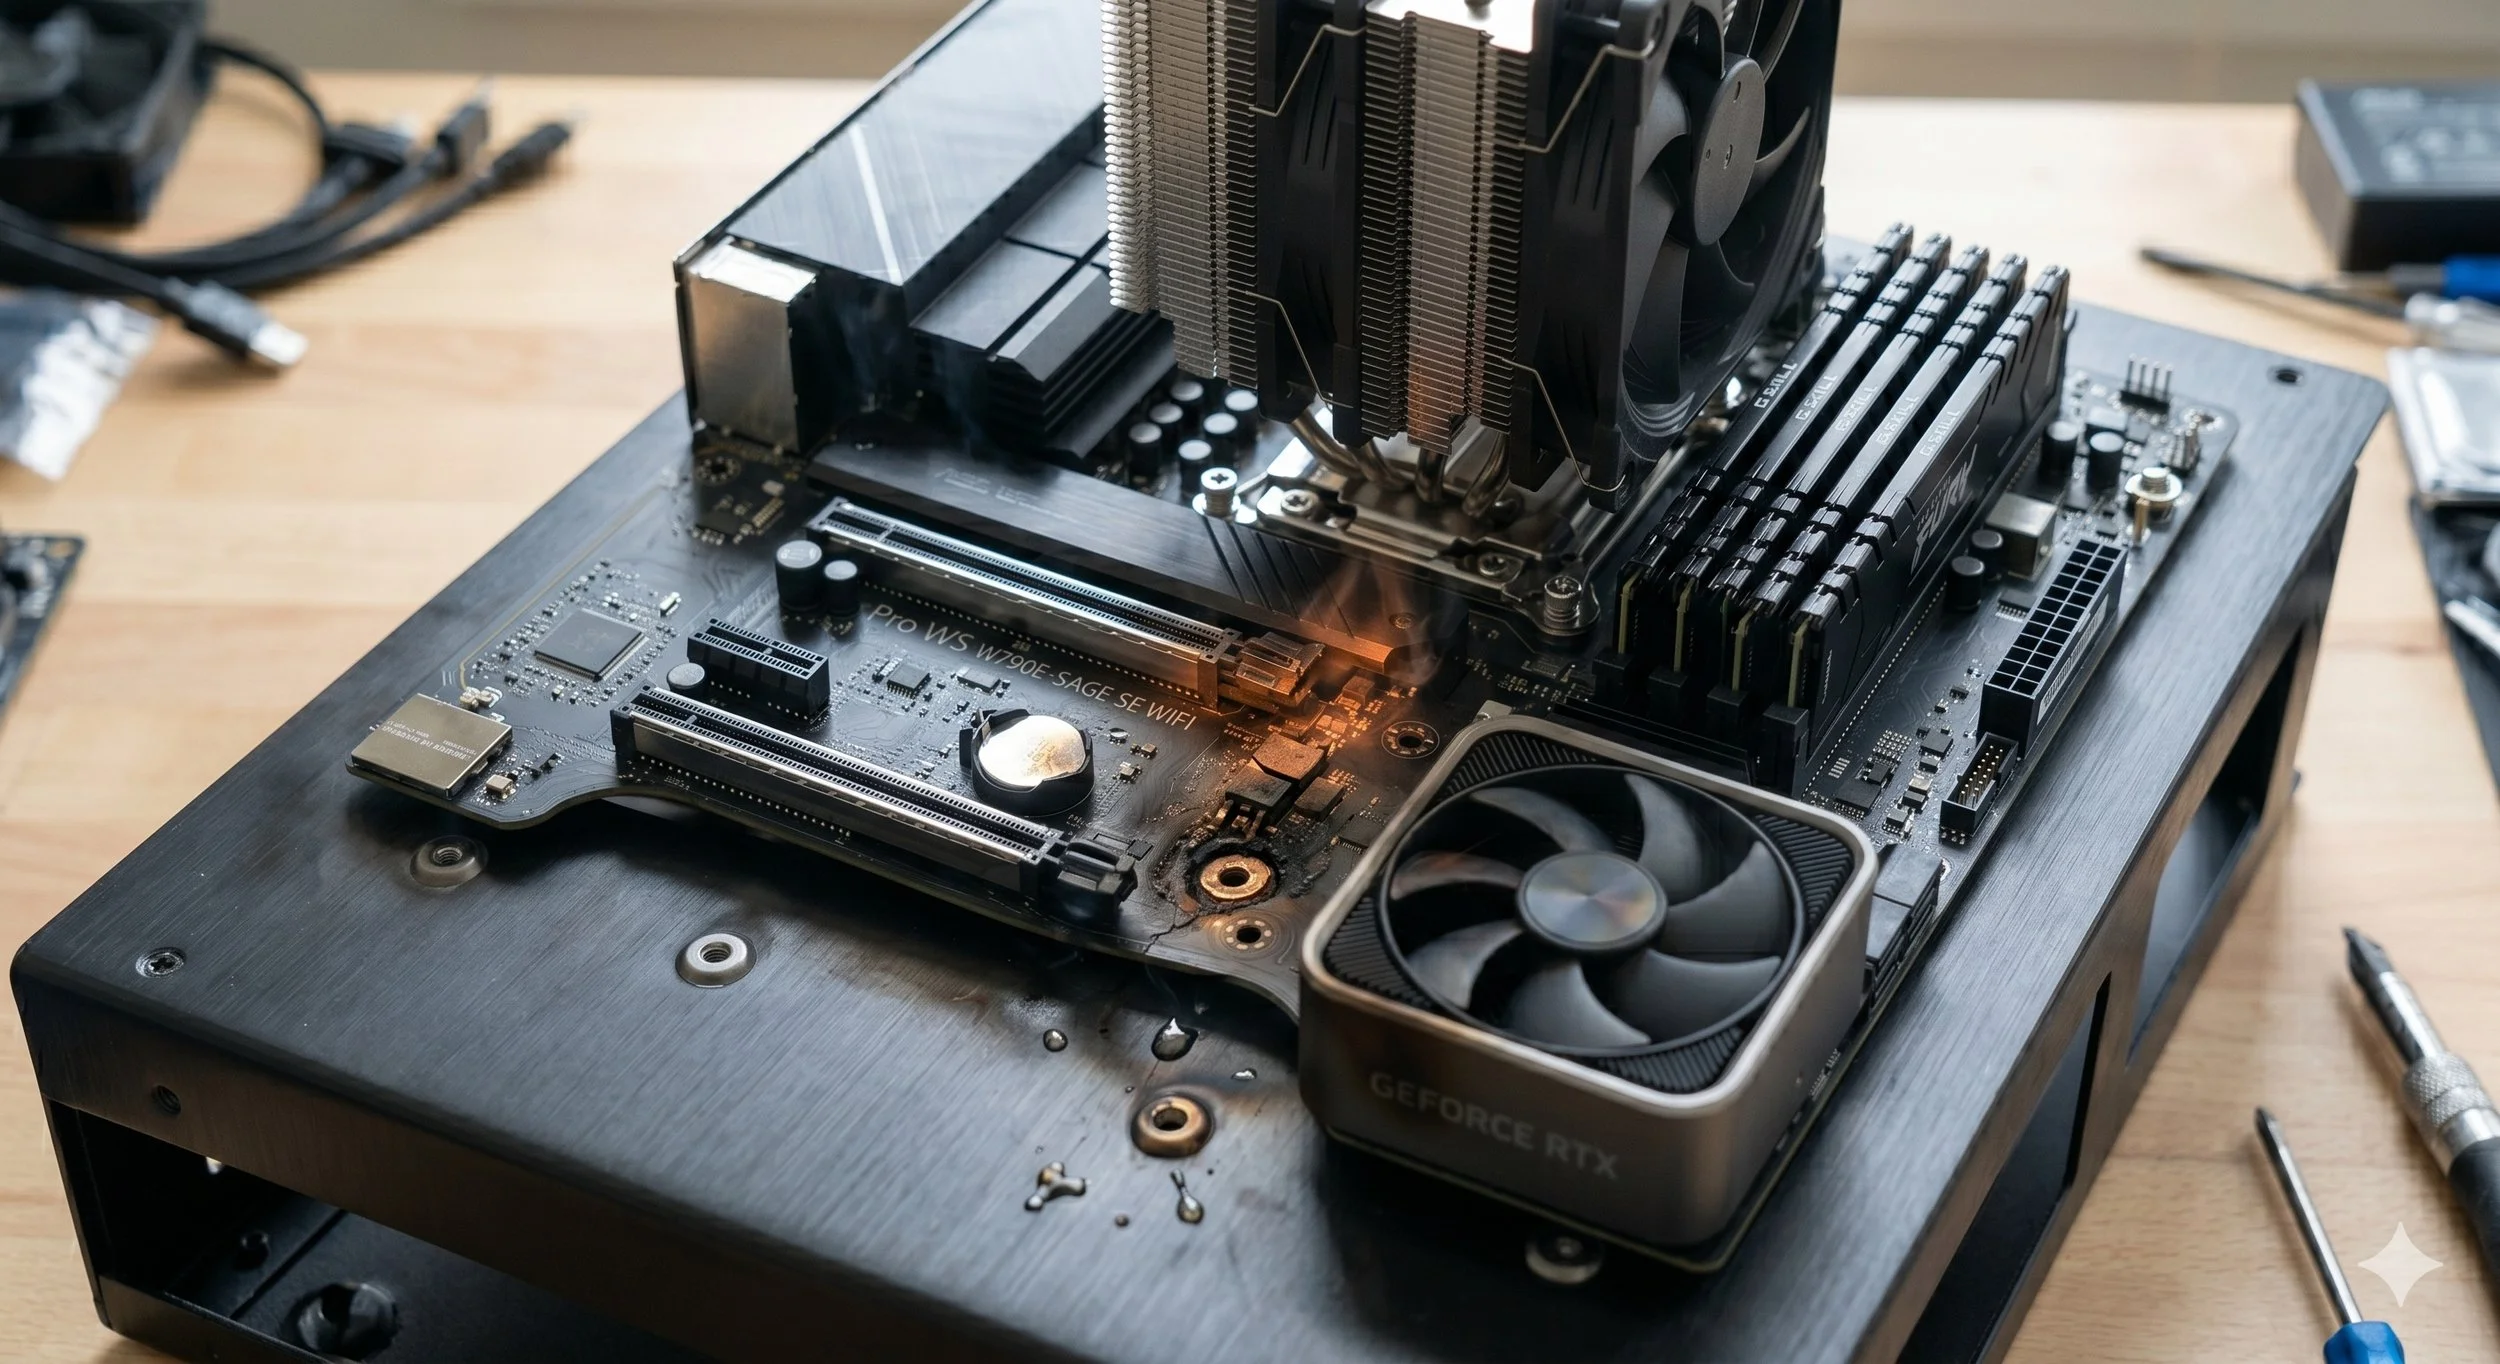
This is the part where you begin to gently lift the pre-populated motherboard by the thermal heatsink or by the edges of the PCB. Try not to lift the motherboard by gripping the CPU fan or structural memory modules.
Then angle the rear interface ports down toward the installed I/O shield first, and match the ports with the cutouts. Carefully slide the motherboard backward until the rear ports fit snugly into the I/O shield, then slowly ease the motherboard down flat onto the awaiting brass standoffs. The center standoff often serves as a positioning pin that holds the motherboard in place.
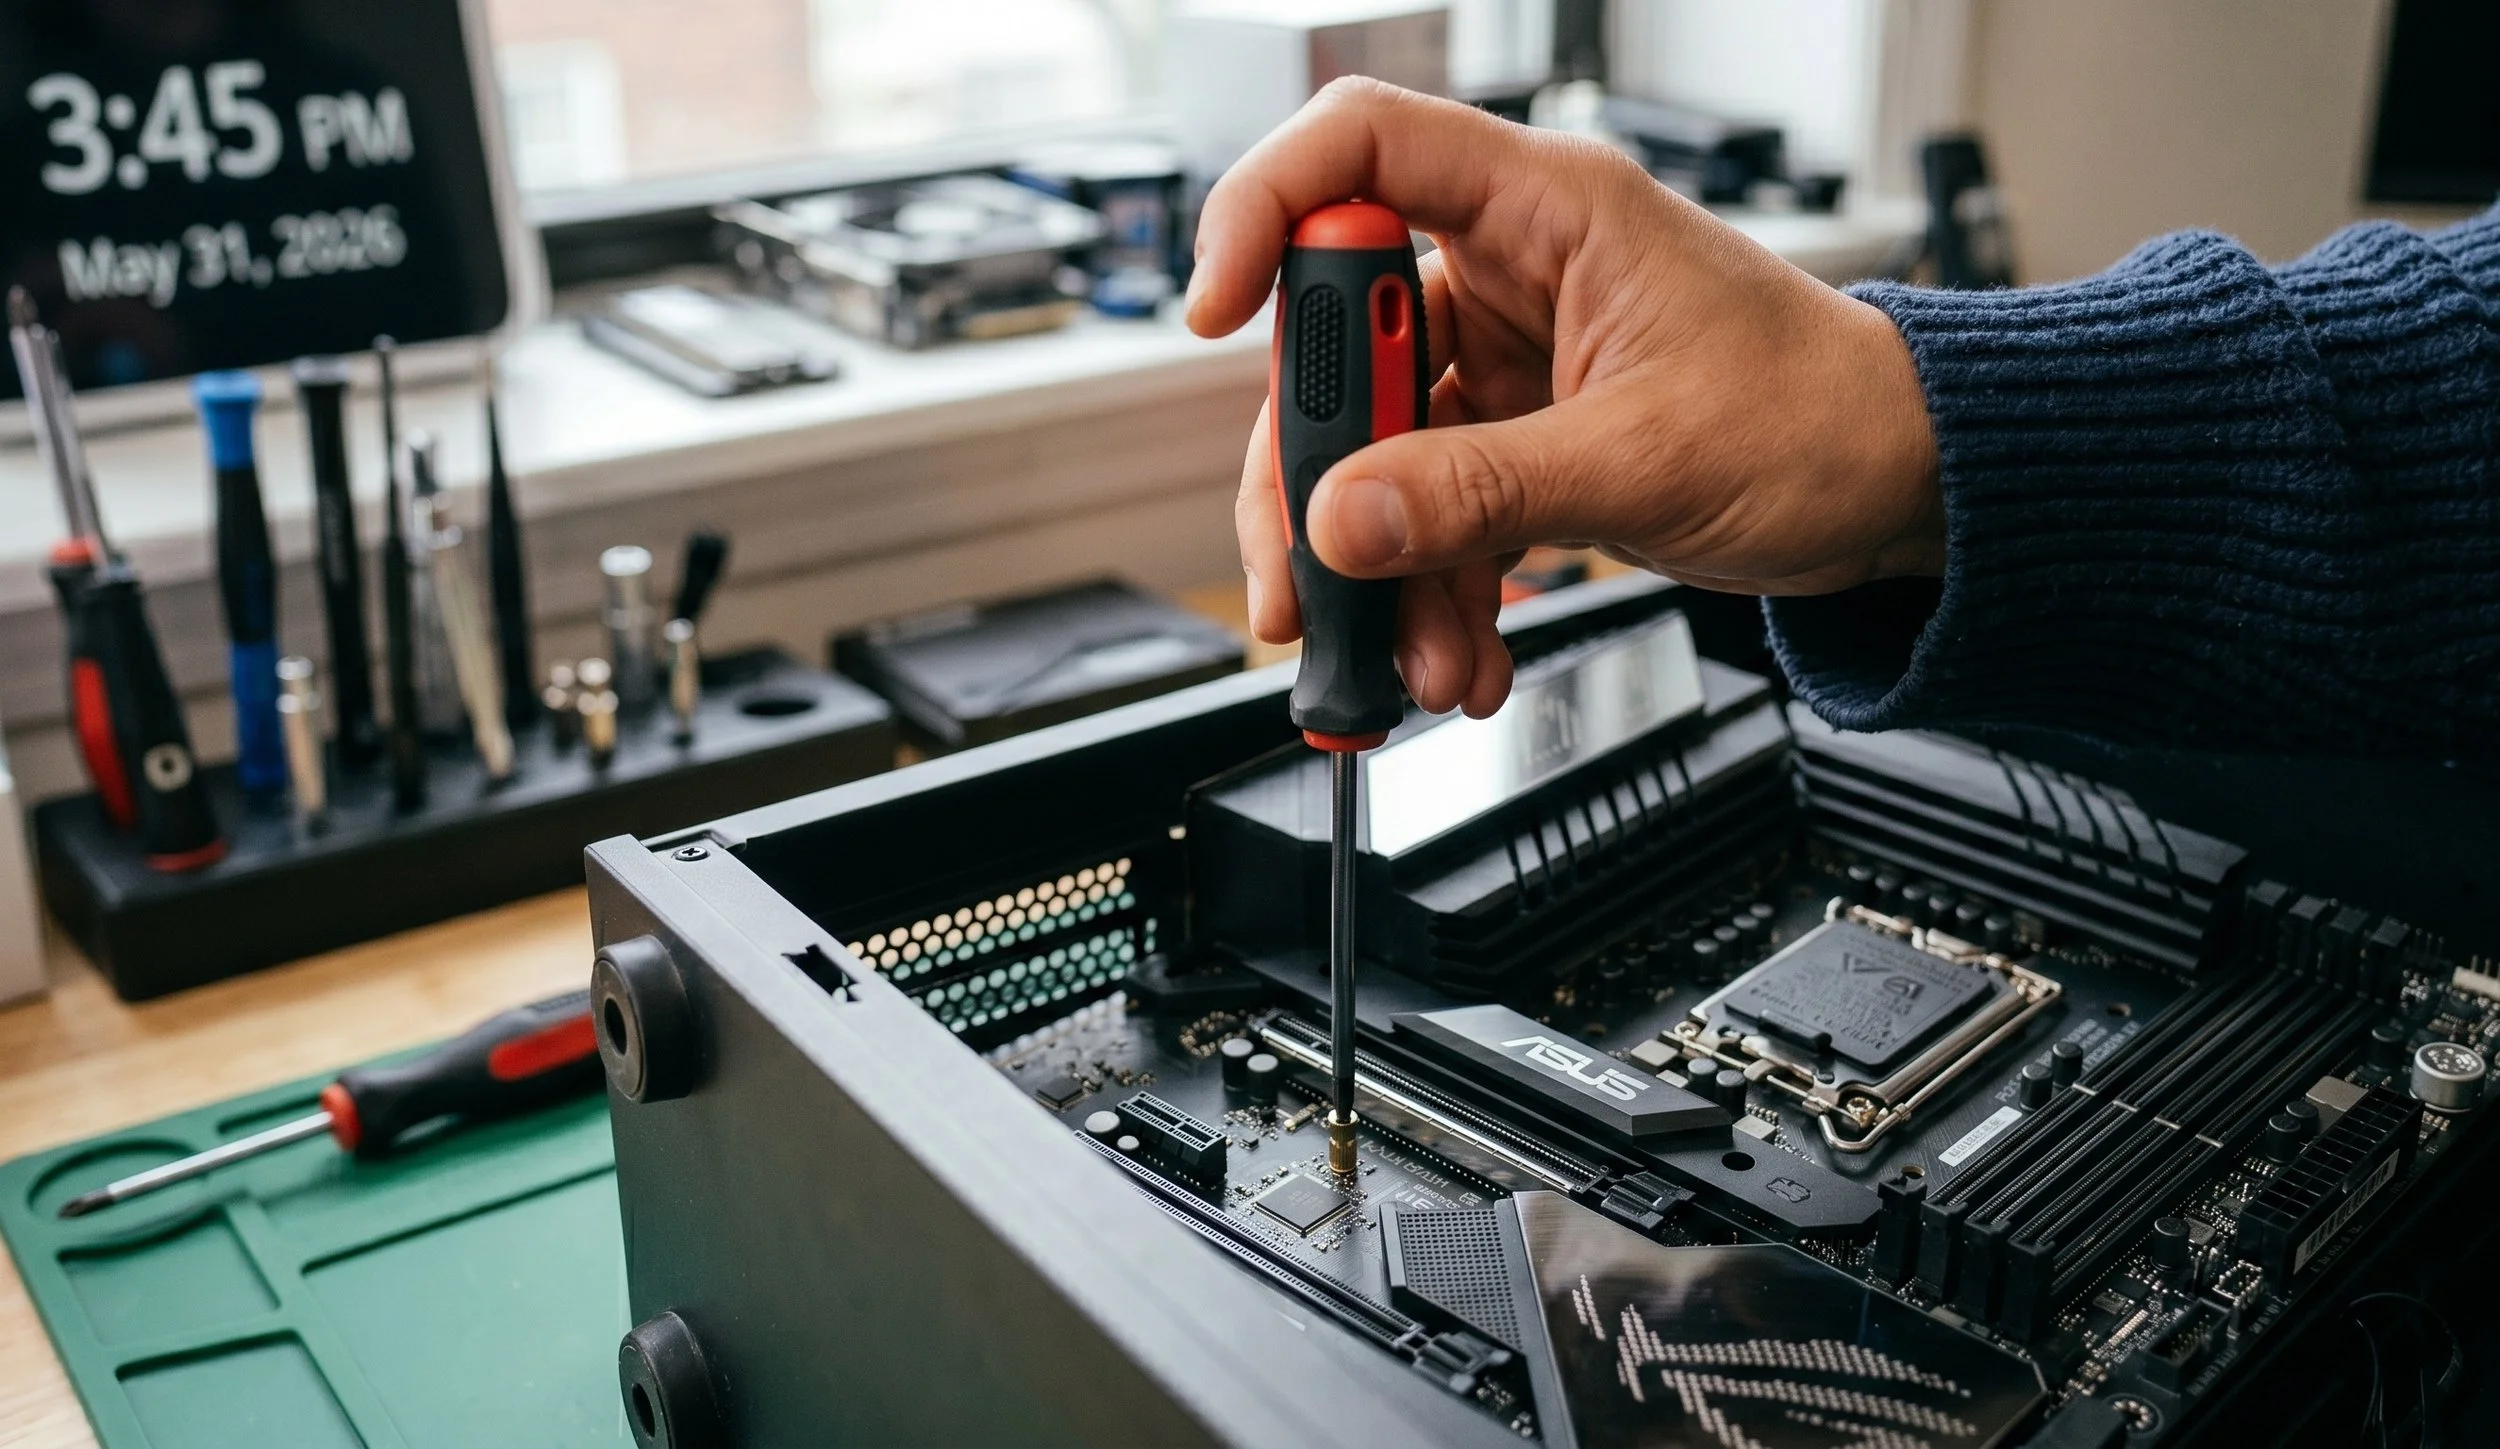
Begin securing the motherboard using the exact mounting screws that come bundled with the case (typically standard round-top M3 or 6-32-thread screws). Tighten the screws until they are snug, but do not crank with excessive force; doing so risks fracturing the multi-layered fiberglass structure of the PCB. Work your way around the motherboard using an alternating, cross-diagonal pattern to ensure mechanical load is distributed uniformly across the chassis panel.
The Power and Control Interfaces
Now that the motherboard is securely in place, the final step is to establish data and power connectivity links in this particular order:
Plug the primary 24-pin ATX connector, which supplies power to the motherboard, until the heavy mechanical plastic locking lever snaps completely in place.
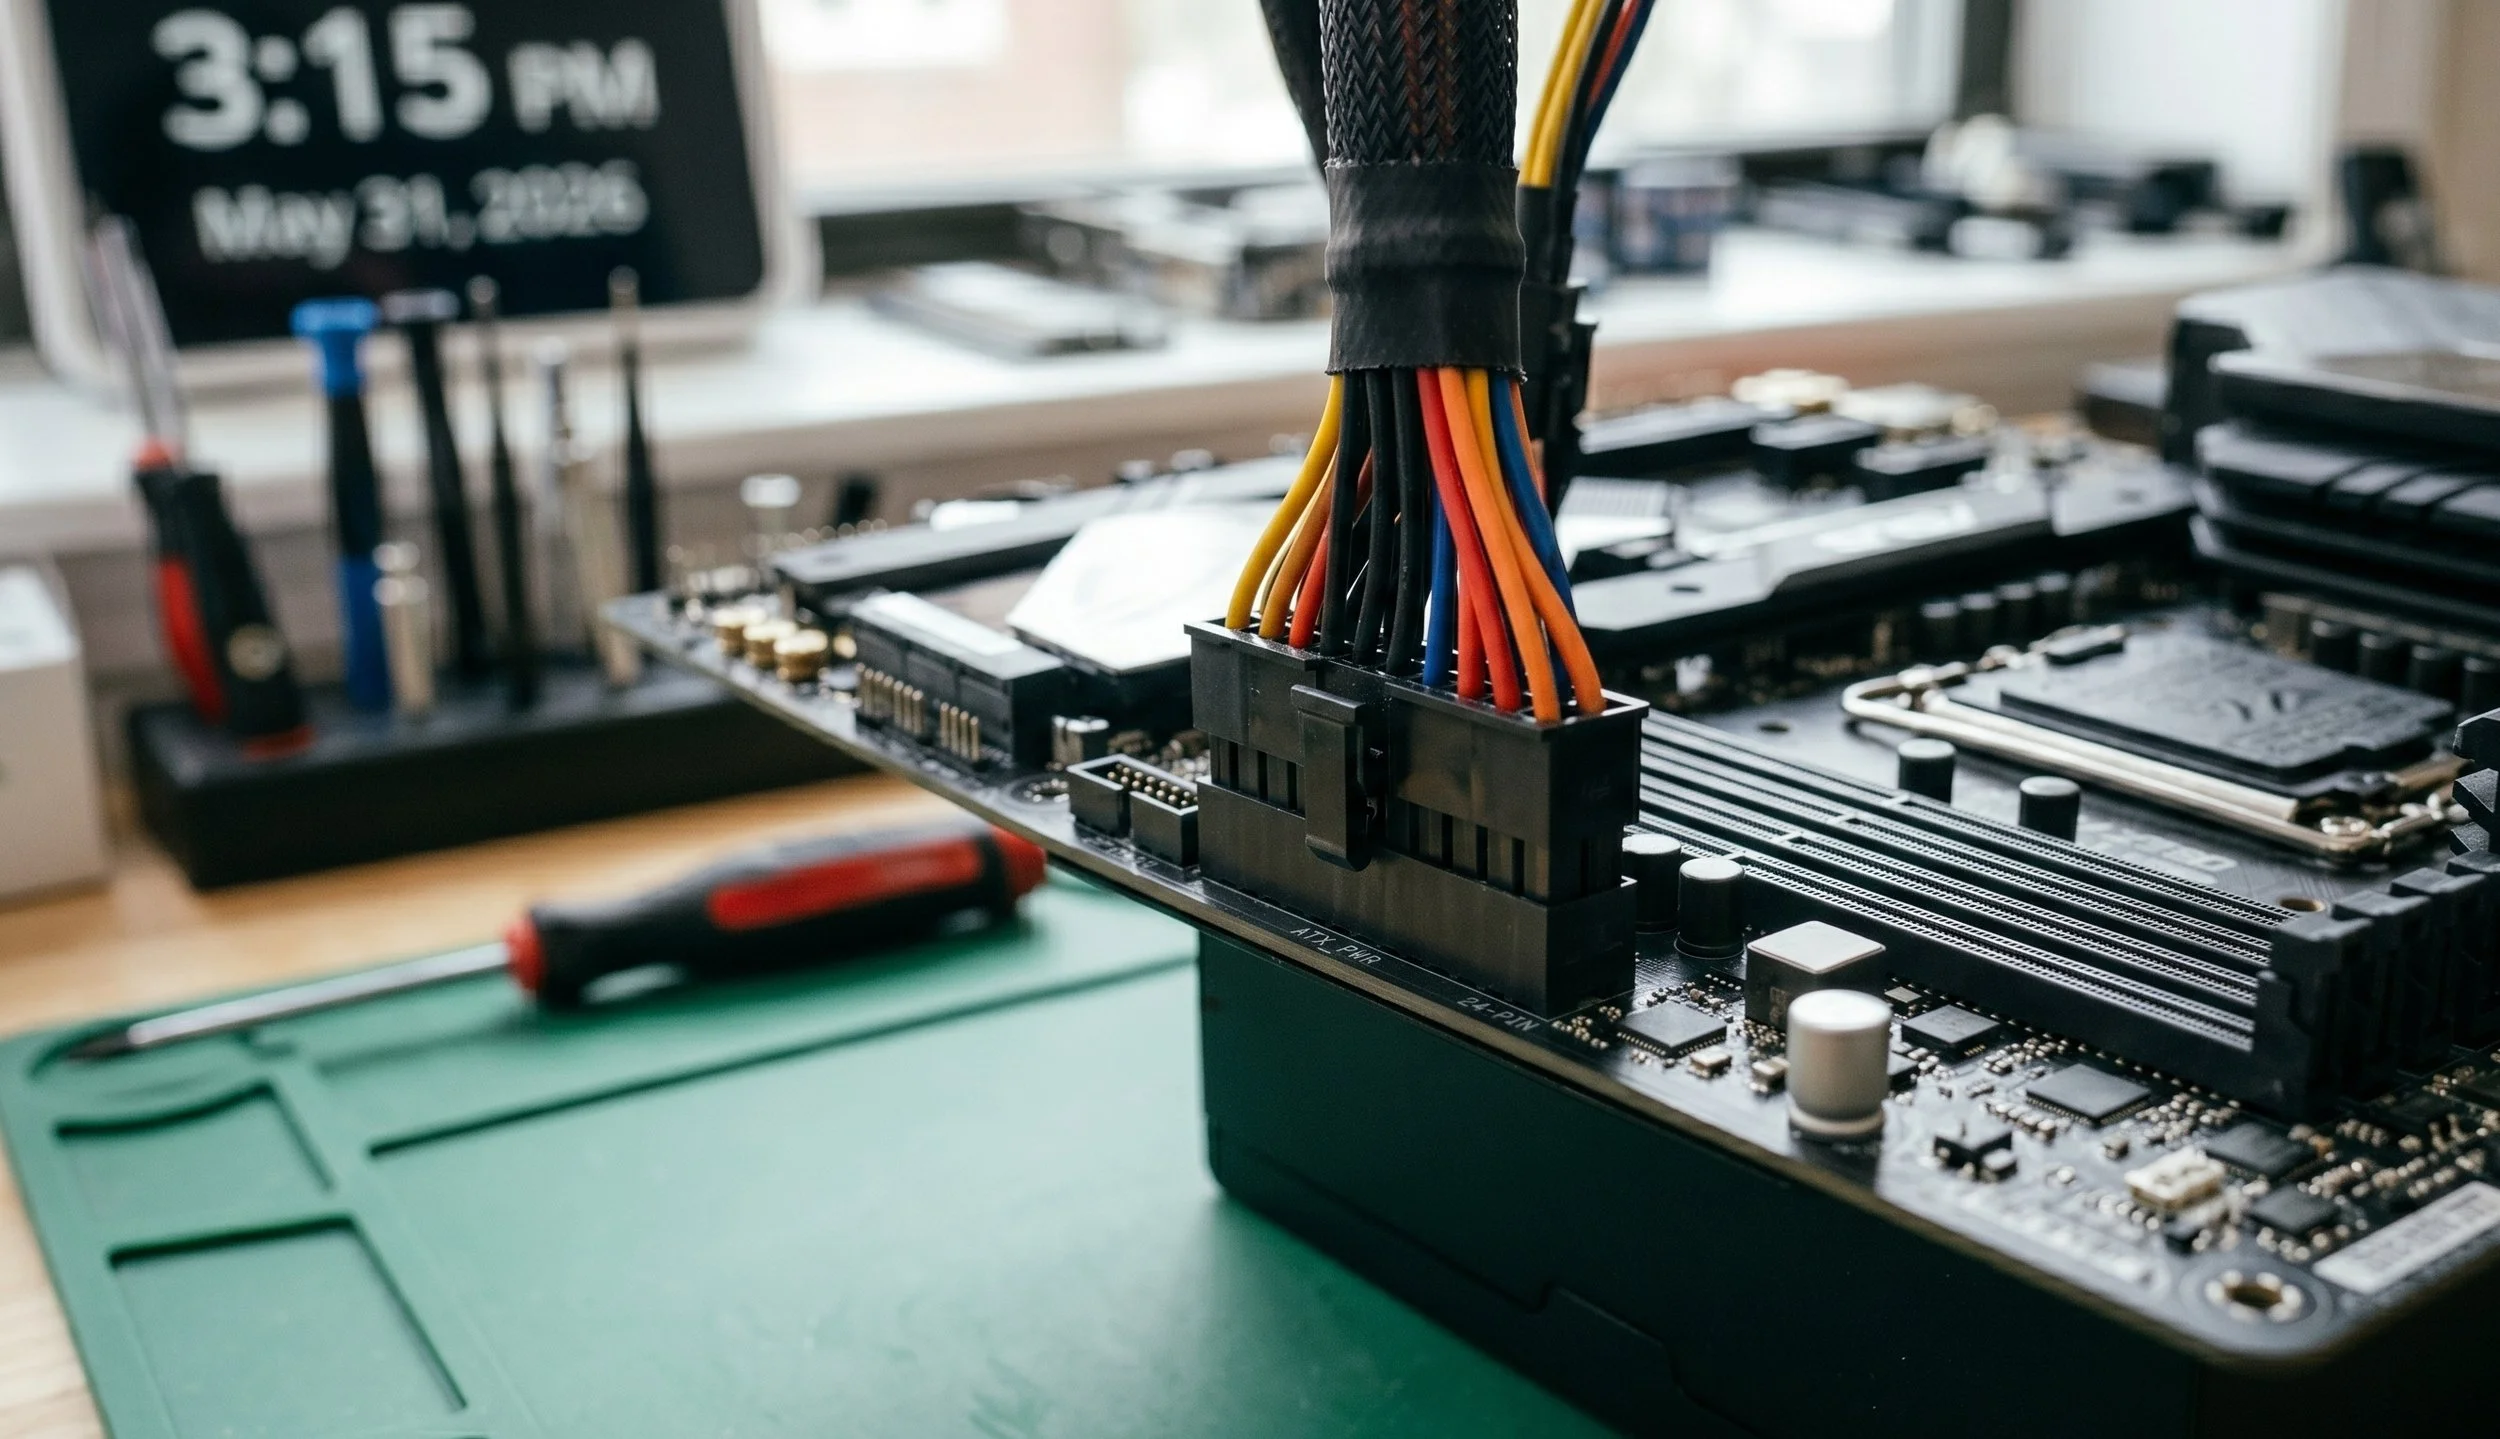
This is an AI image of an ATX 24-pin connector
Route the secondary 8-pin EPS CPU power line to the top-left of the motherboard to feed directly to the VRM phases. Some high-end chipset motherboards feature an 8+4 or dual 8-pin array for future overclocking; connect the secondary headers if your supply permits.
Plug your system fans and other accessories, such as the primary CPU cooler fan or the liquid pump tachometer wire, directly into the header (CPU_FAN or AIO_PUMP). Modern UEFI motherboards will display a hard-boot fault signal to protect the hardware if they do not detect an active fan line on that specific channel.
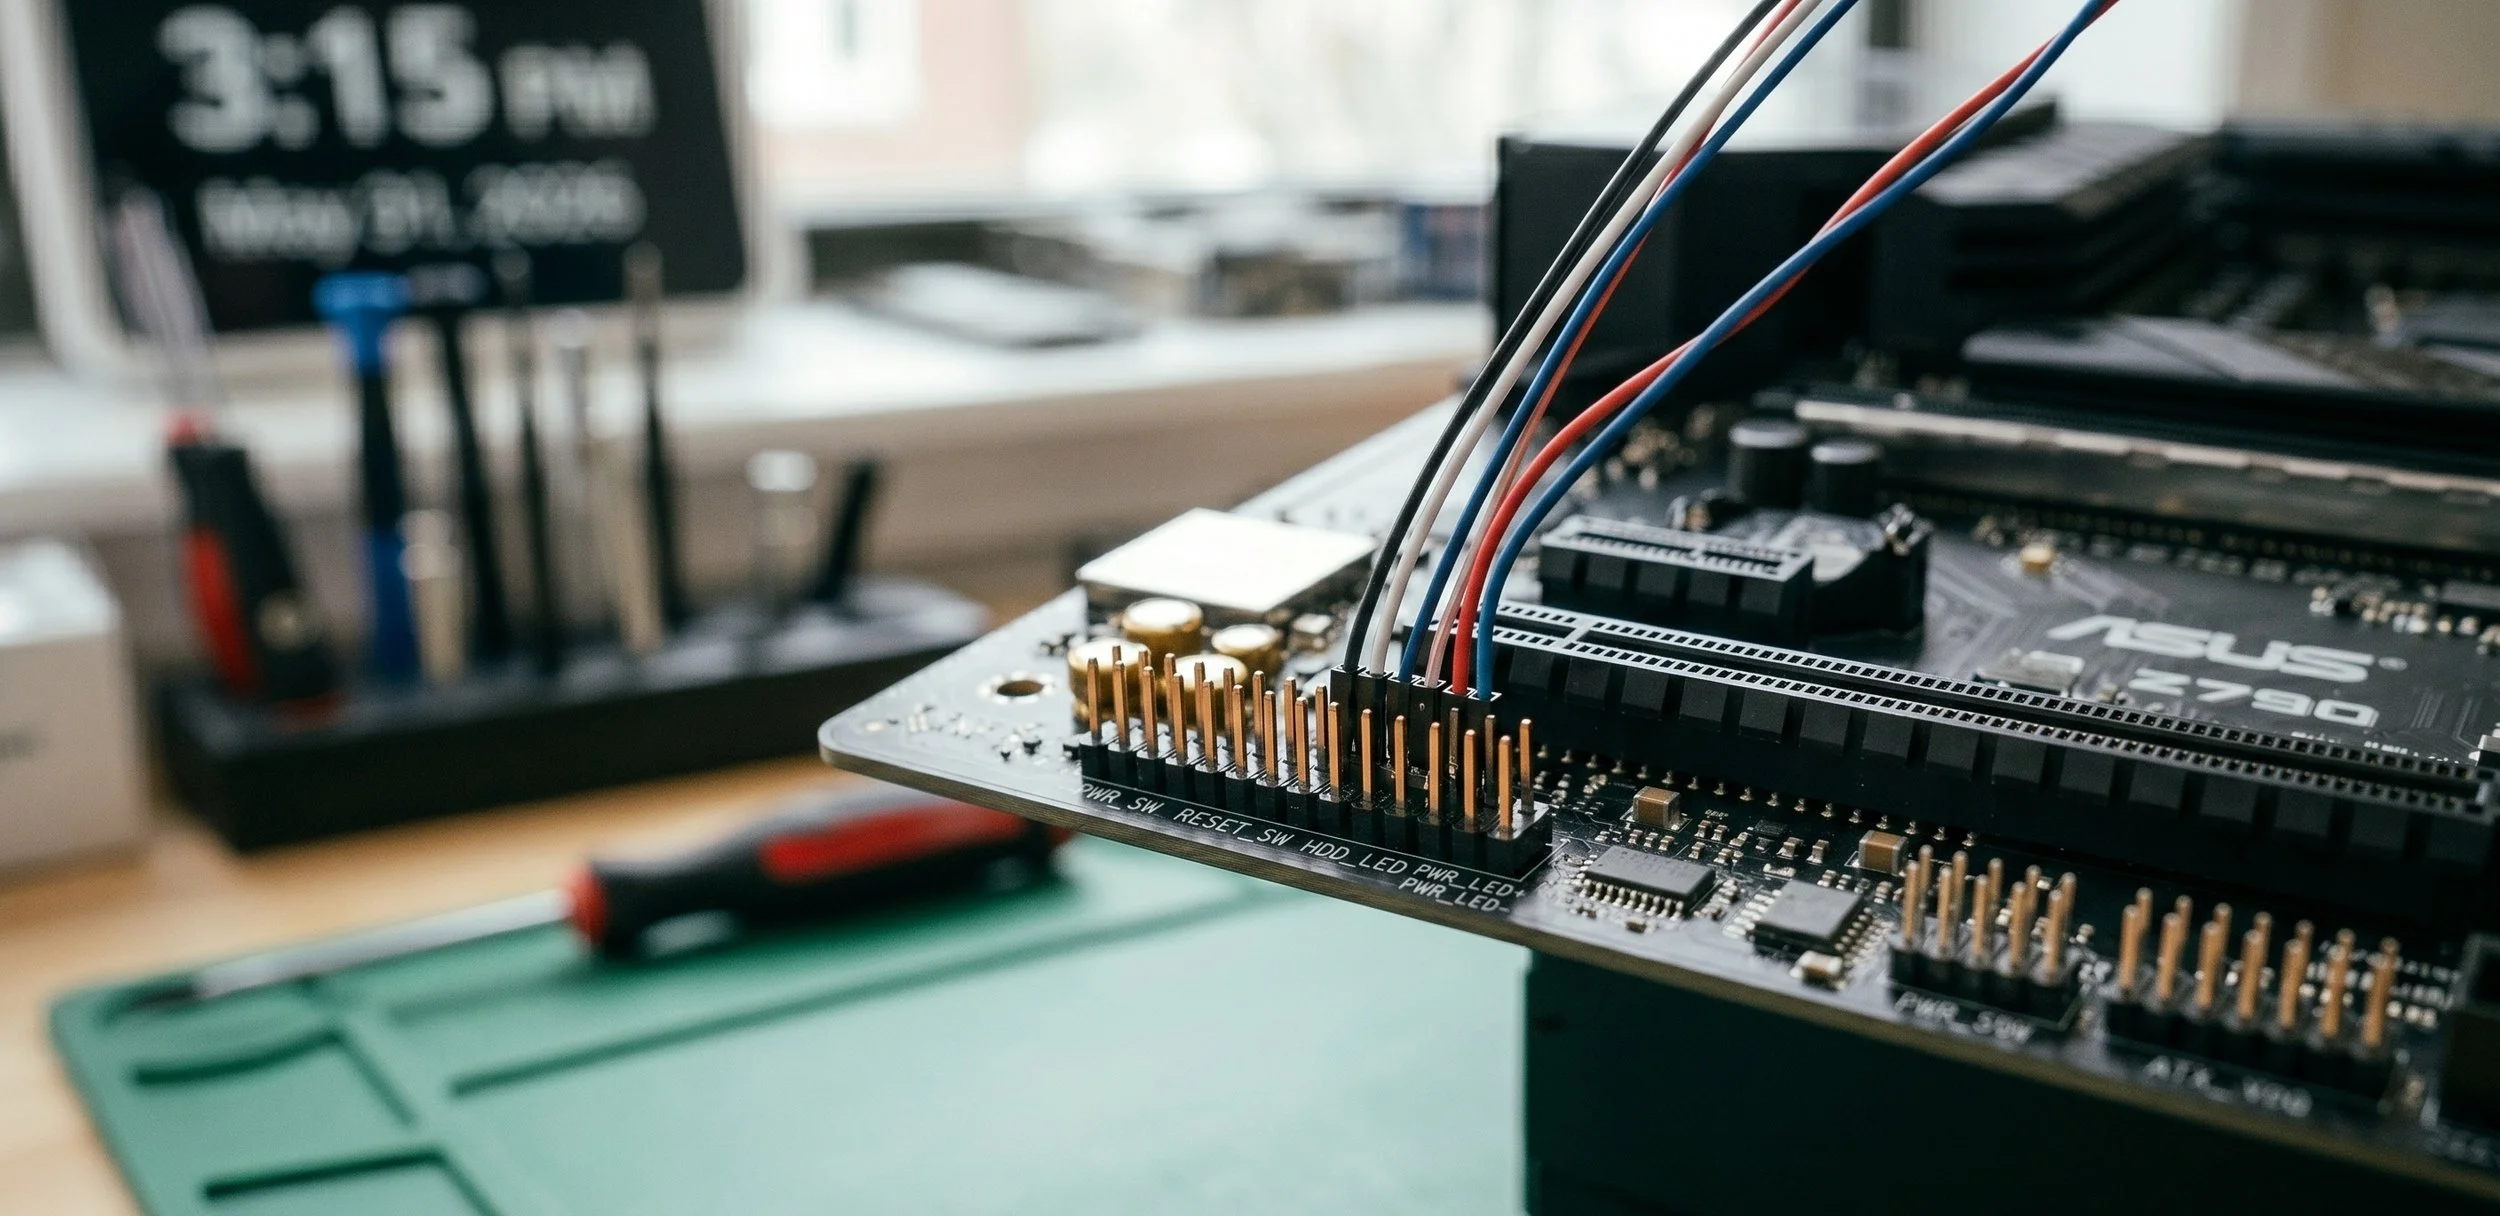
The pins you see right here are the header nodes. On the left side of the motherboard are the Front Panel headers
We're coming to the final stretch of motherboard installation: connect the front panel header node, which controls the PC case switch, reset switch, and drive activity indicators. Keep in mind that you’re dealing with minuscule 1-pin and 2-pin connectors, so you must match the pin polarity precisely. Carefully follow the manual that came with the motherboard for the pin connector layout. Getting the Power SW pin placed incorrectly won't cause any damage, but the power button will remain inoperable.
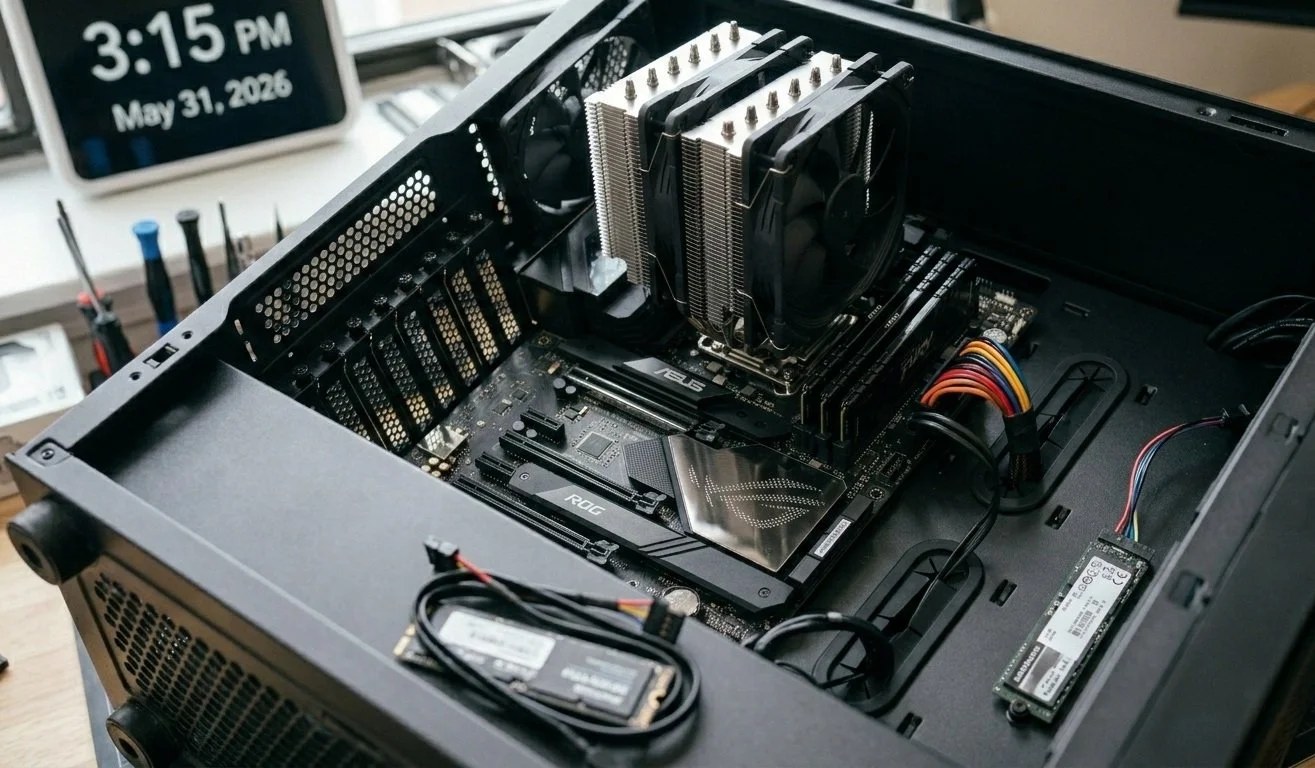
The Conclusion
So there you have it: taking the time to install a motherboard methodically is the best approach for long-term stability in your system. By carefully assembling the core components outside the chassis, ensuring your standoffs are properly aligned, and safely routing power and front panel interfaces, you will eliminate mistakes that can lead to boot failures or, worse, severe electrical shorts. Knowing that your PC build is safe and sound will give you total confidence for future builds.